Leg Day

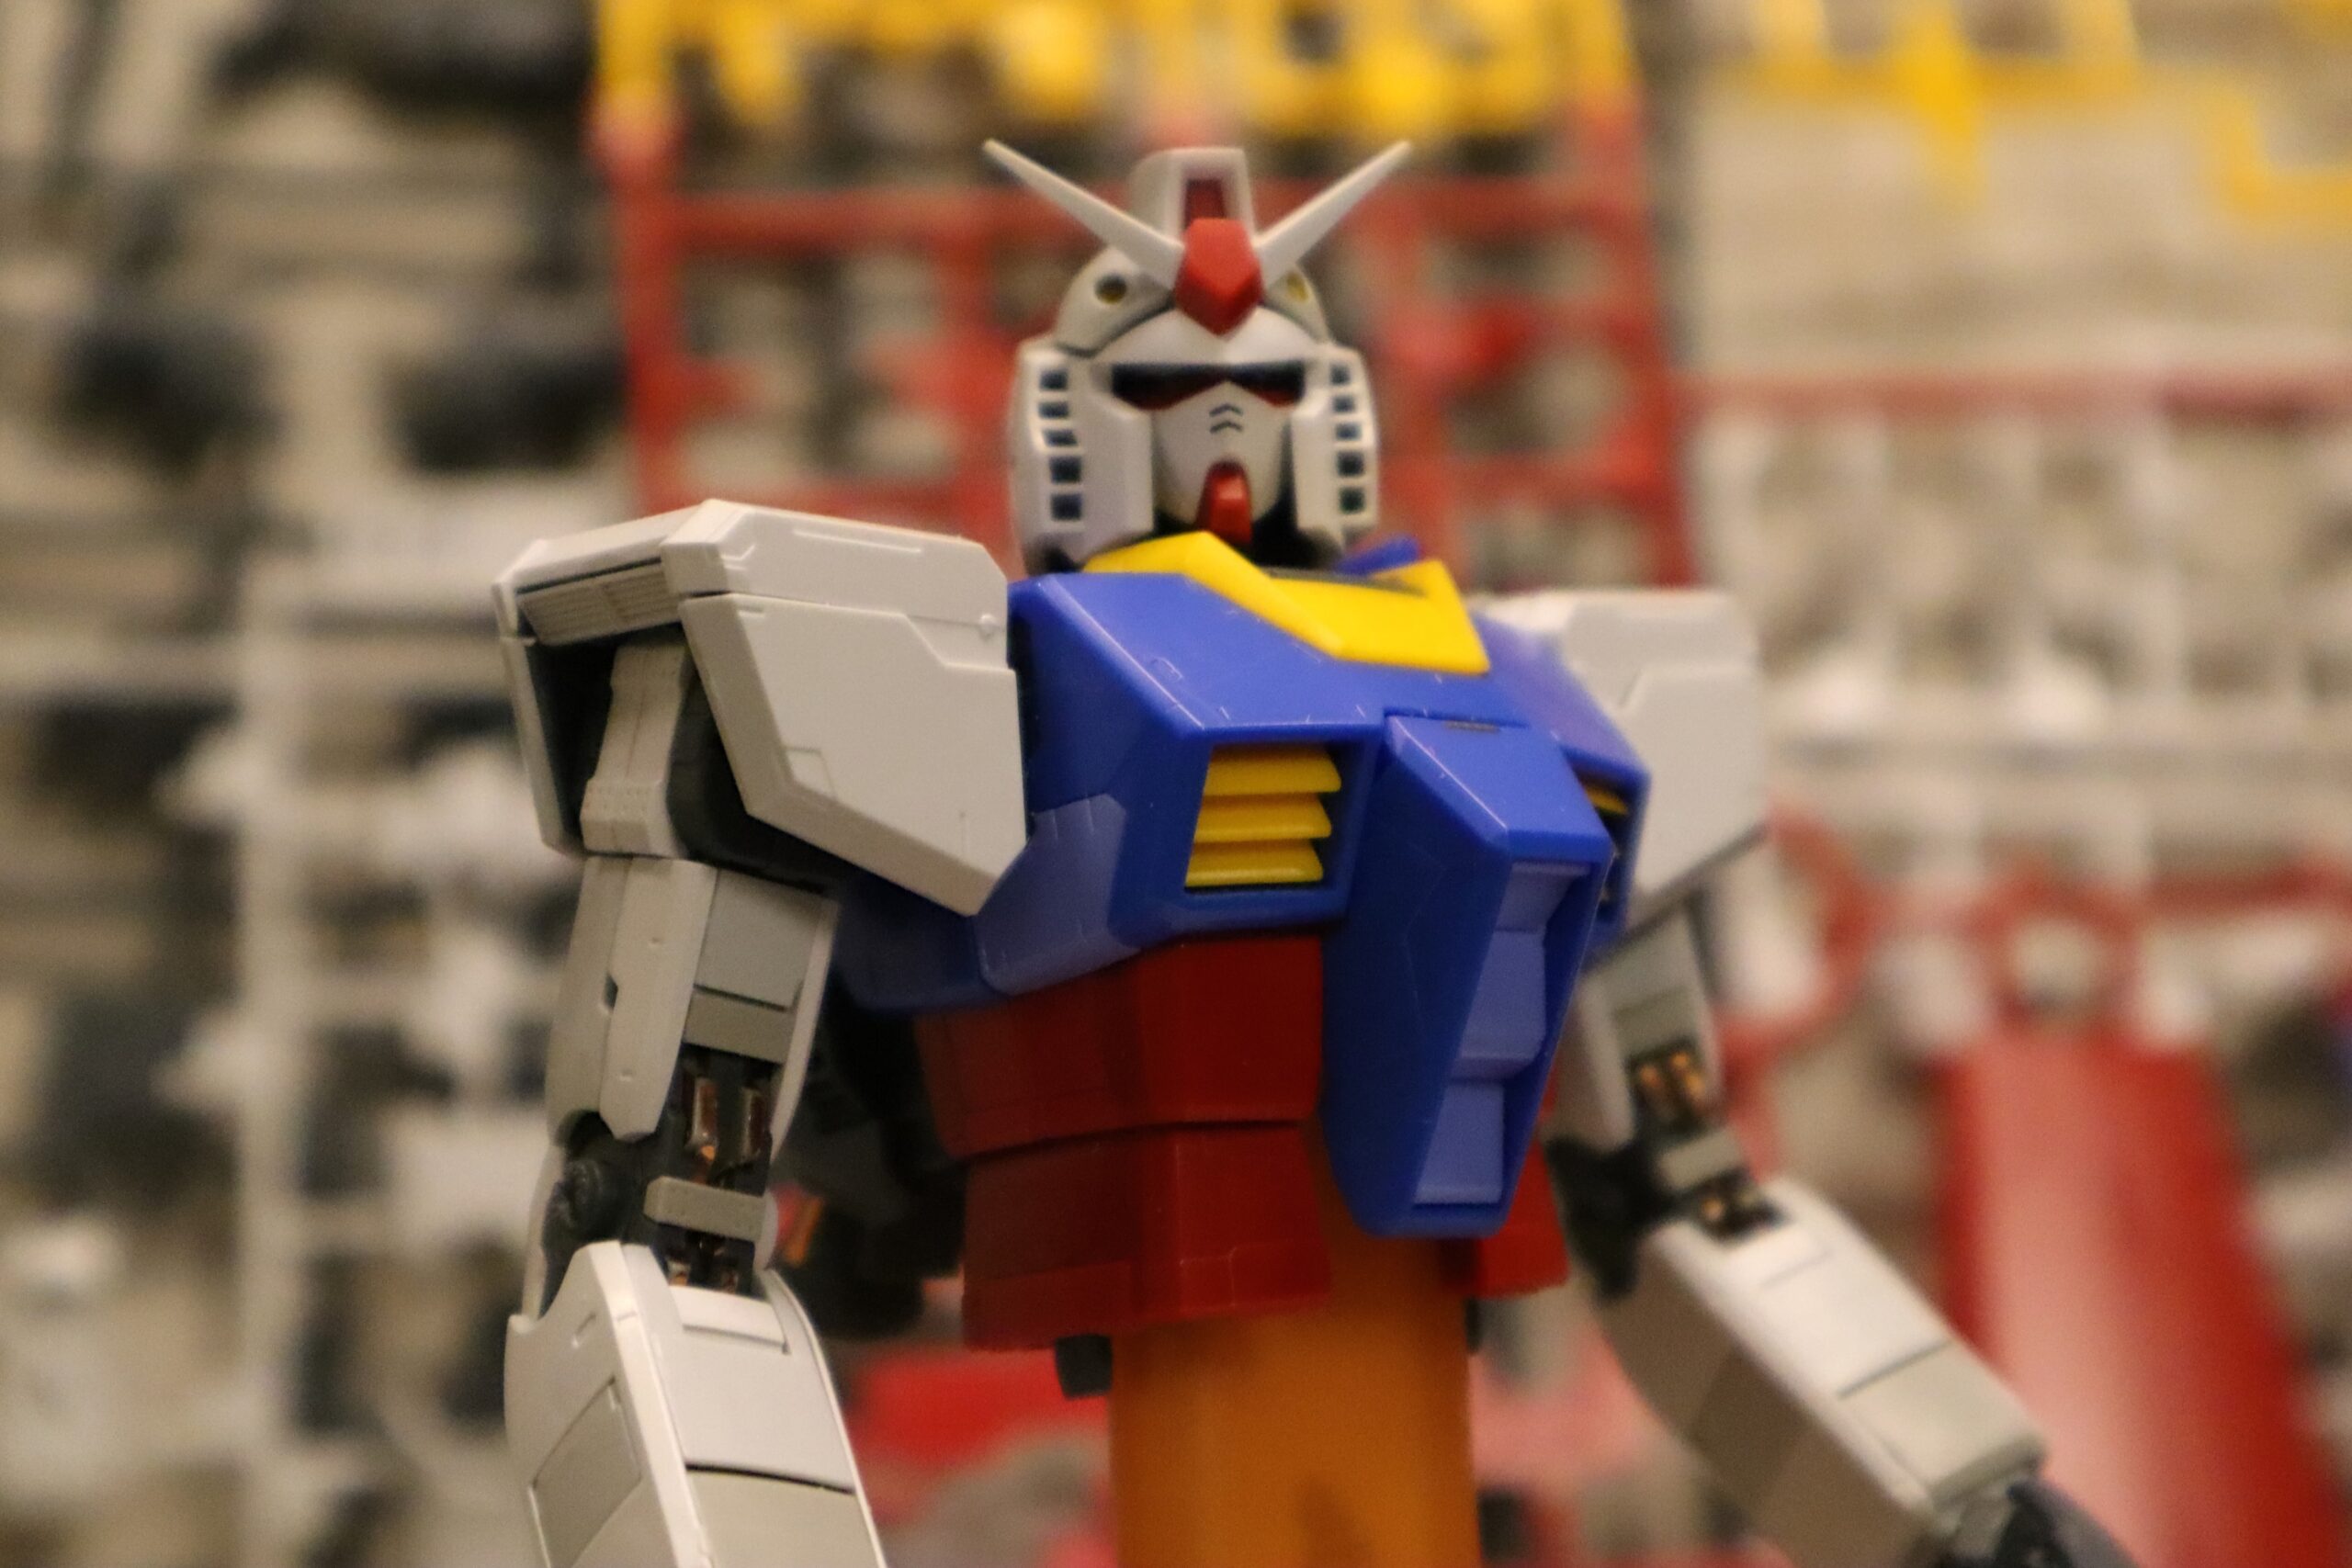
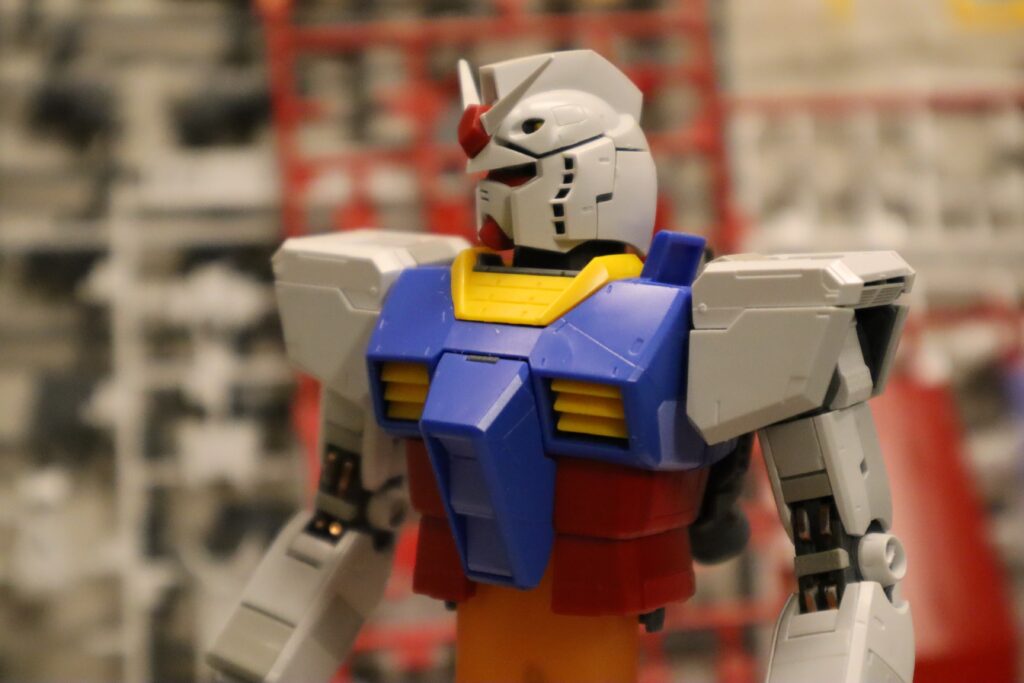
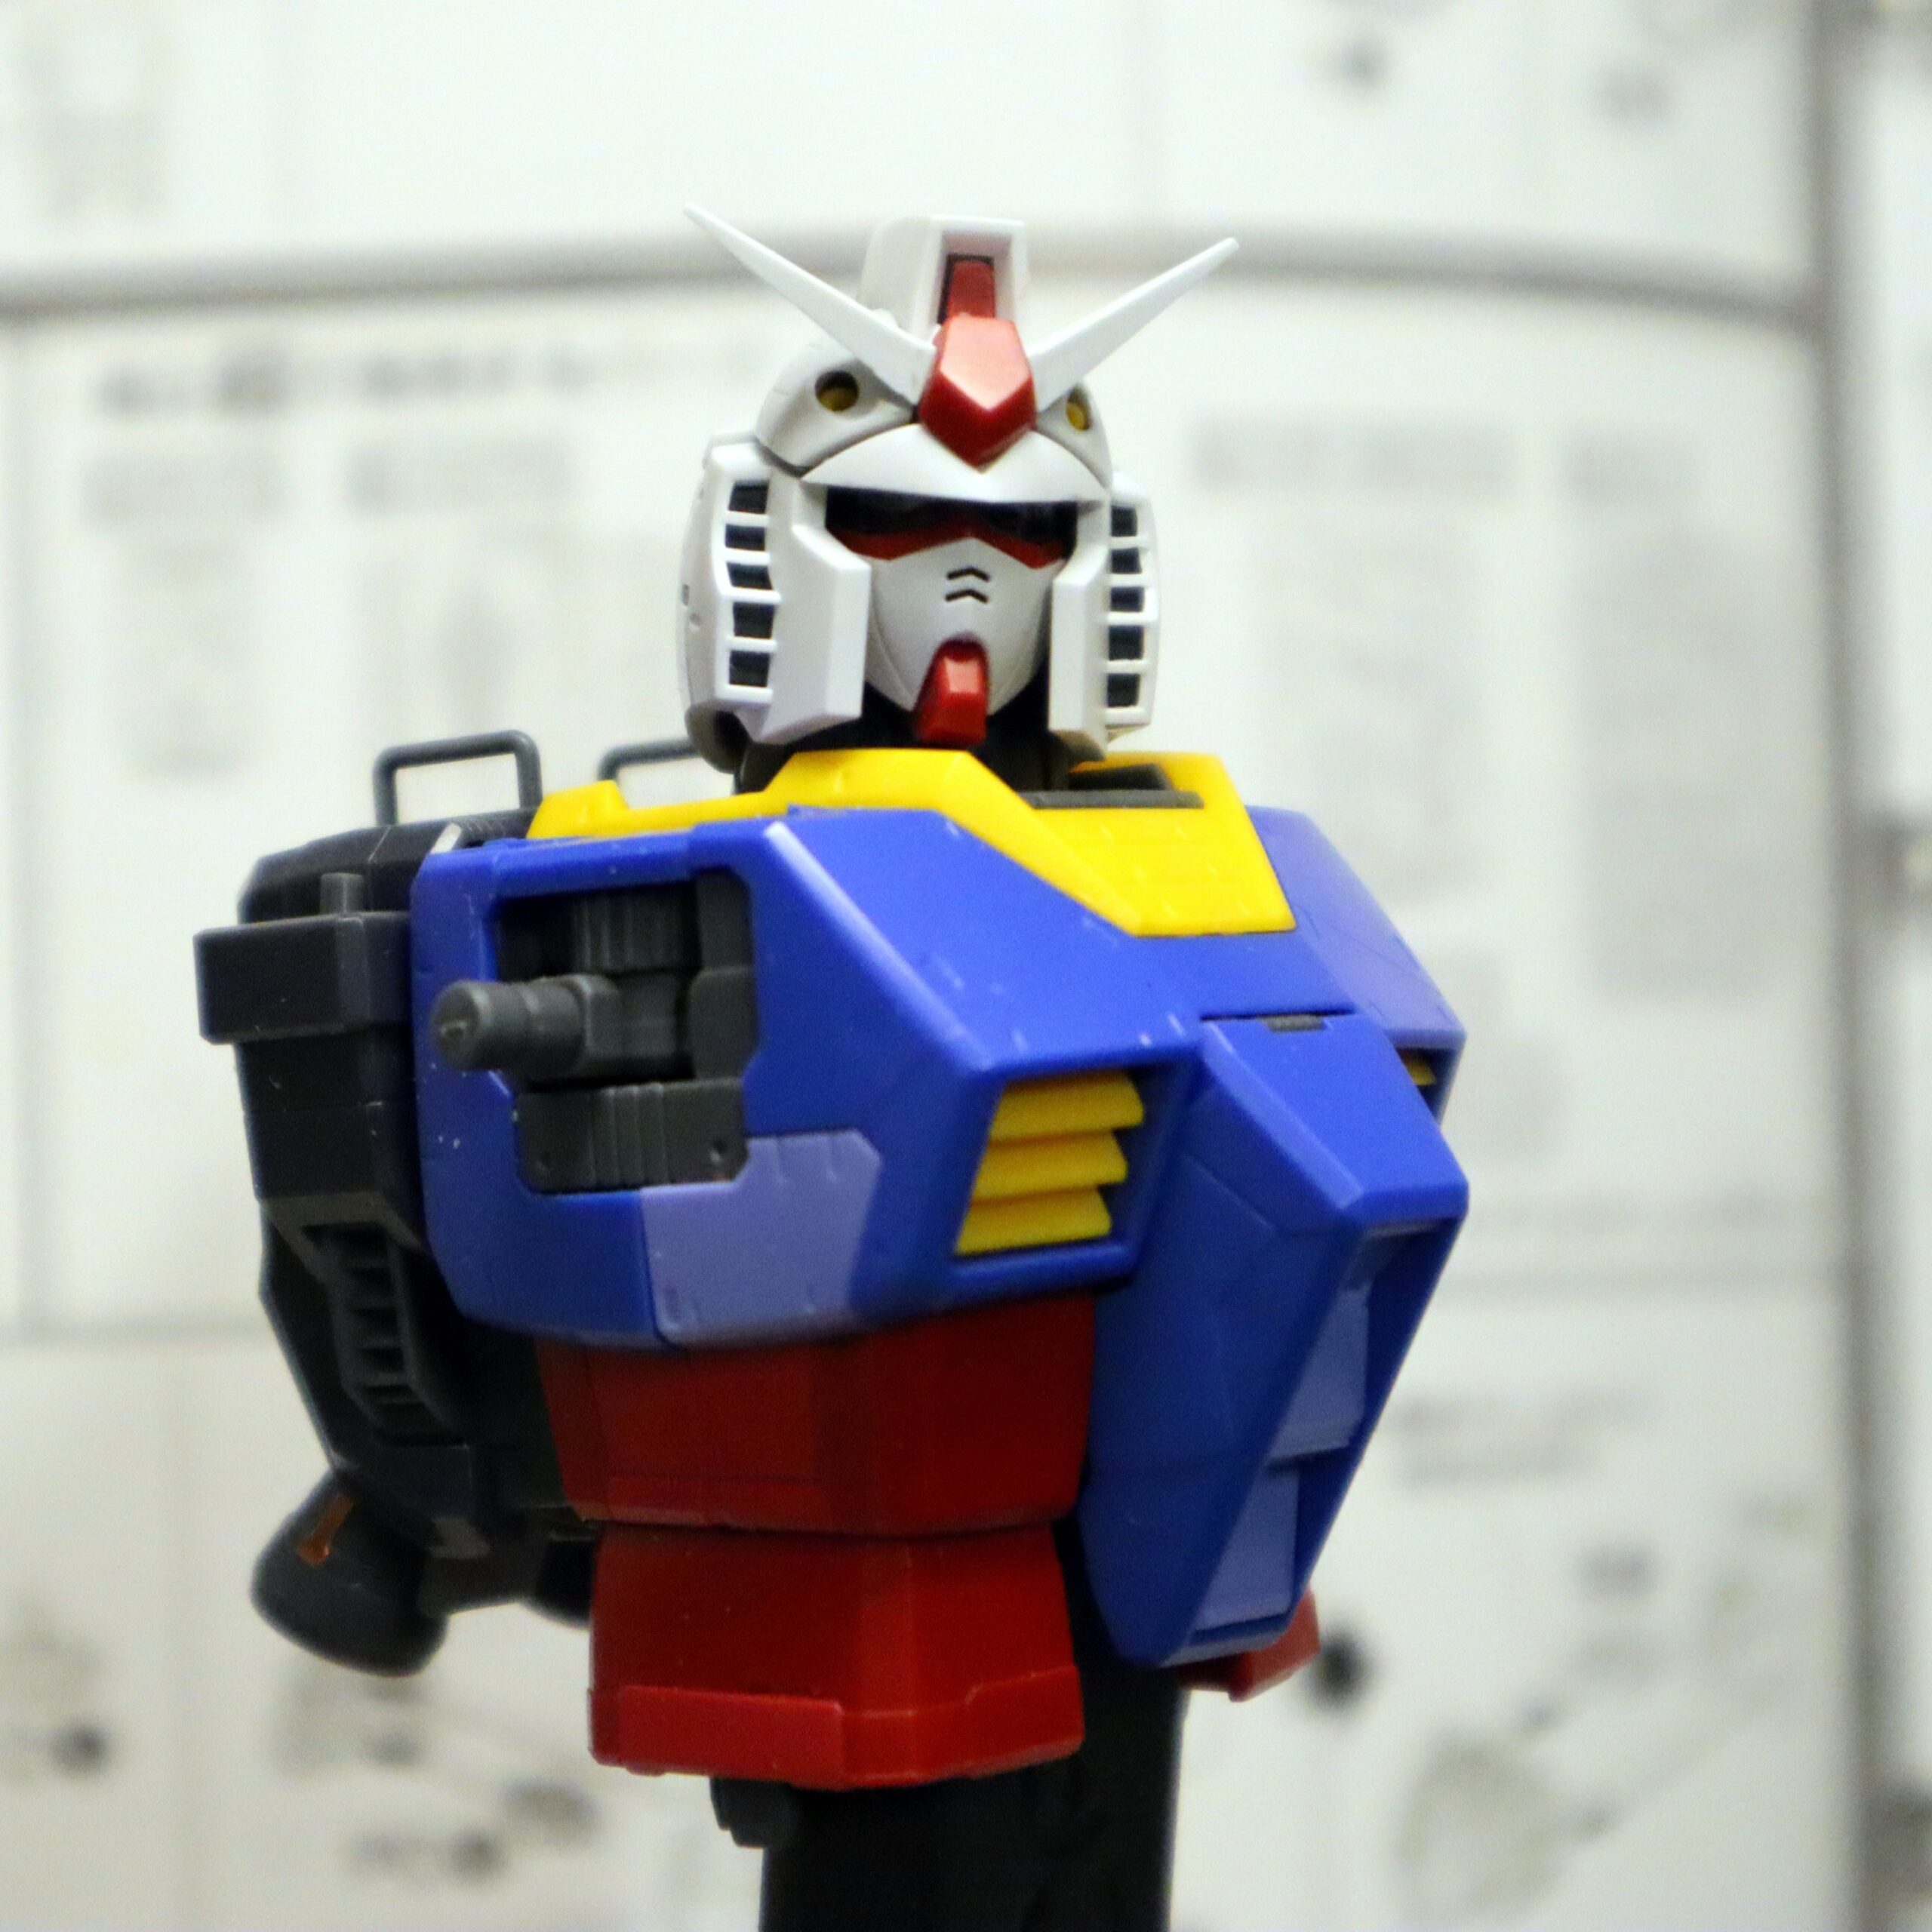
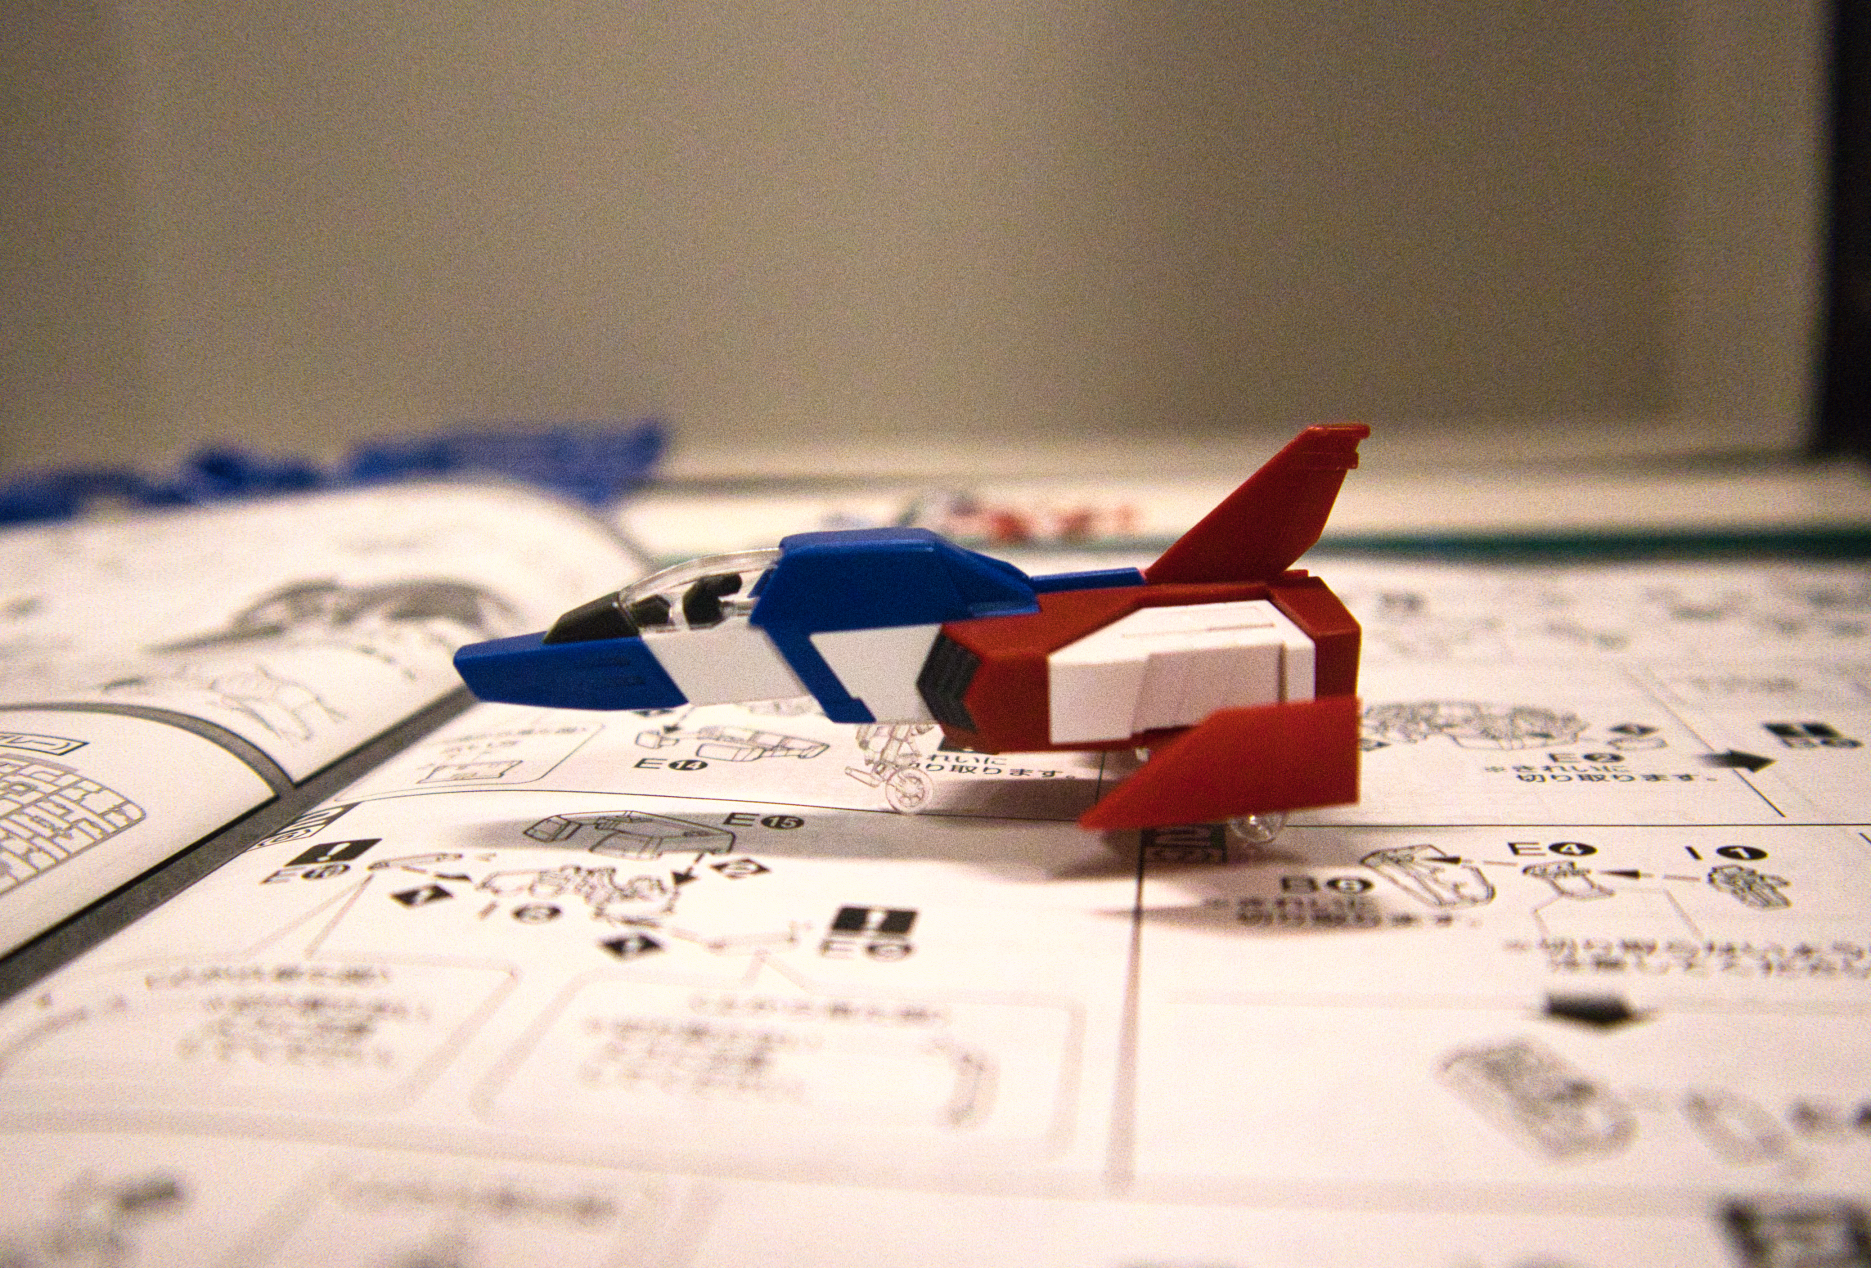
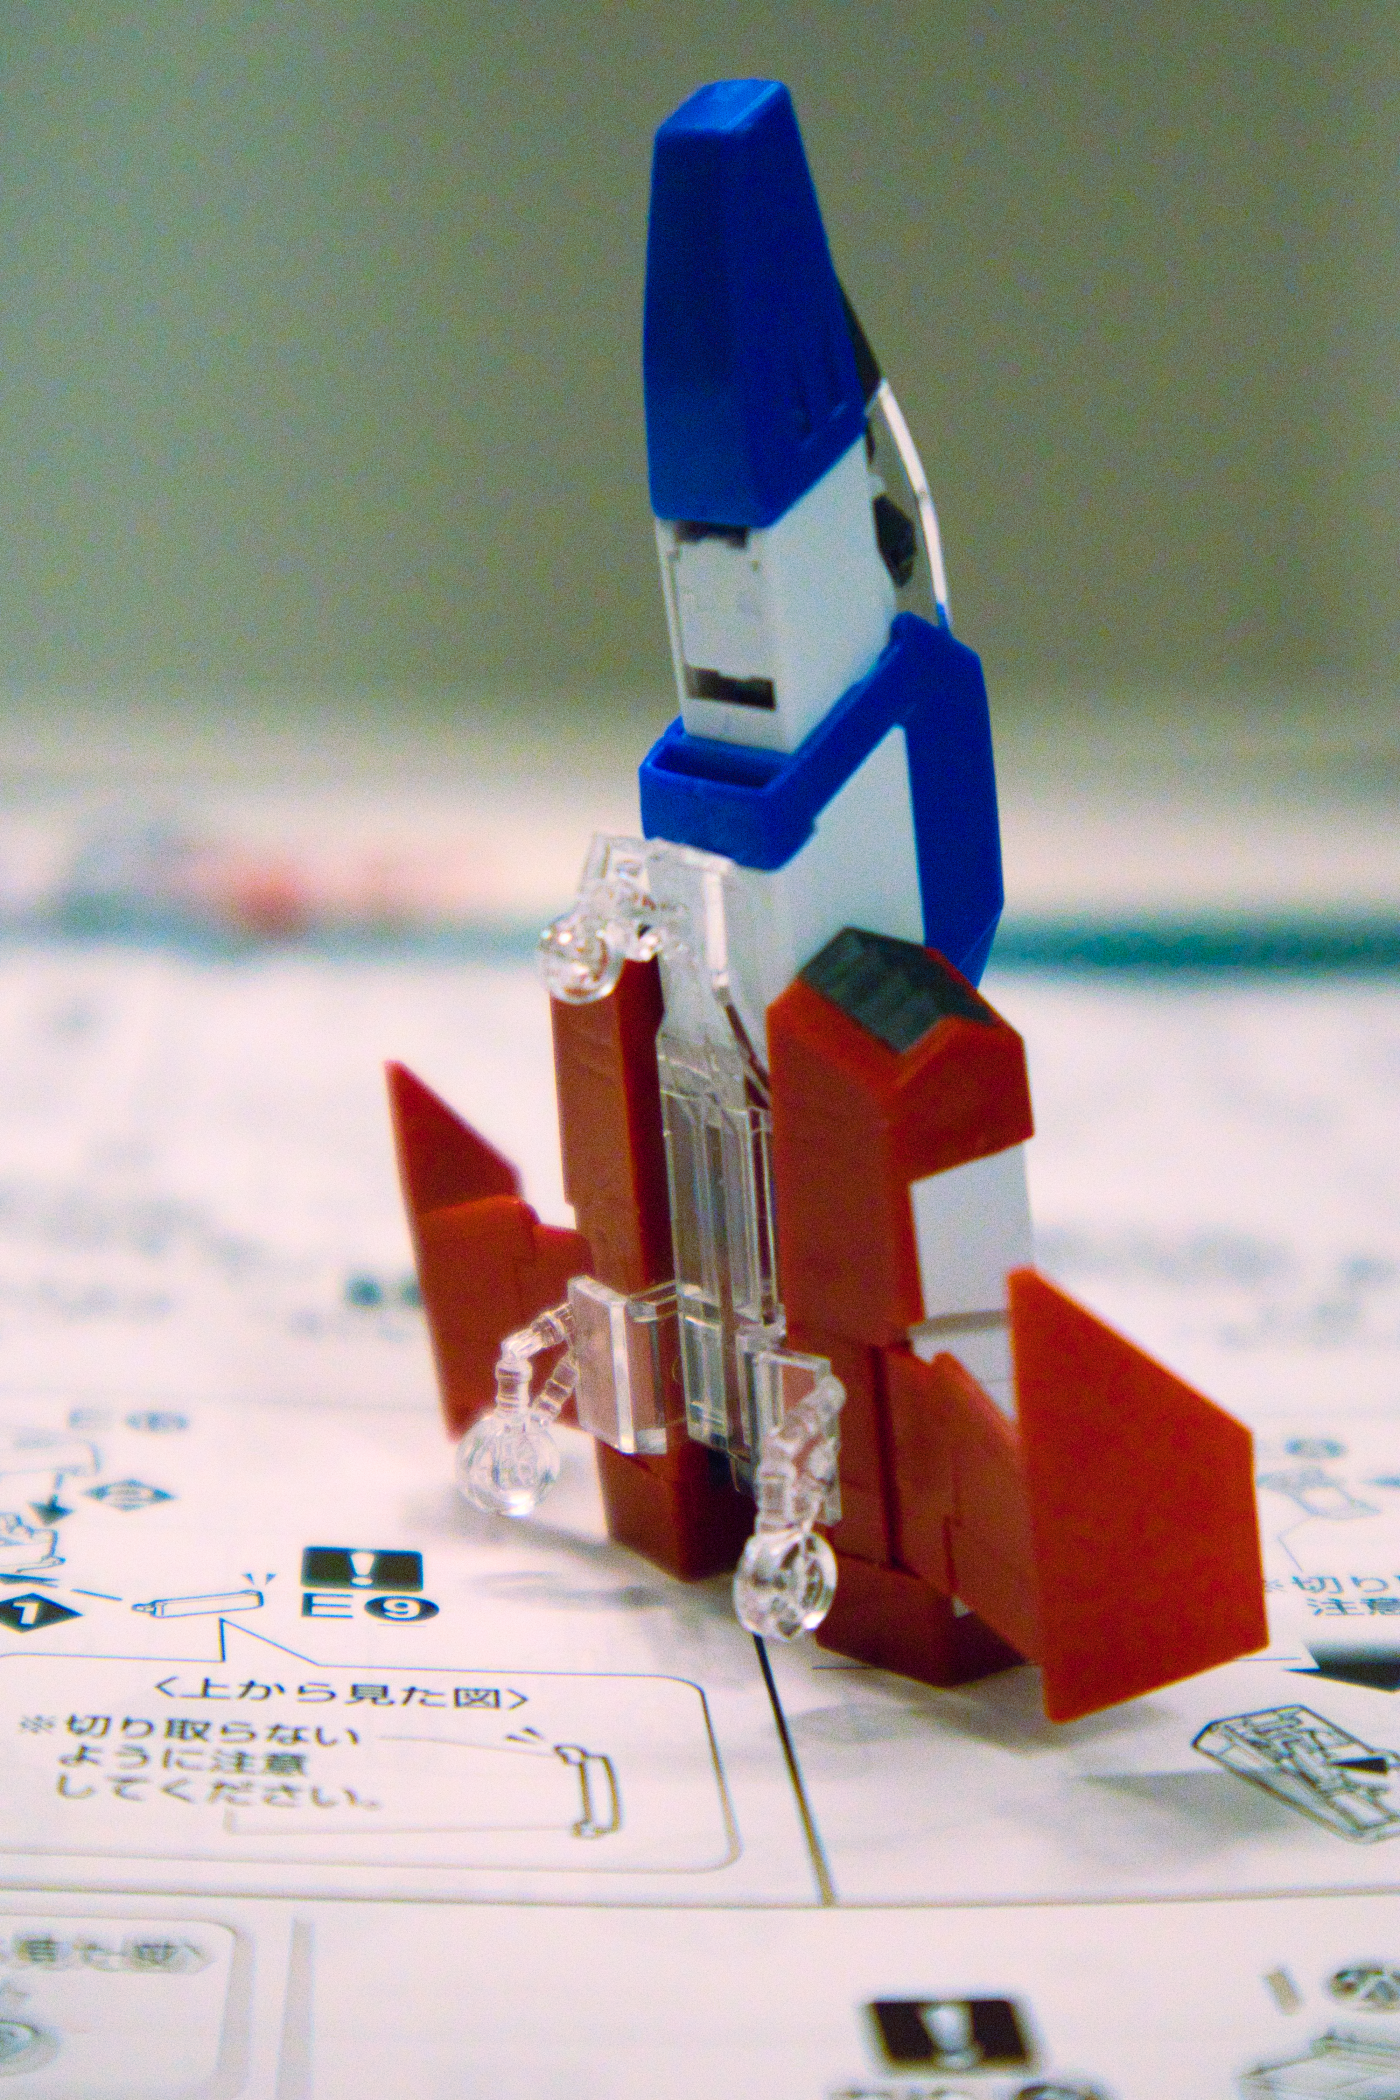
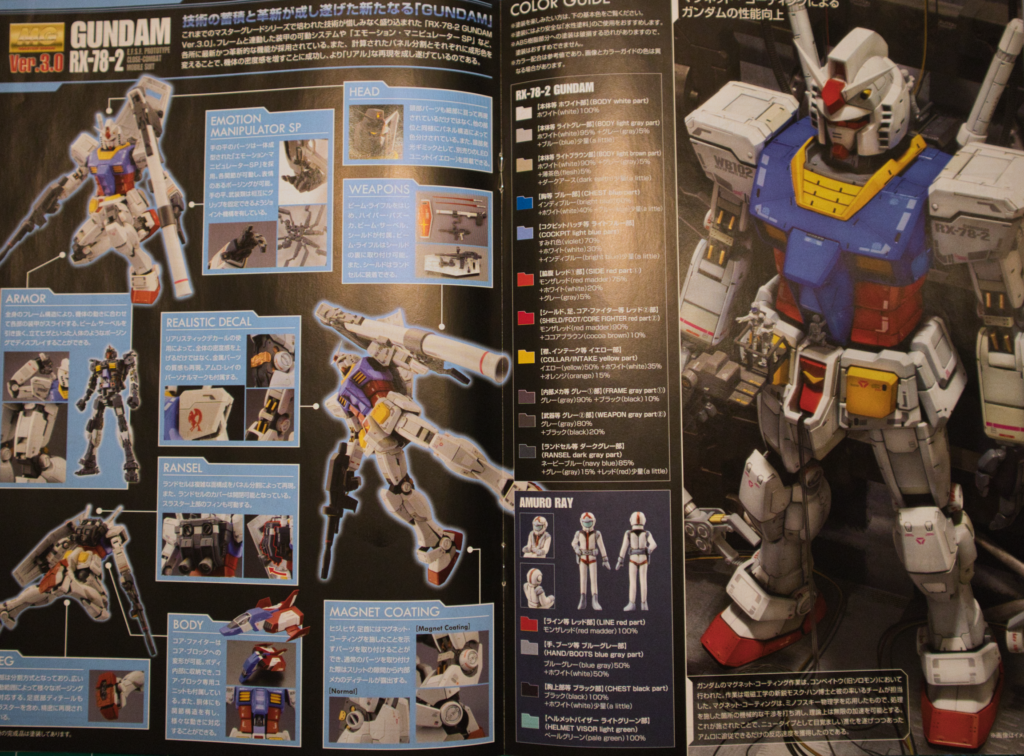
The Gundam is half-complete at this point and after assembling the legs, we’ll pretty much have a complete mech sans weaponry.

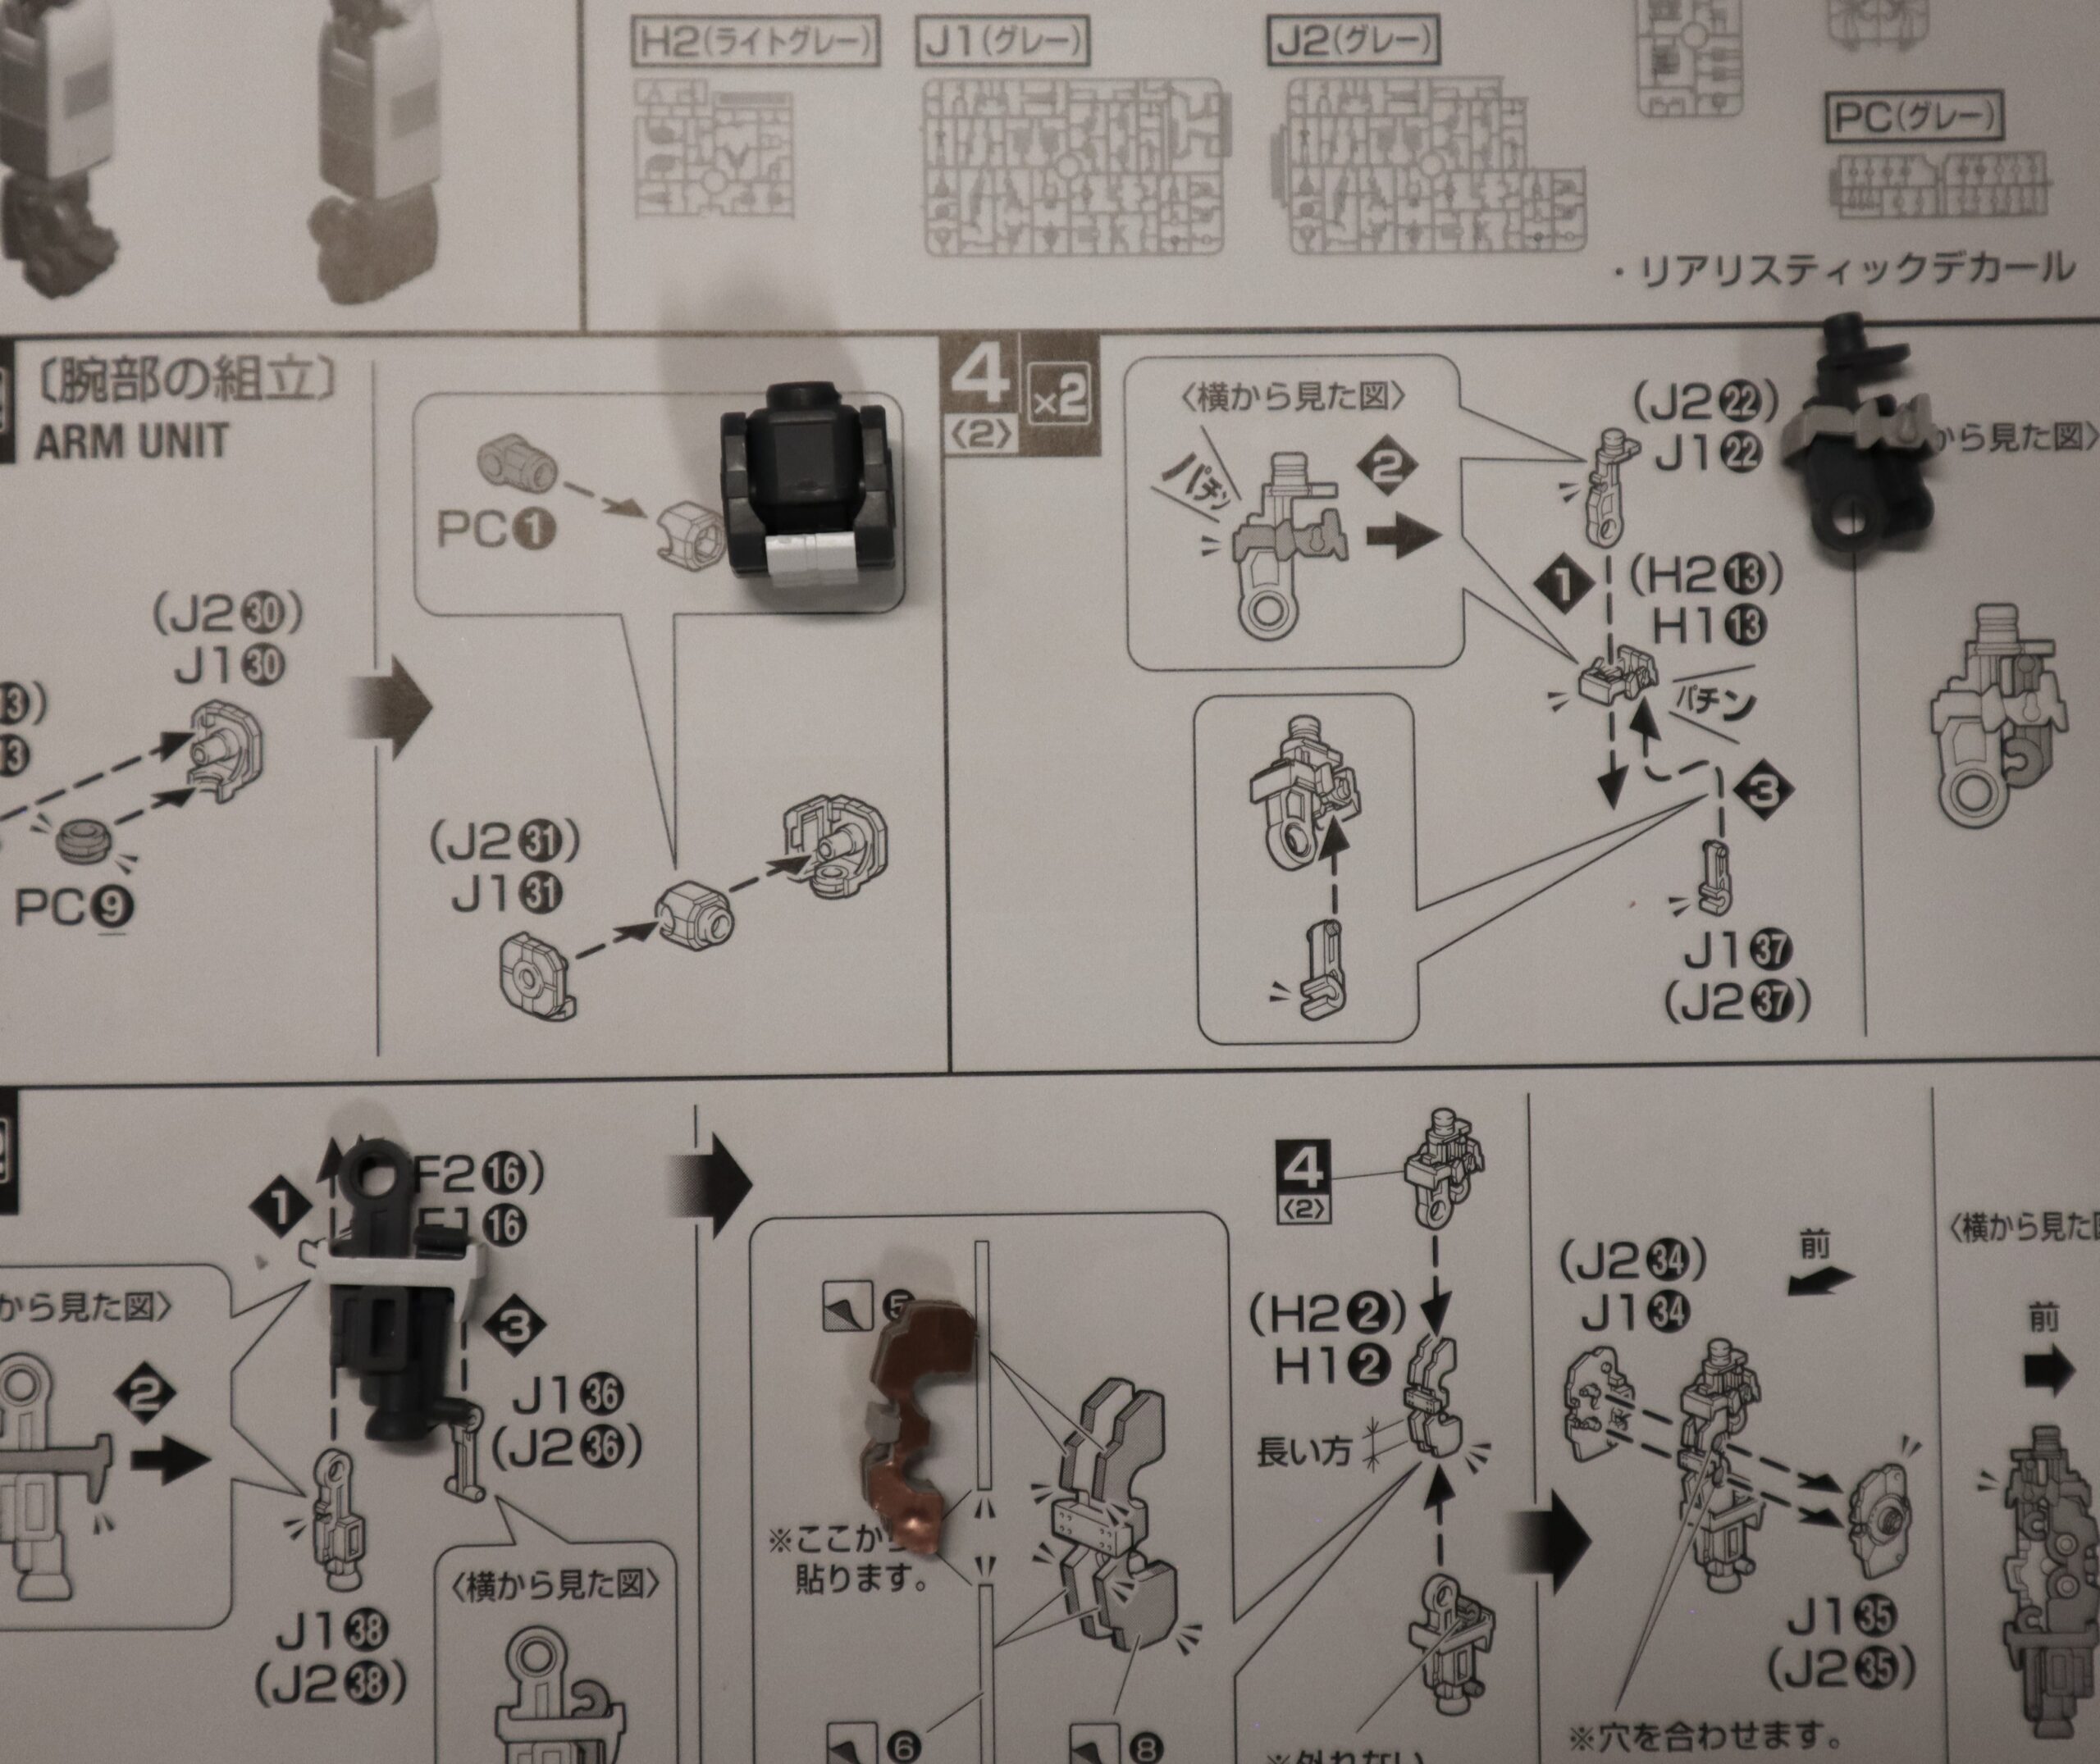
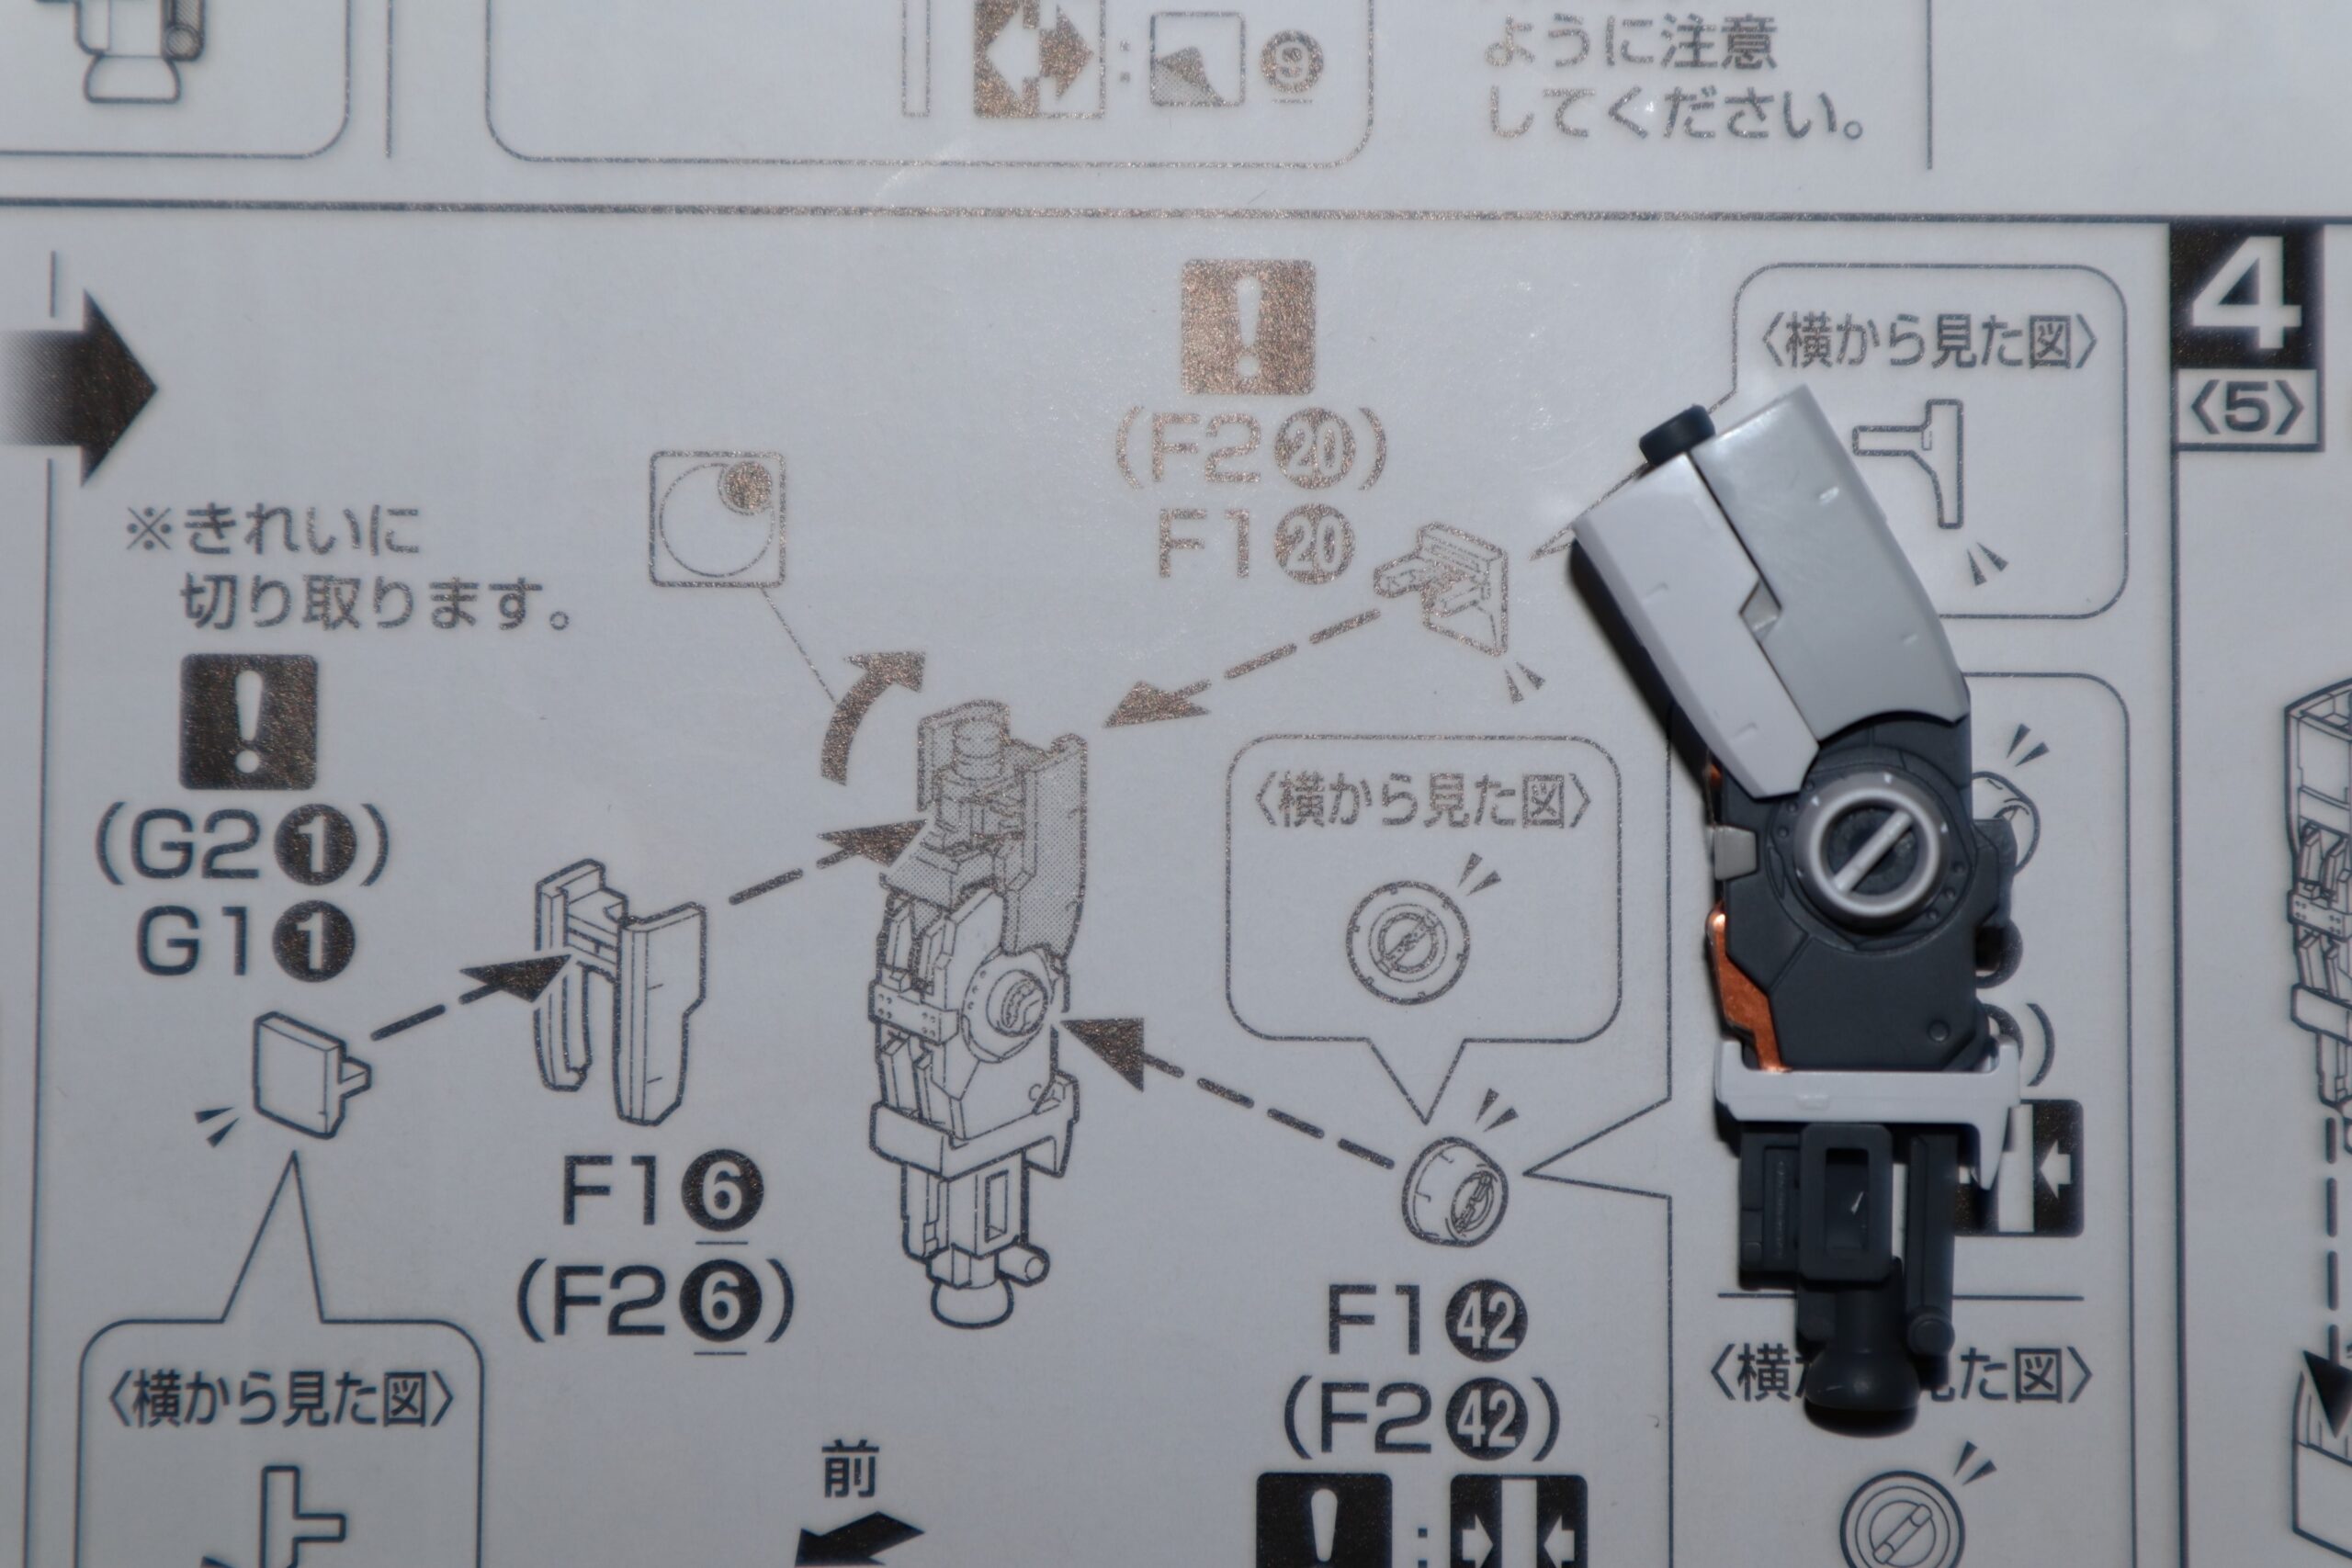
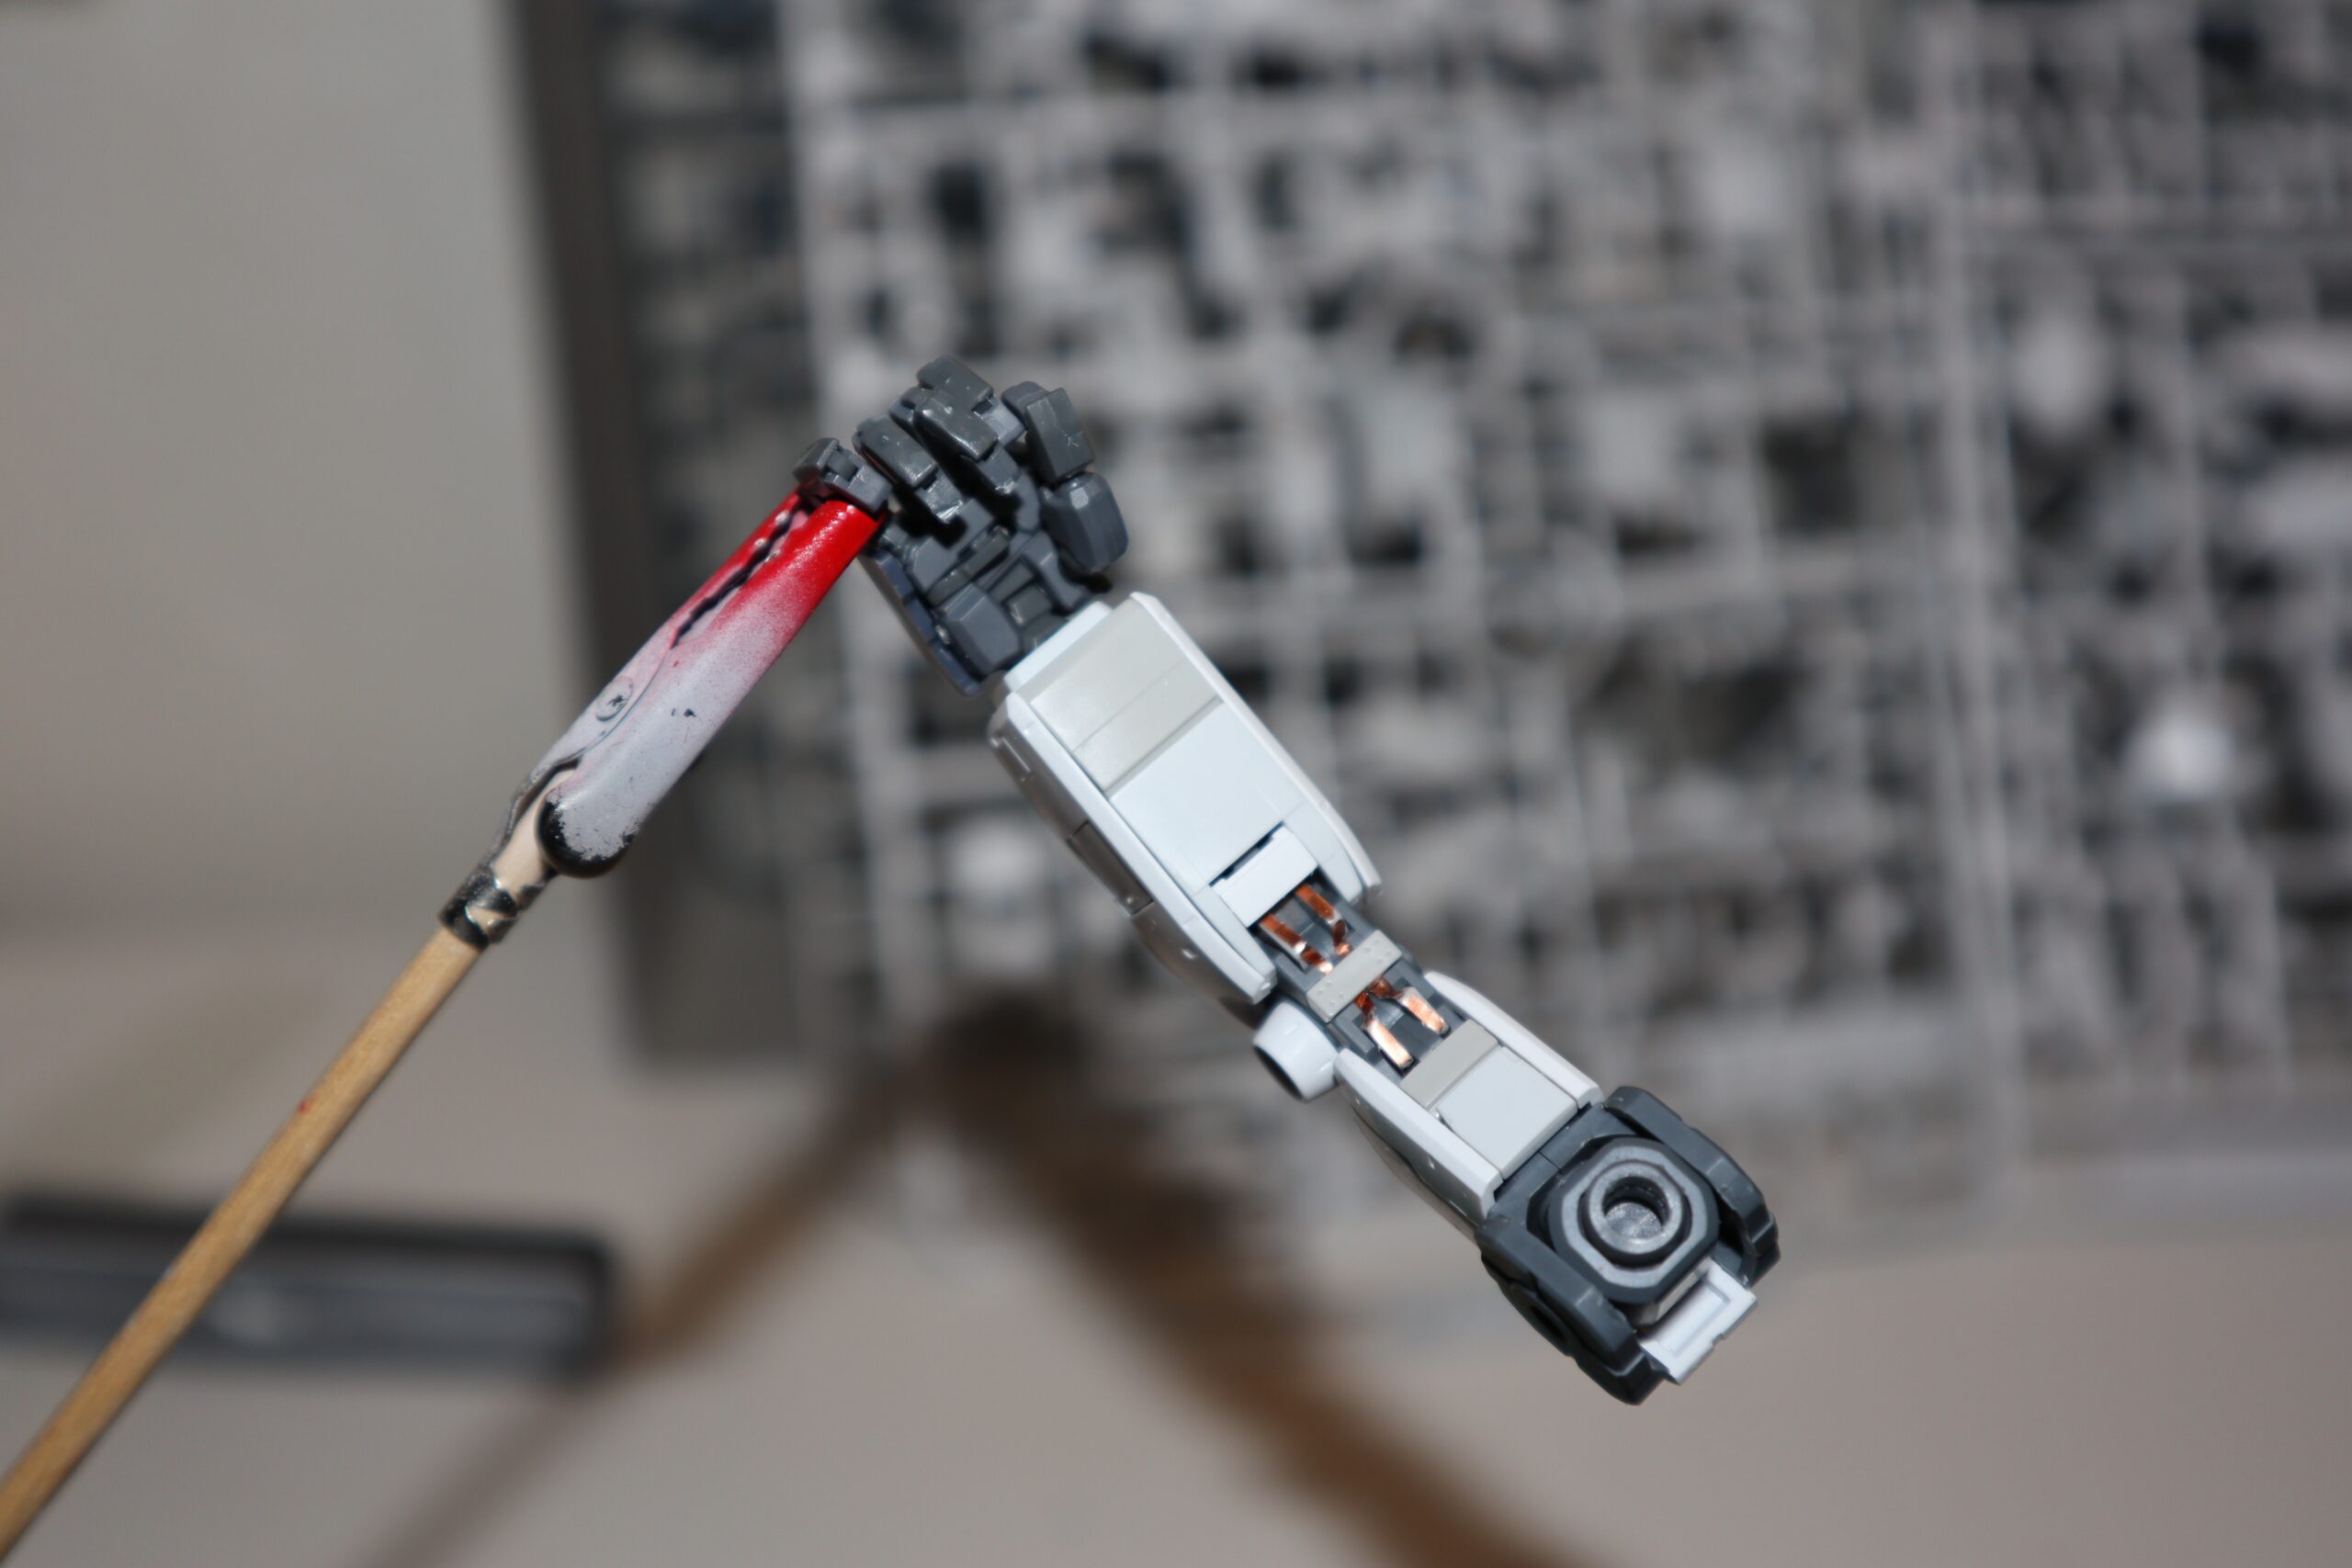
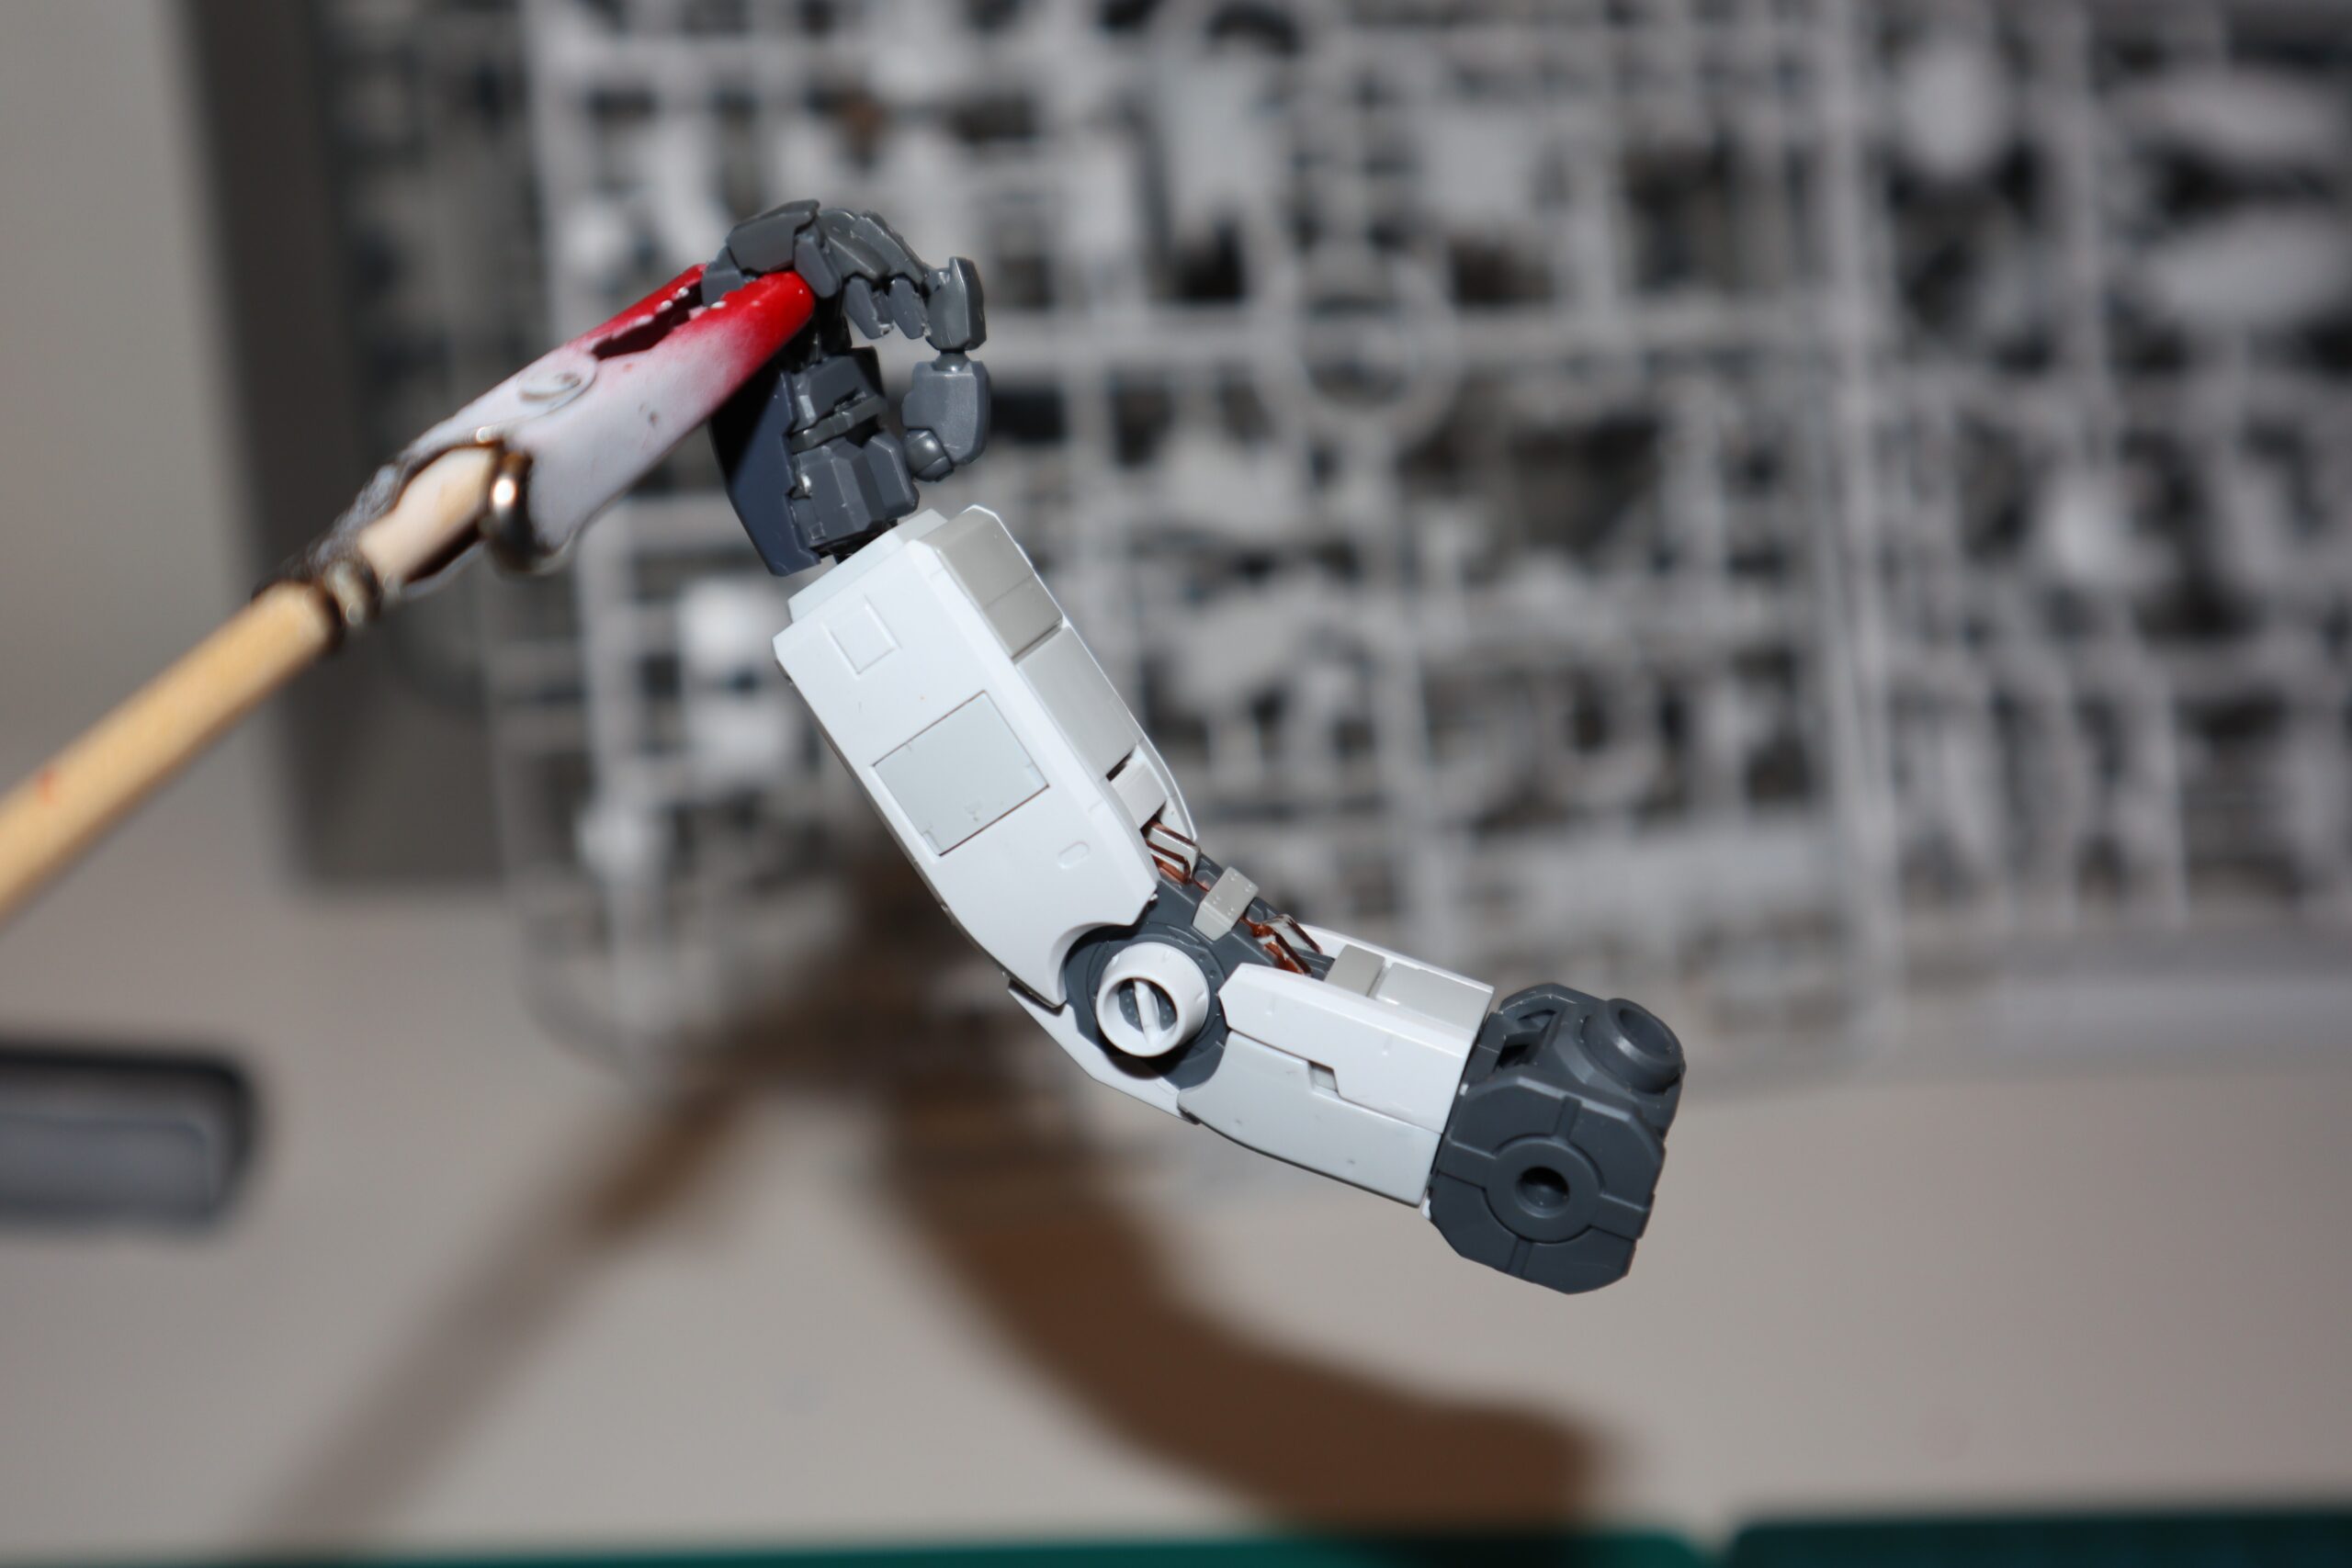
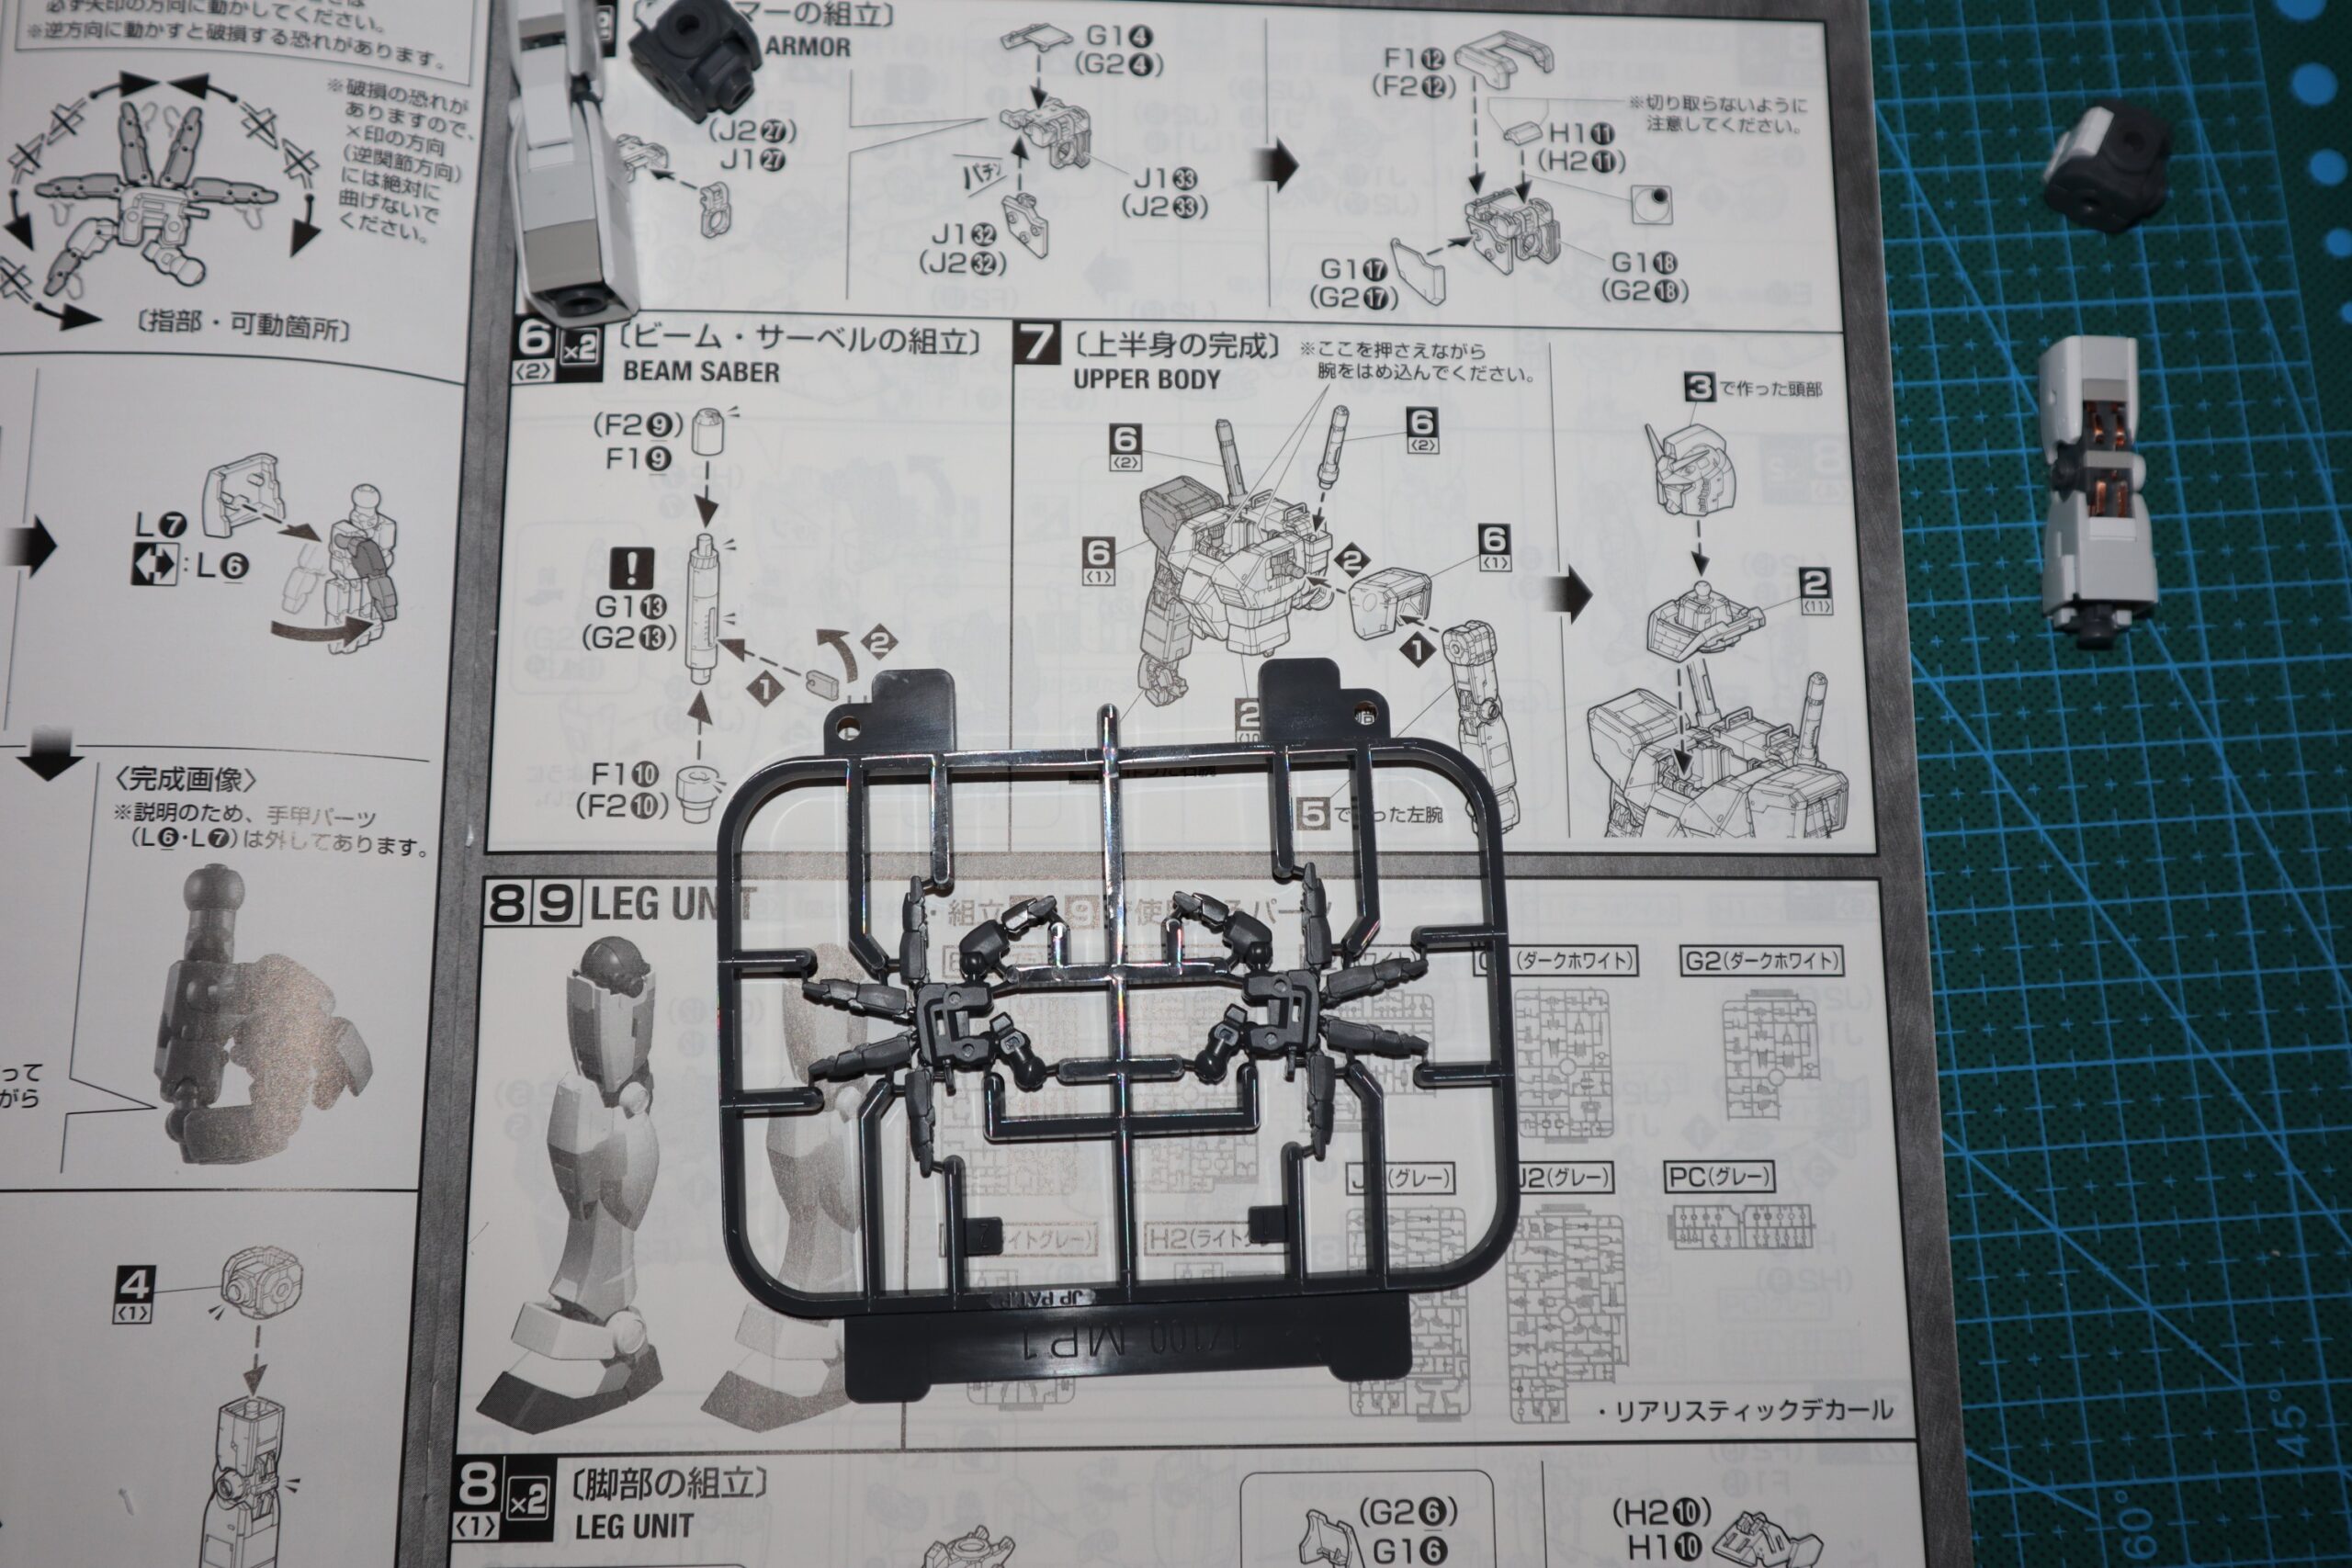
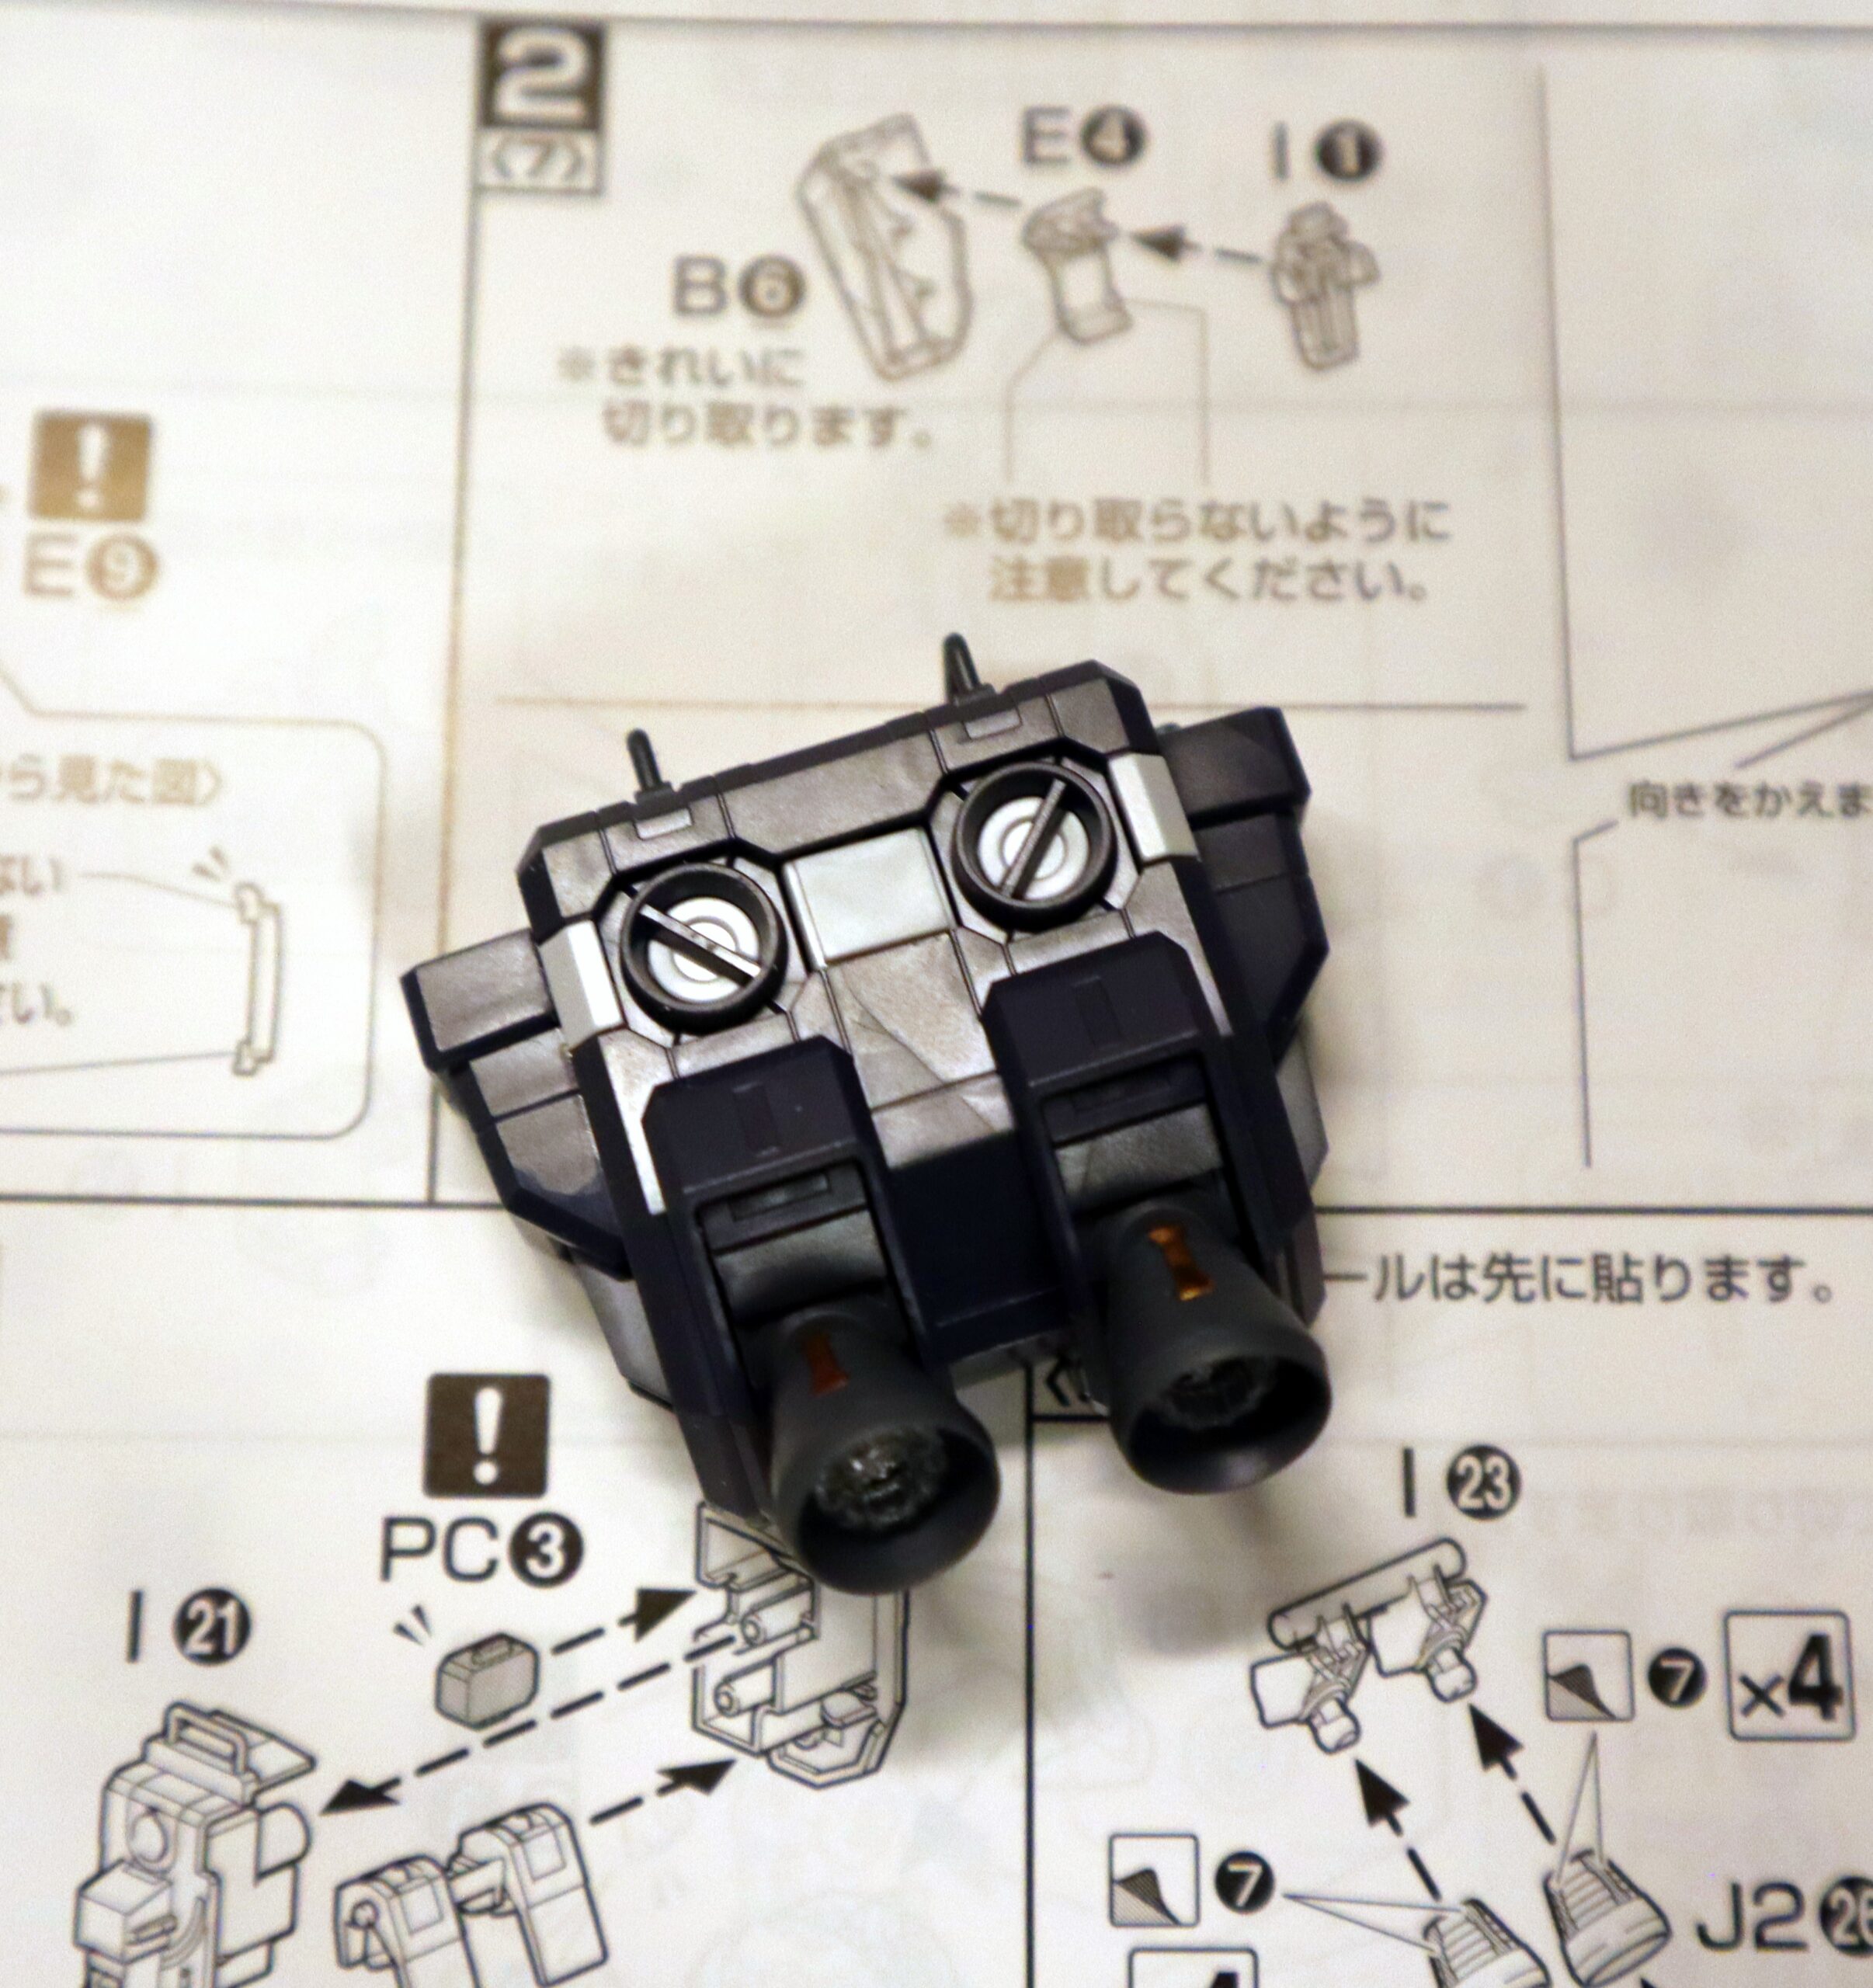
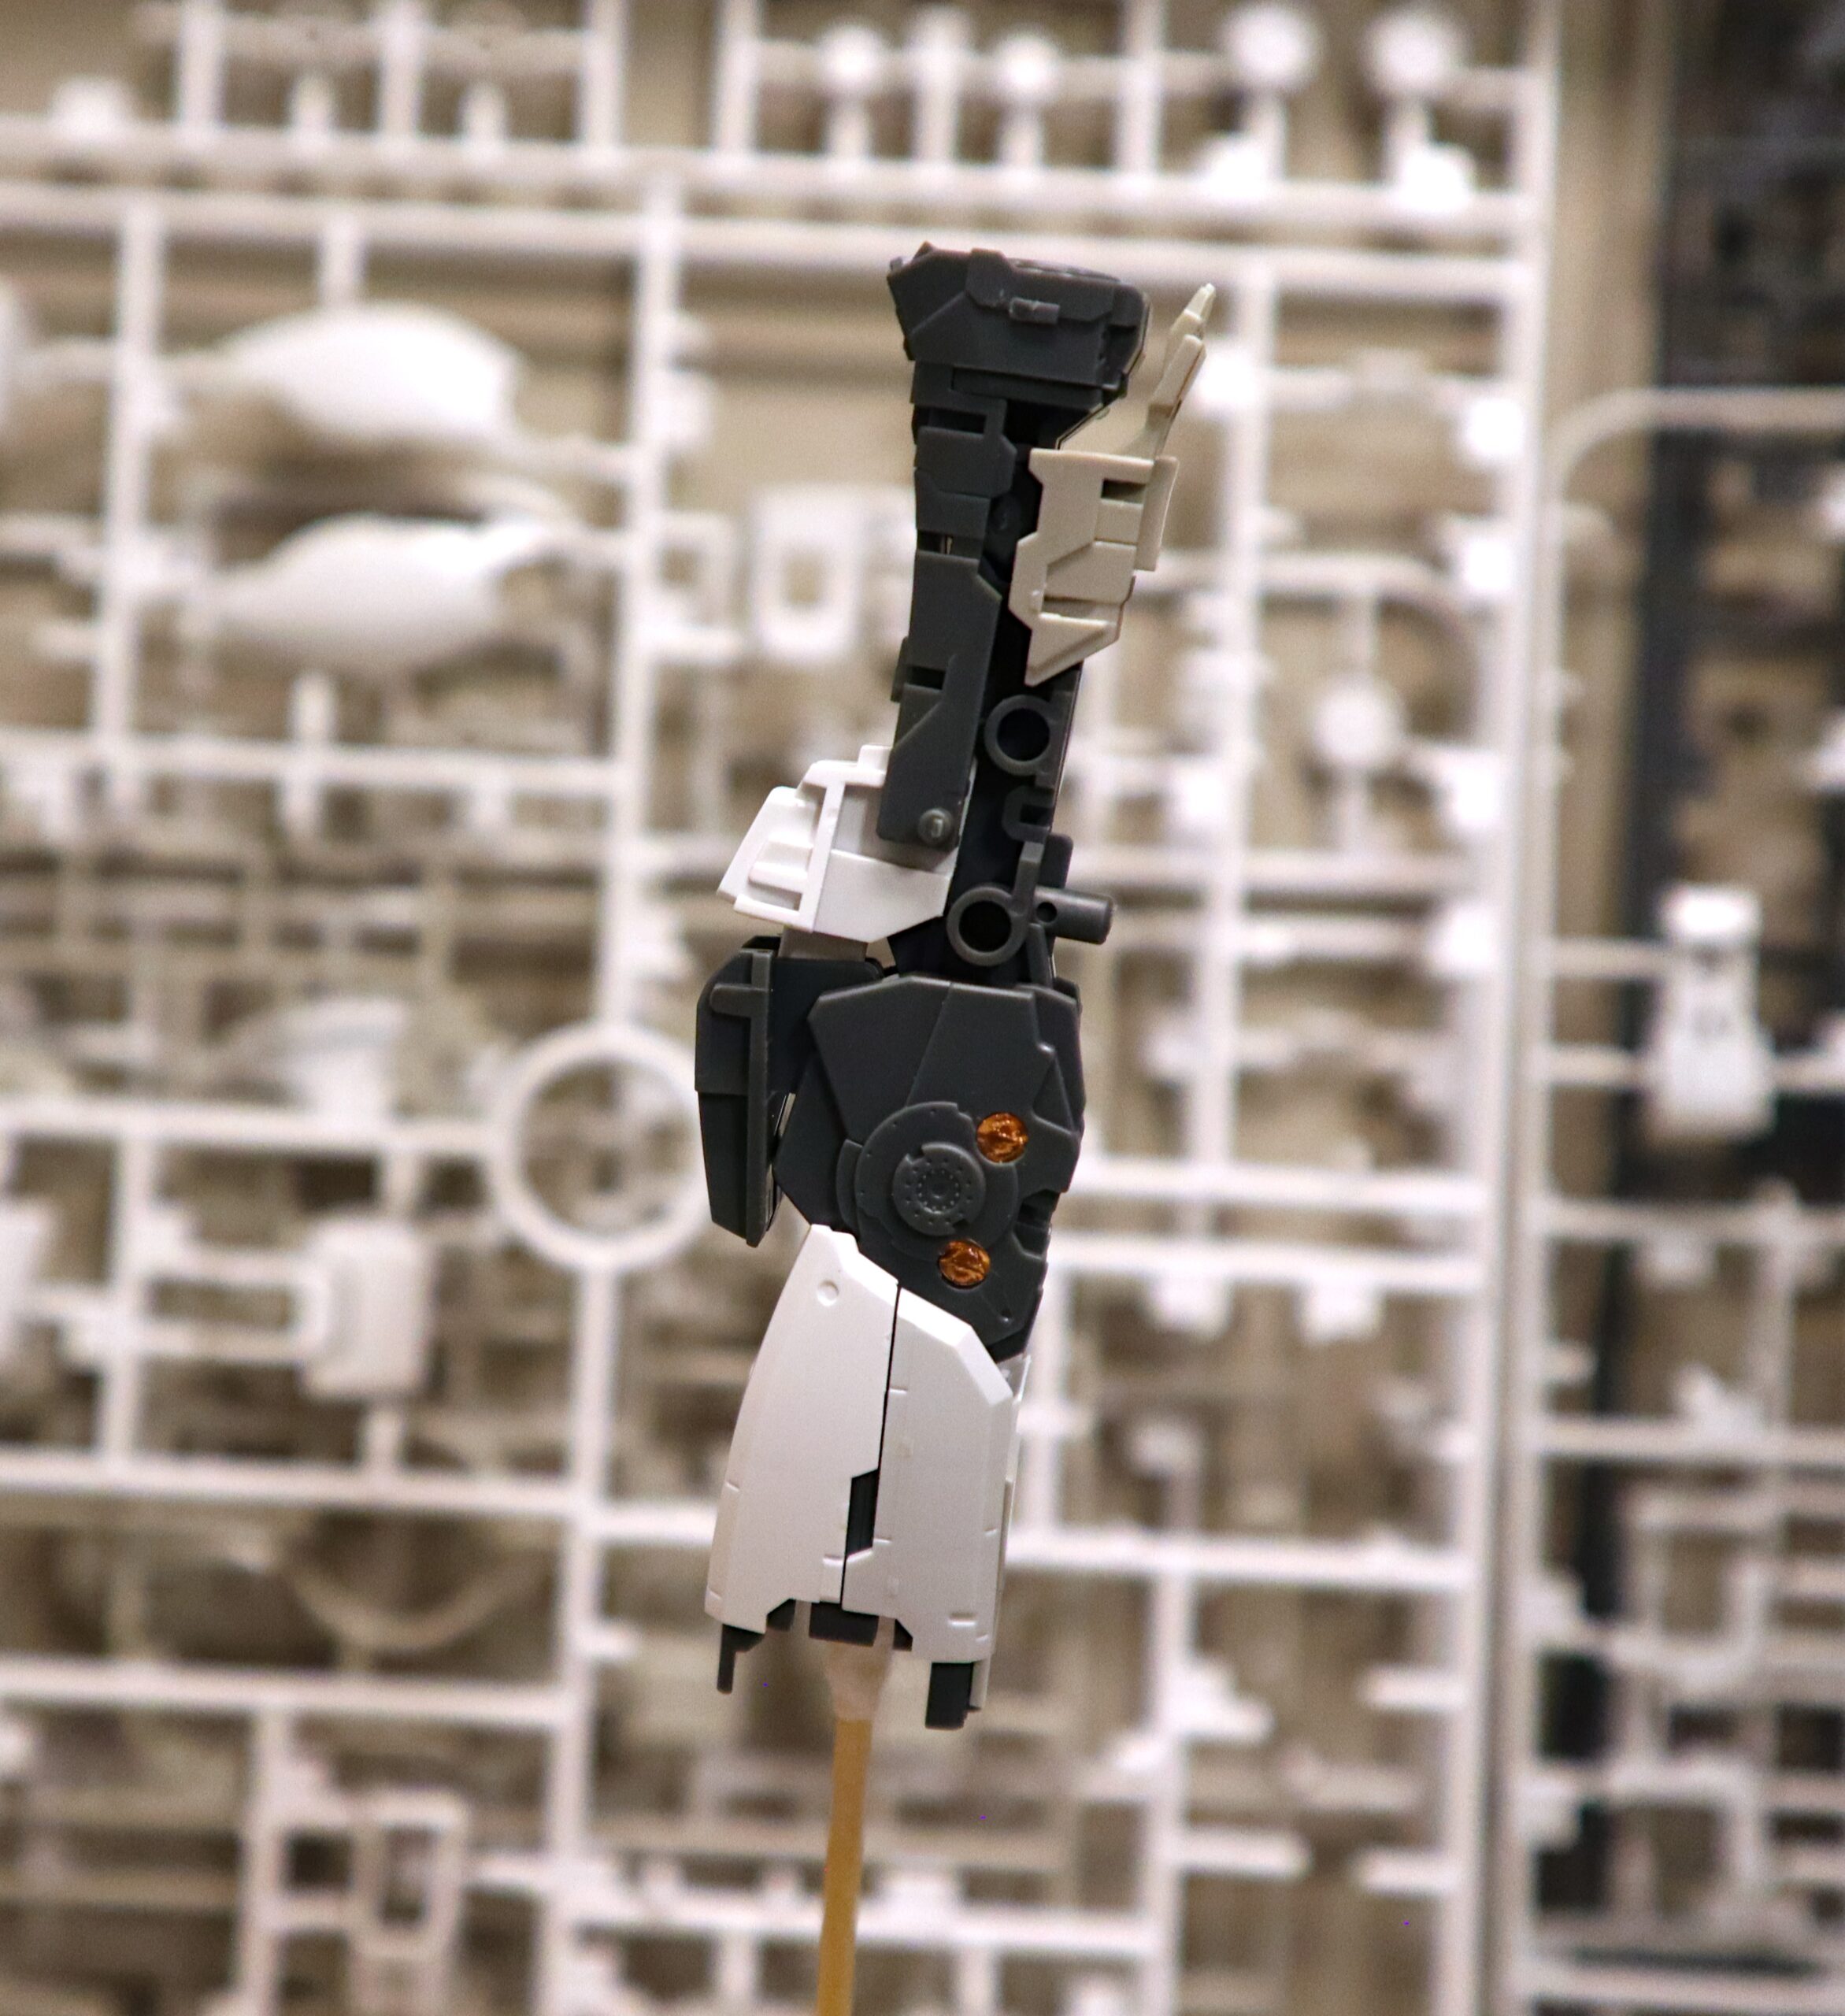
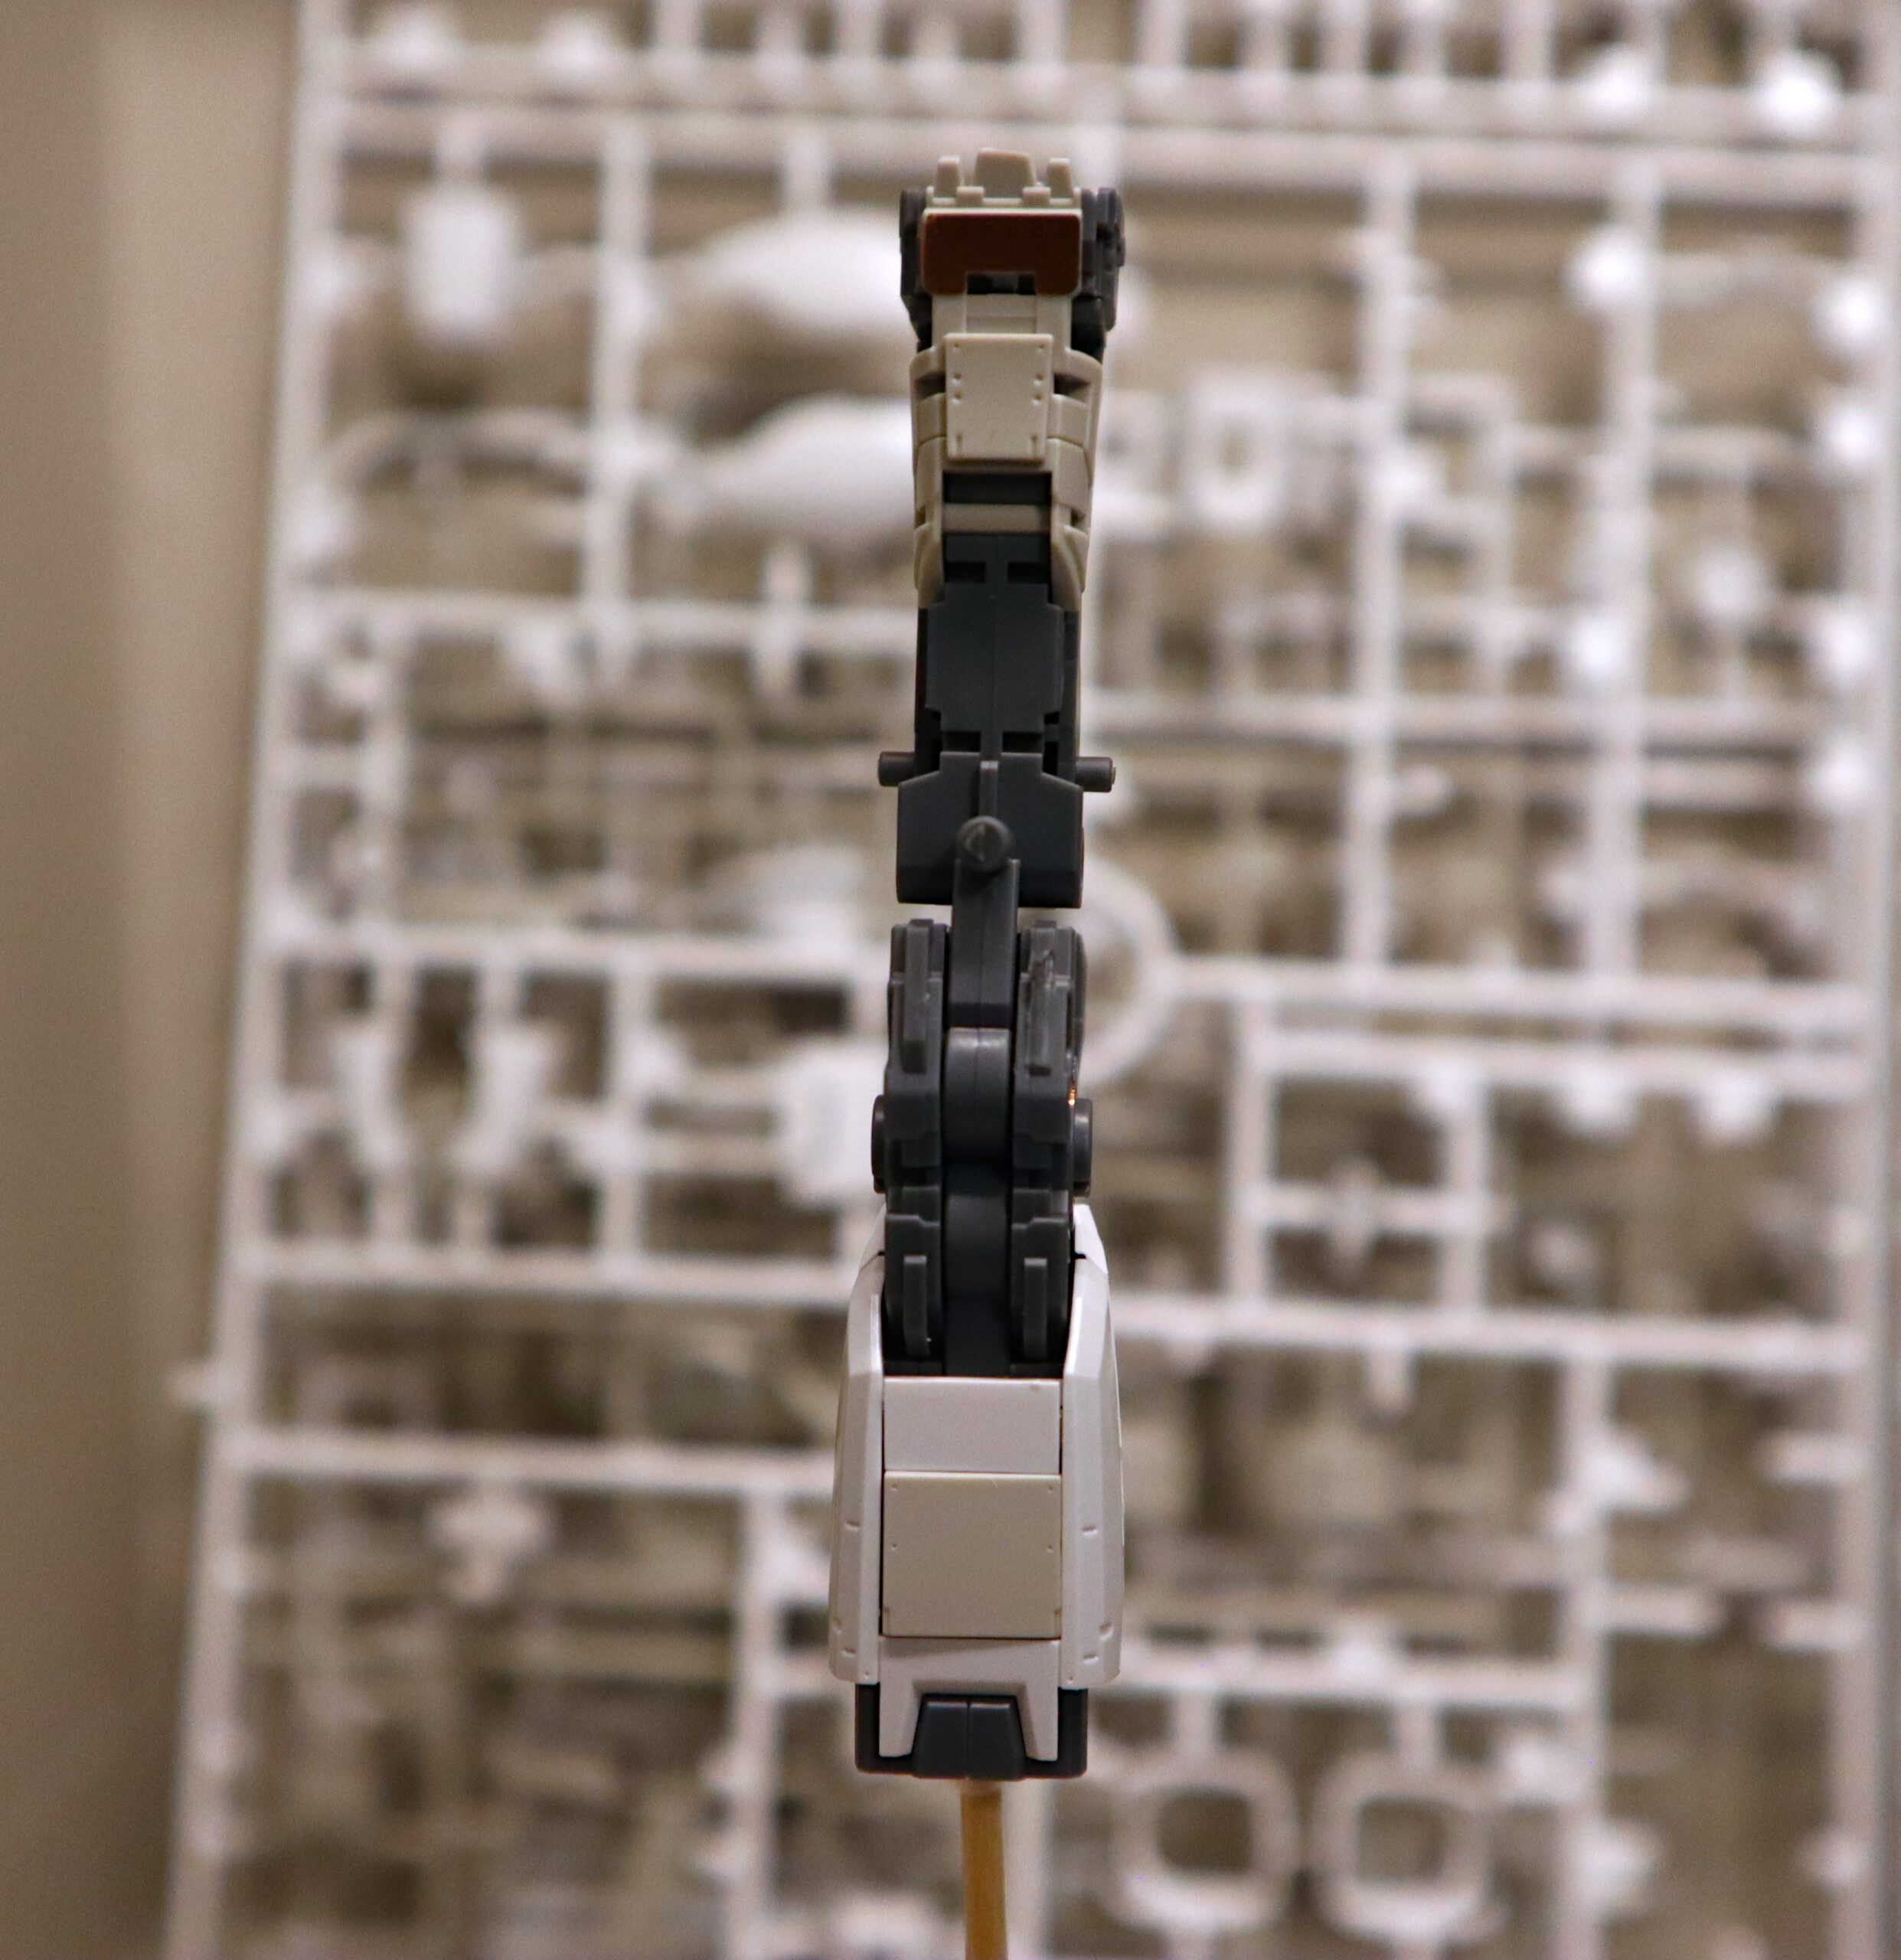
Like most Master Grades, the legs use an inner black plastic frame that are assembled in two halves. They also feature a few hinky things here and there that’ll leave you staring at the instructions and scratching your head to figure out how these pieces really go together.

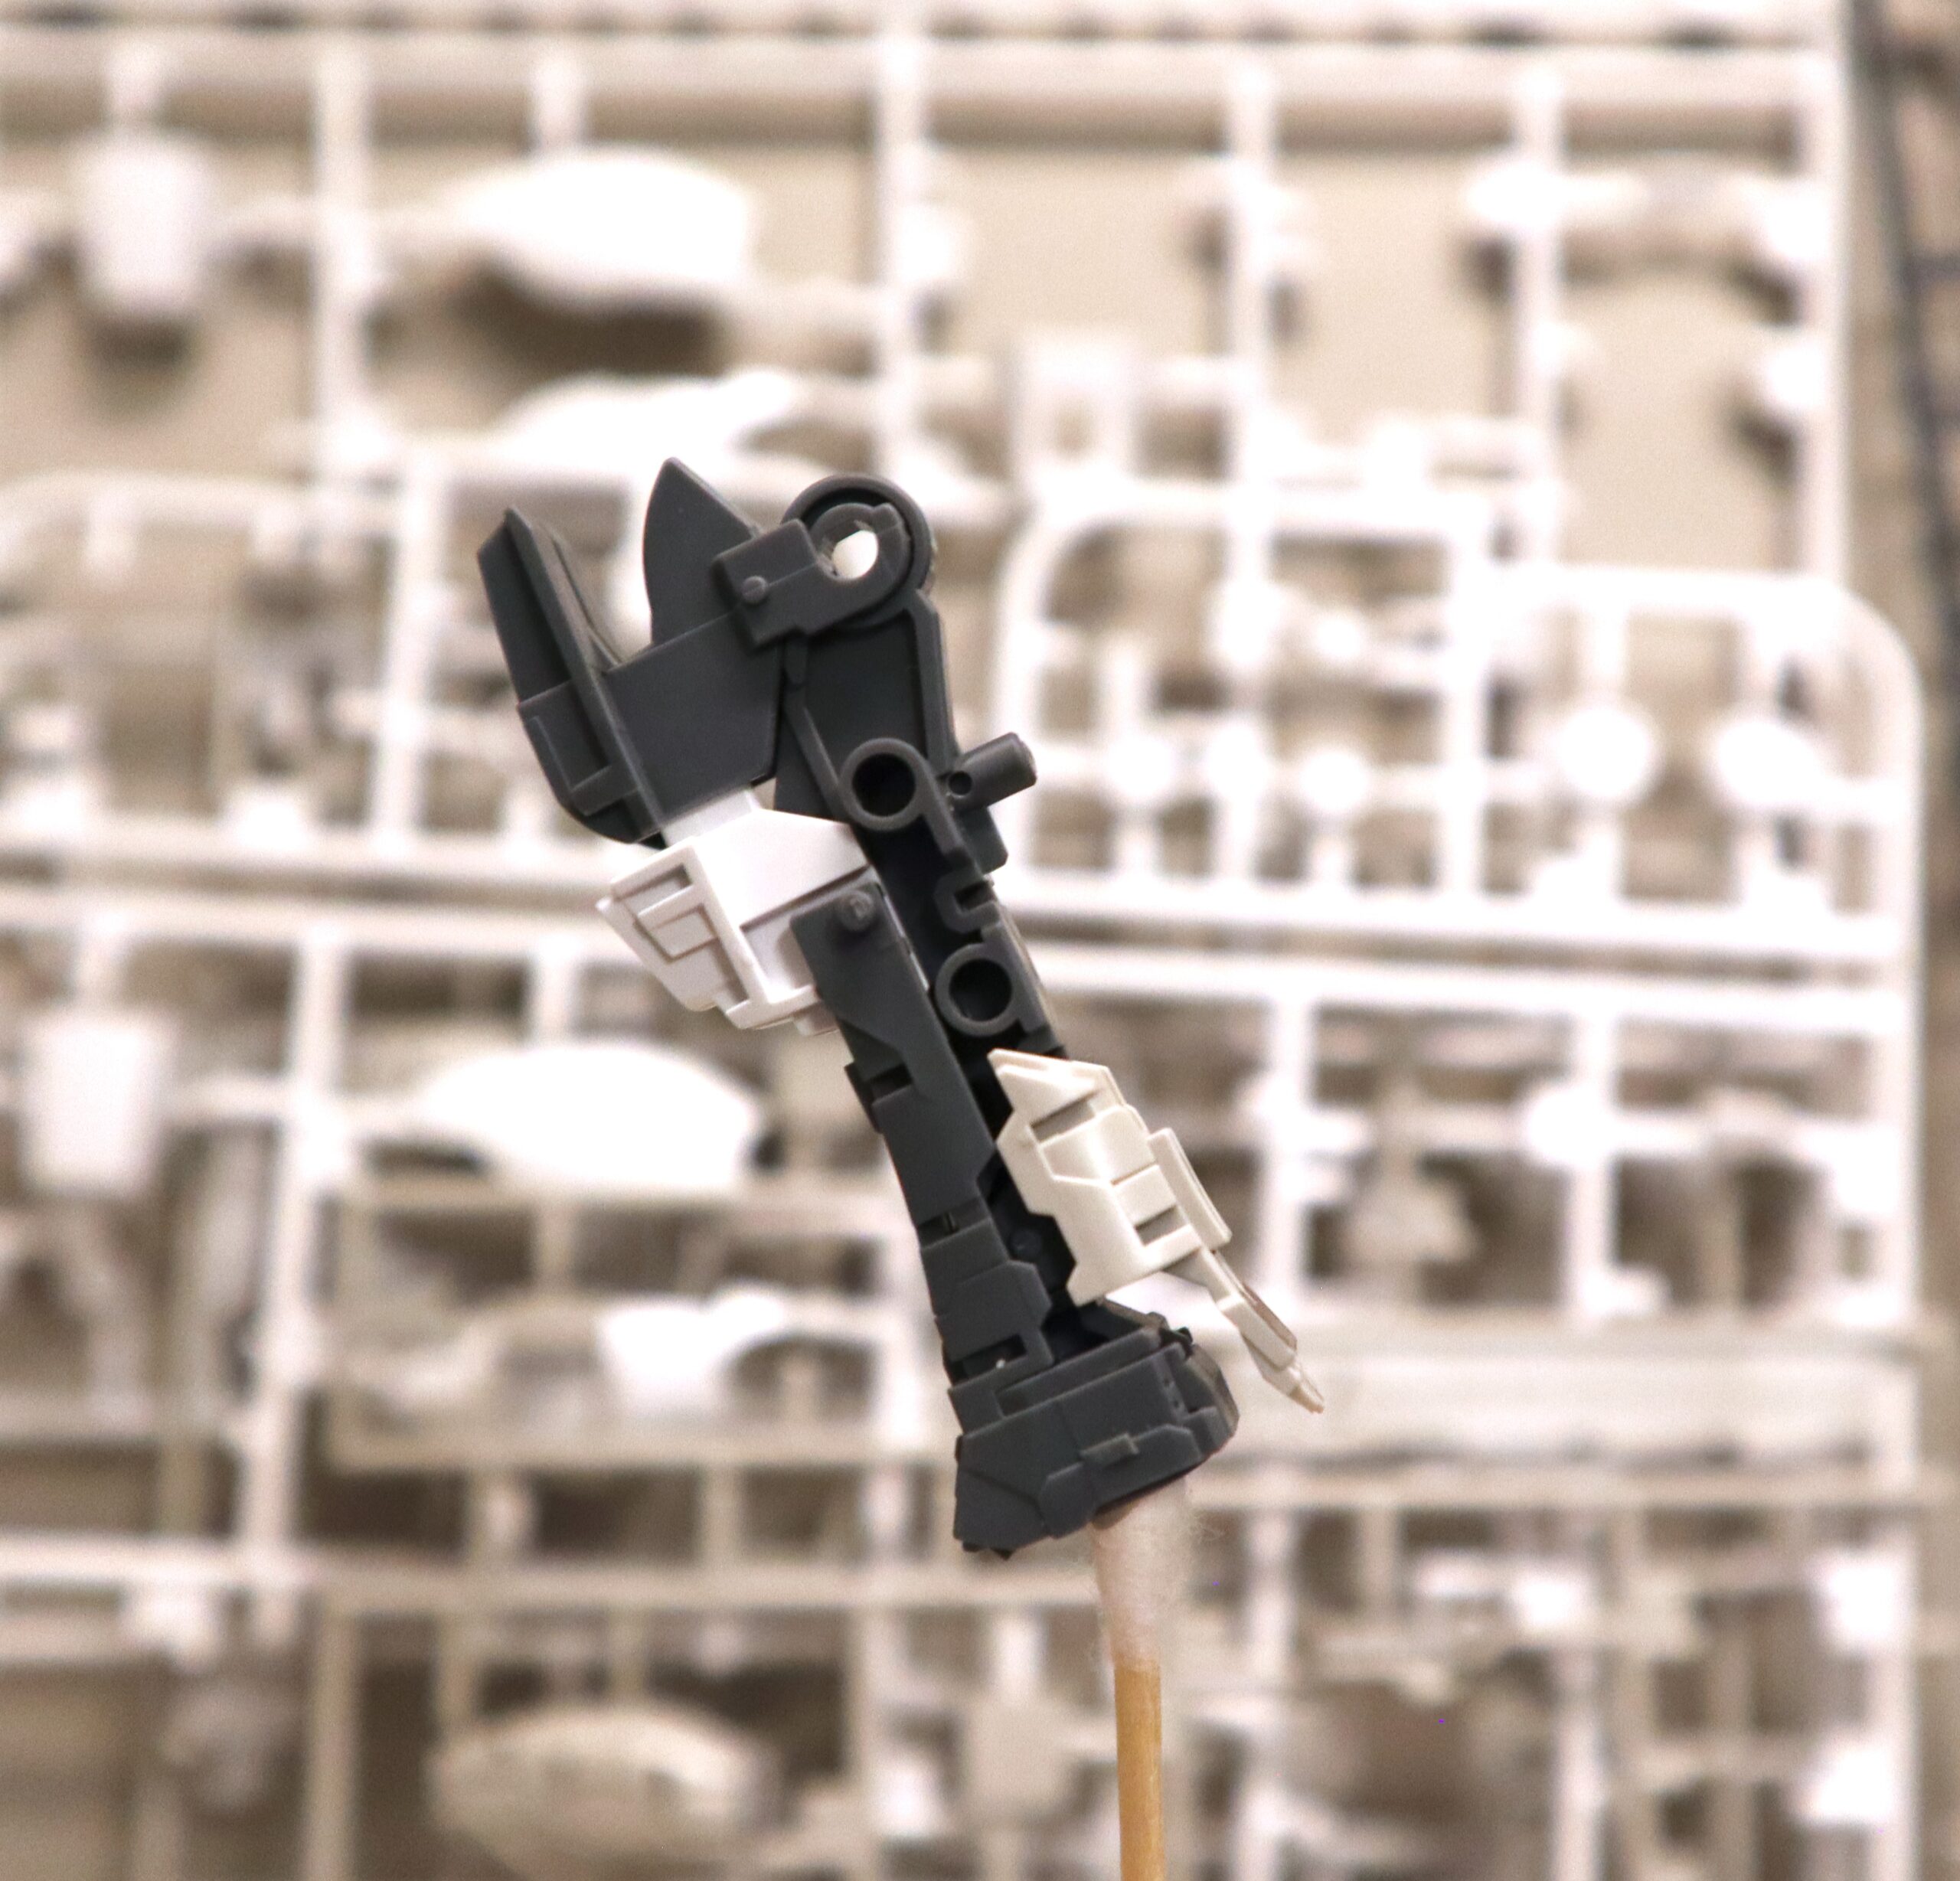
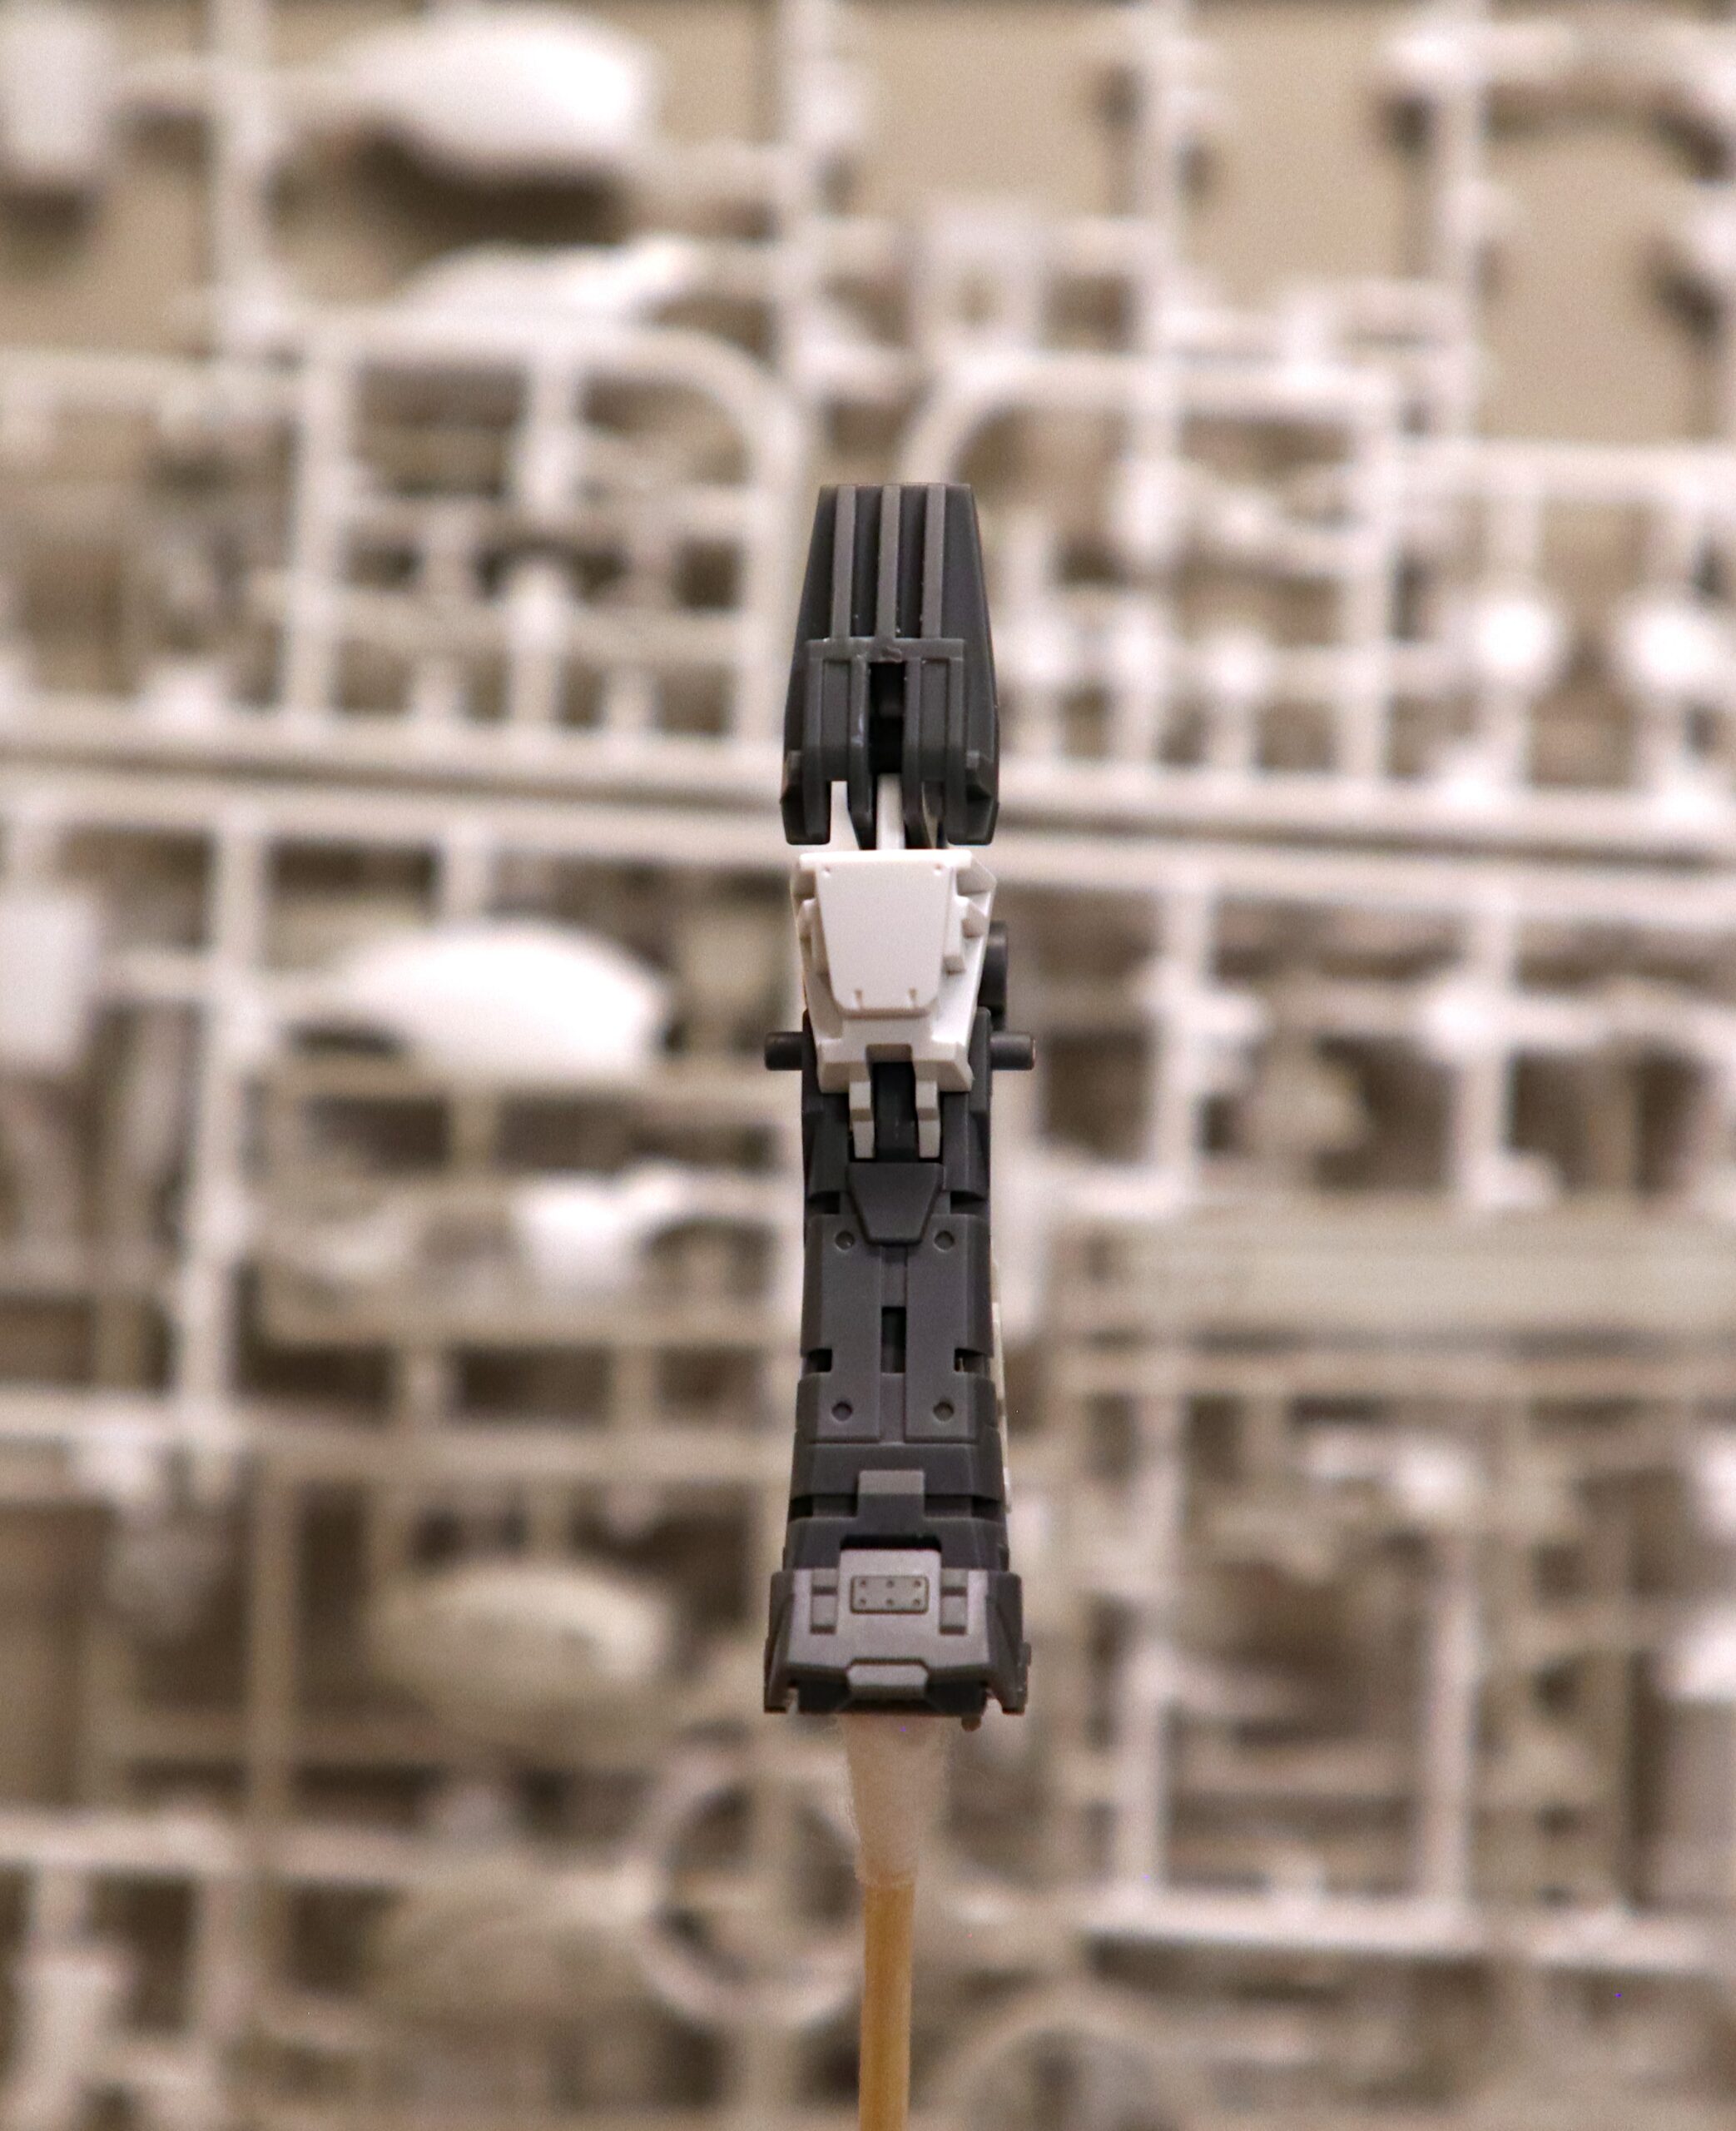
For this one, it was the knee area. The upper and lower plastic frames went together fairly quickly and easily, and the first few white plastic pieces that serve as the leg cladding clicked in like they were supposed to, but it was the knee pieces that tripped me up and it took a few tries to make sure I had them secured and in the right spots.

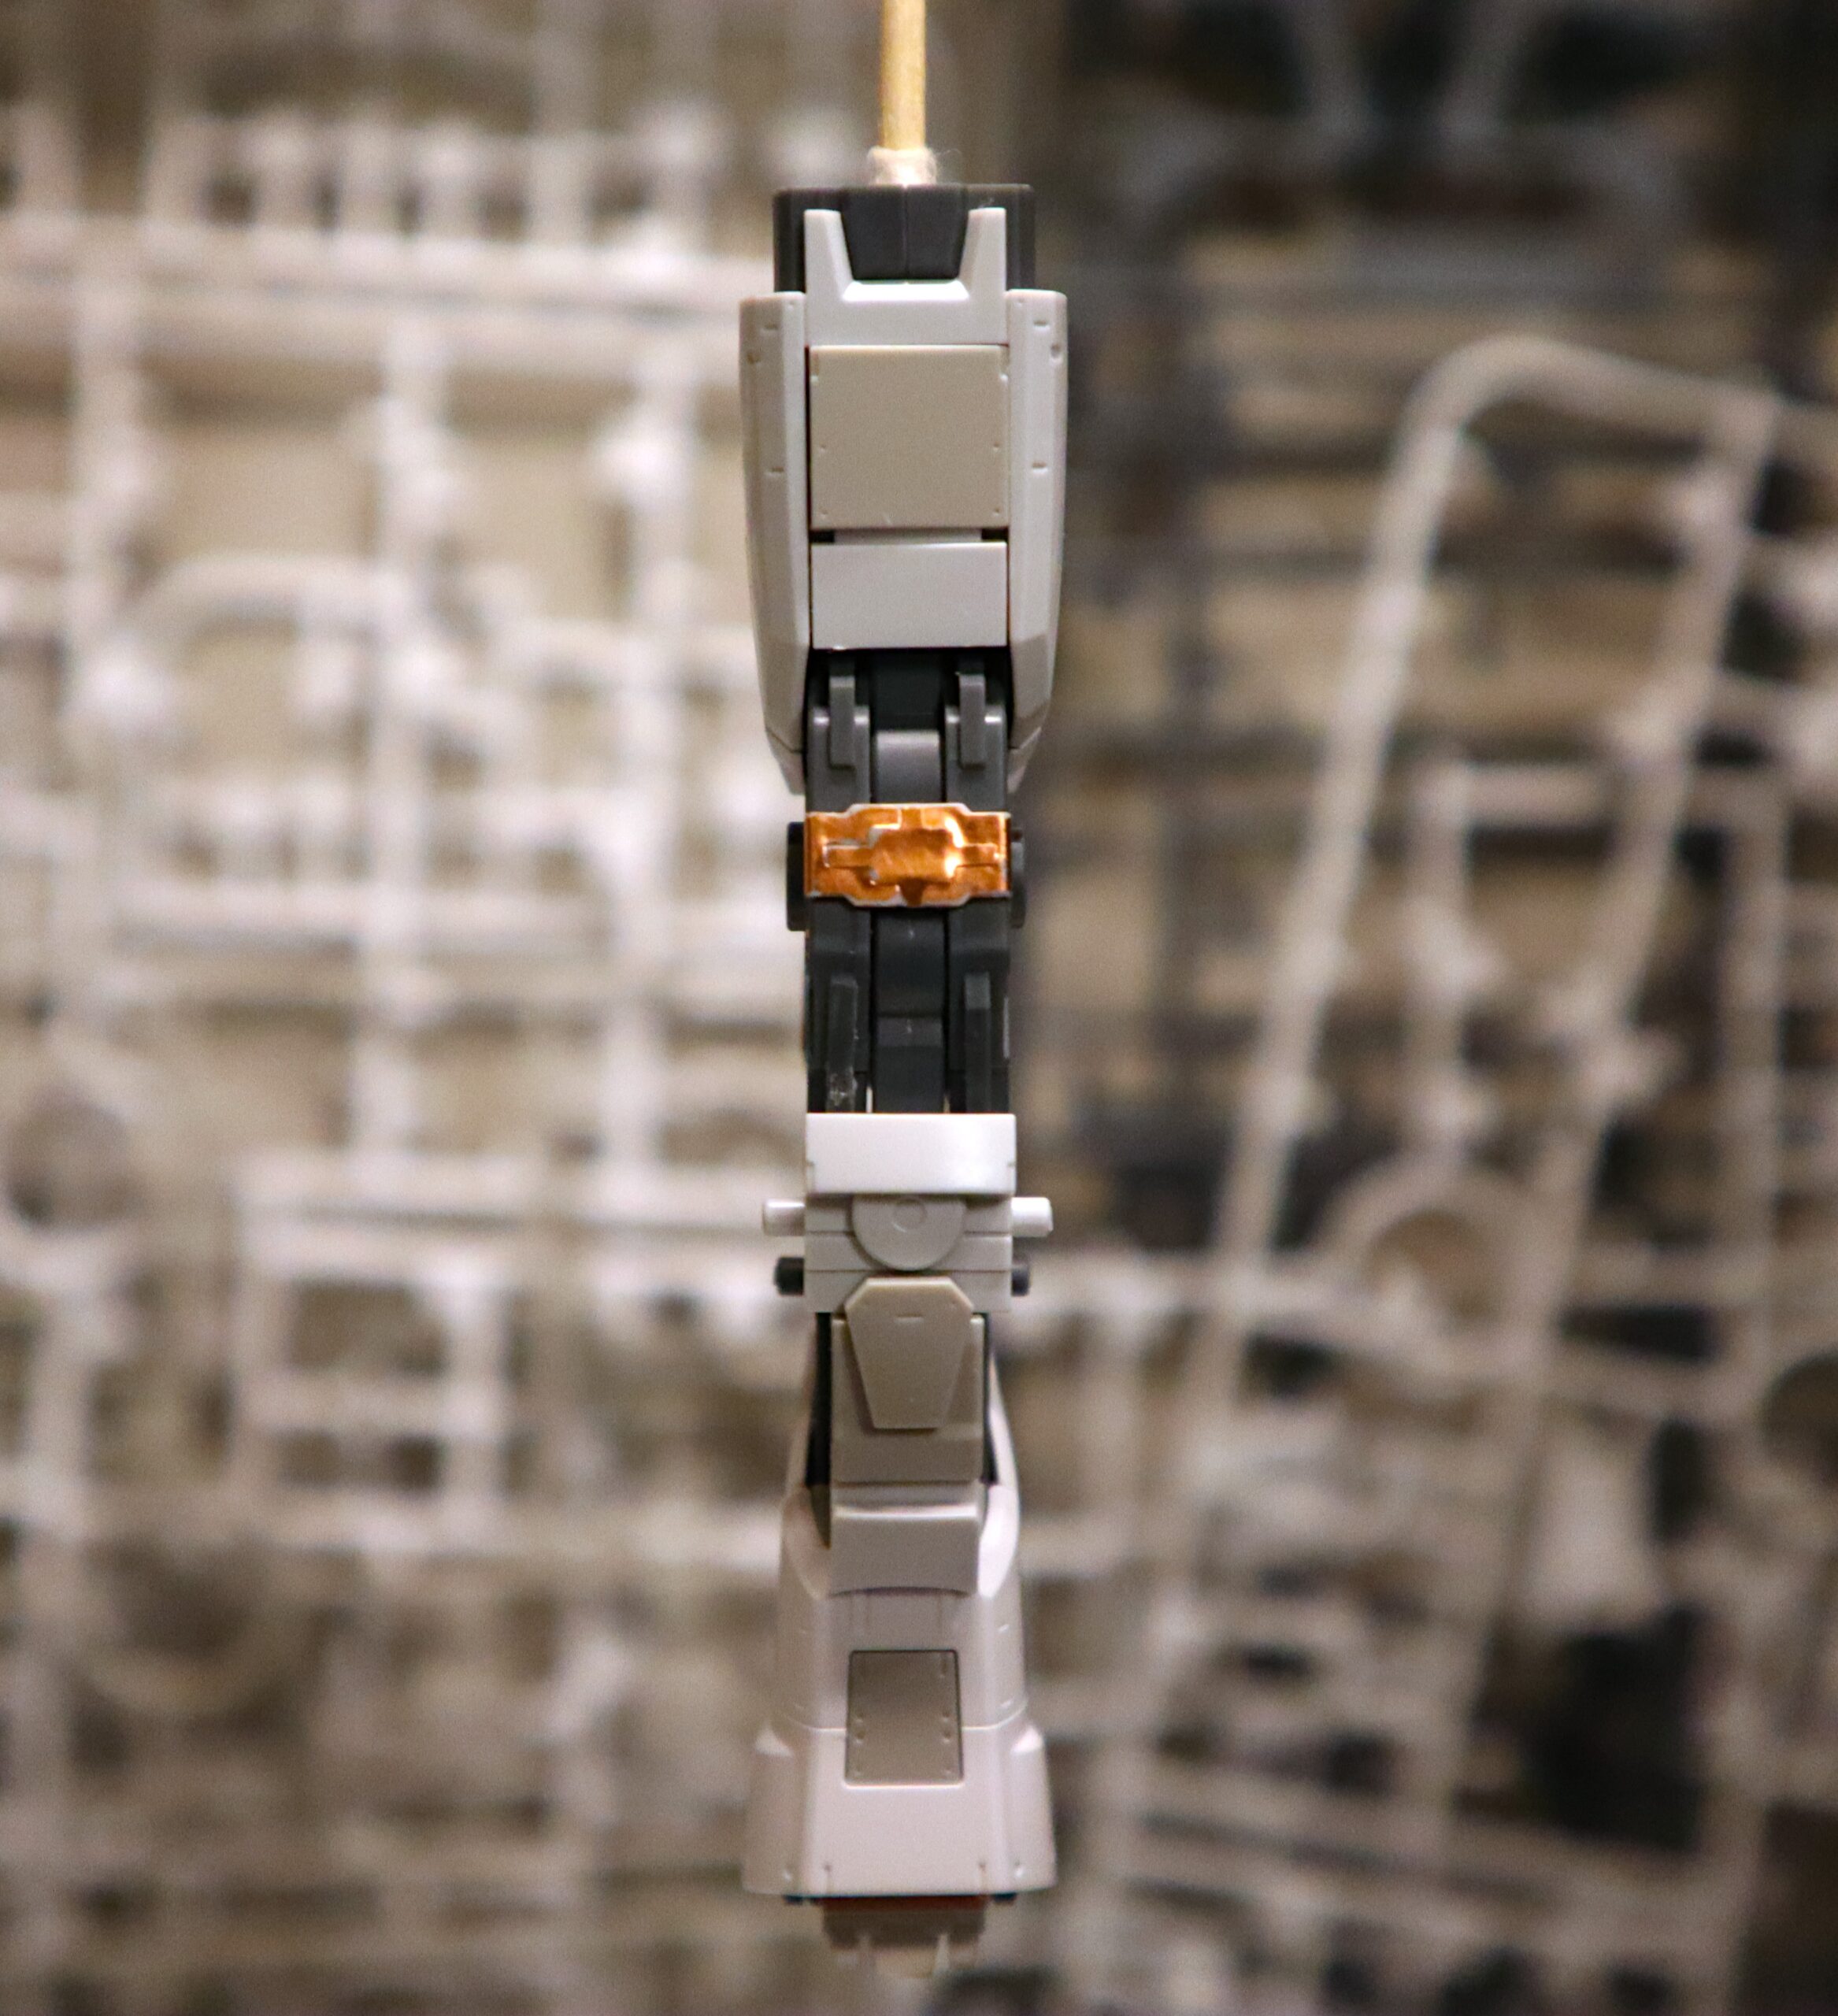
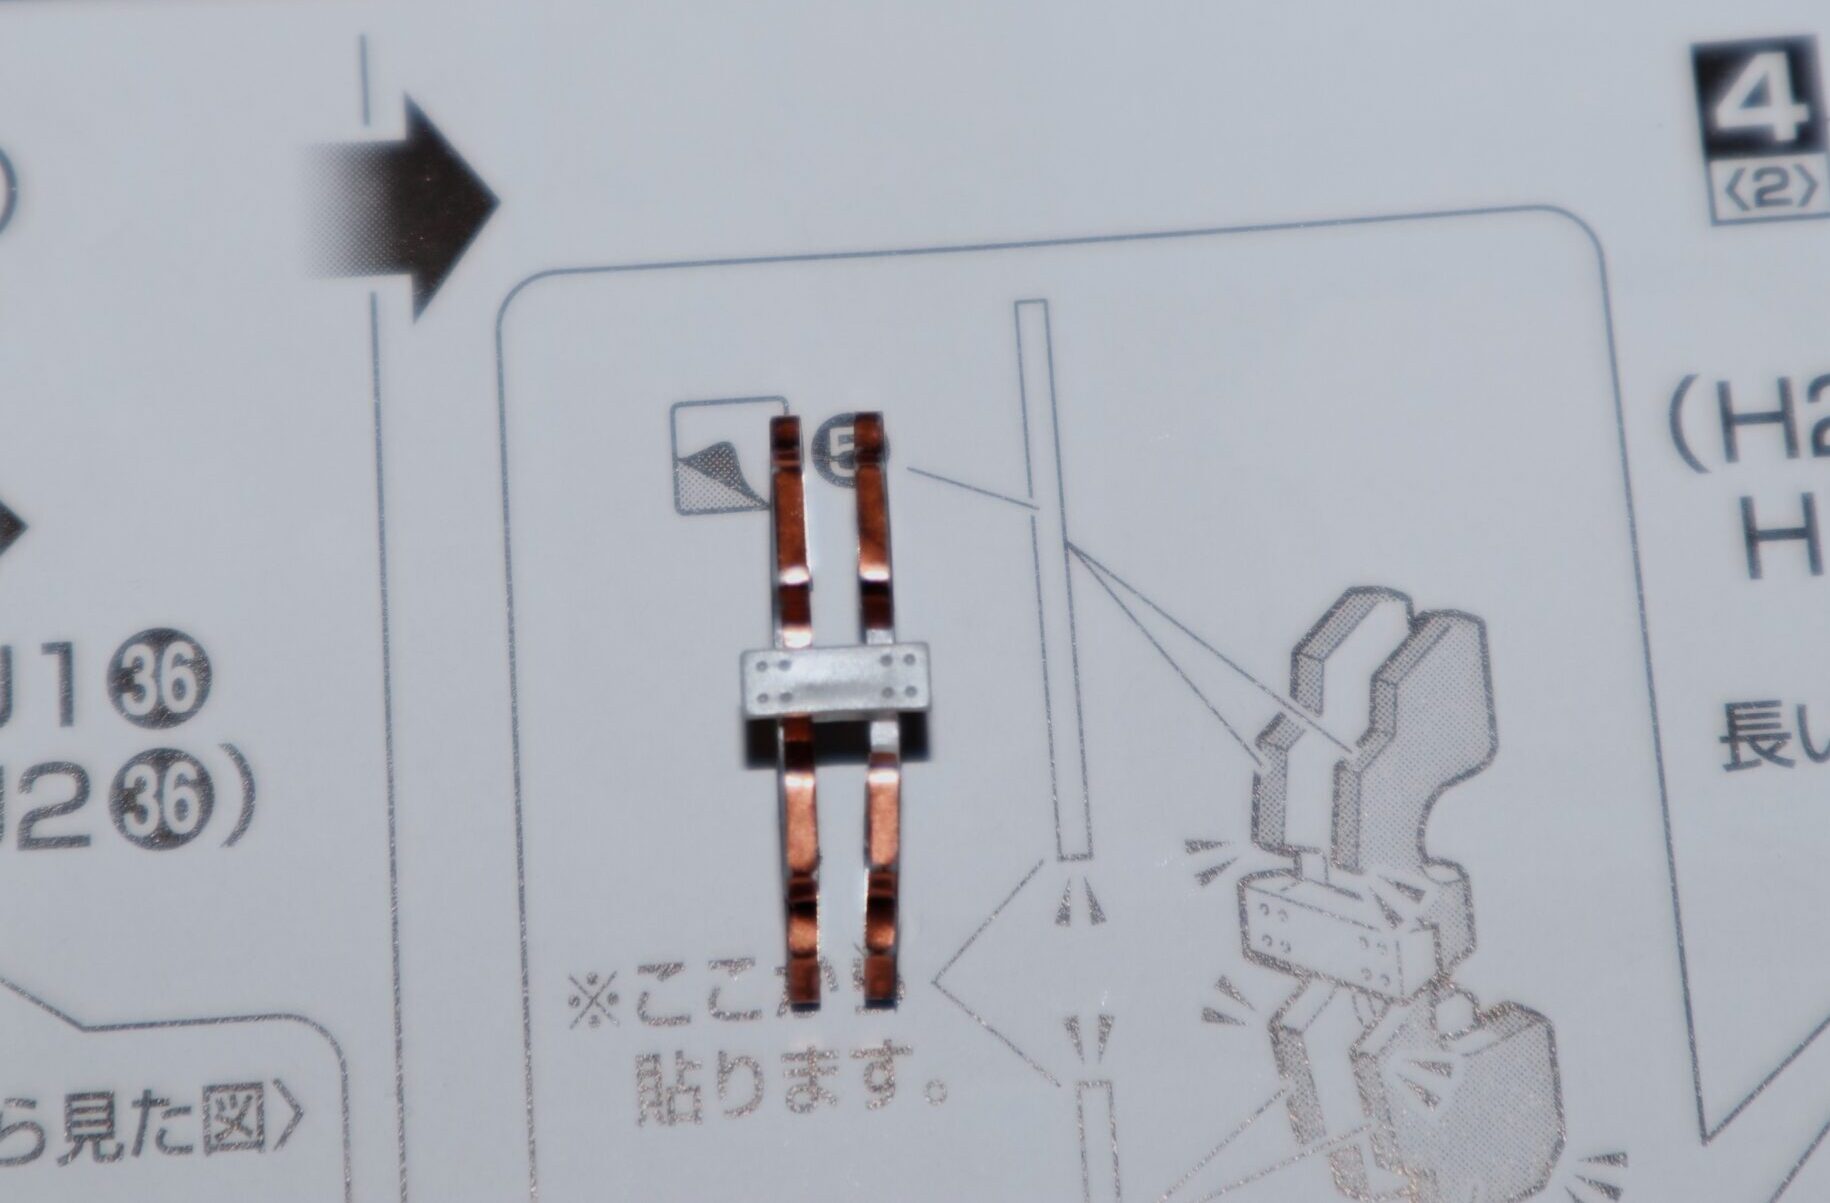
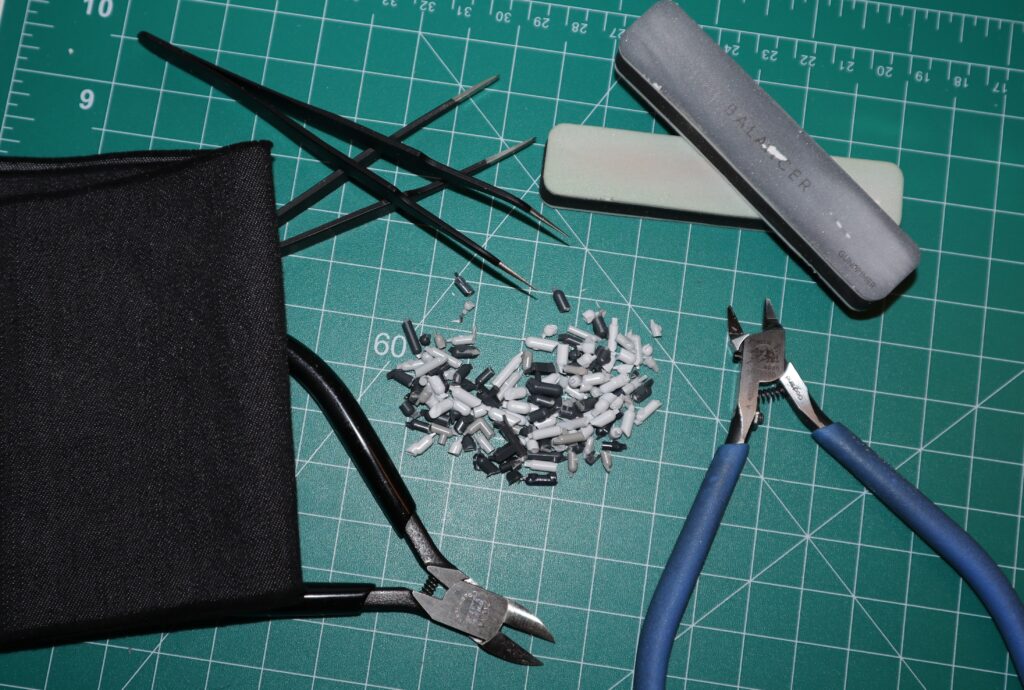
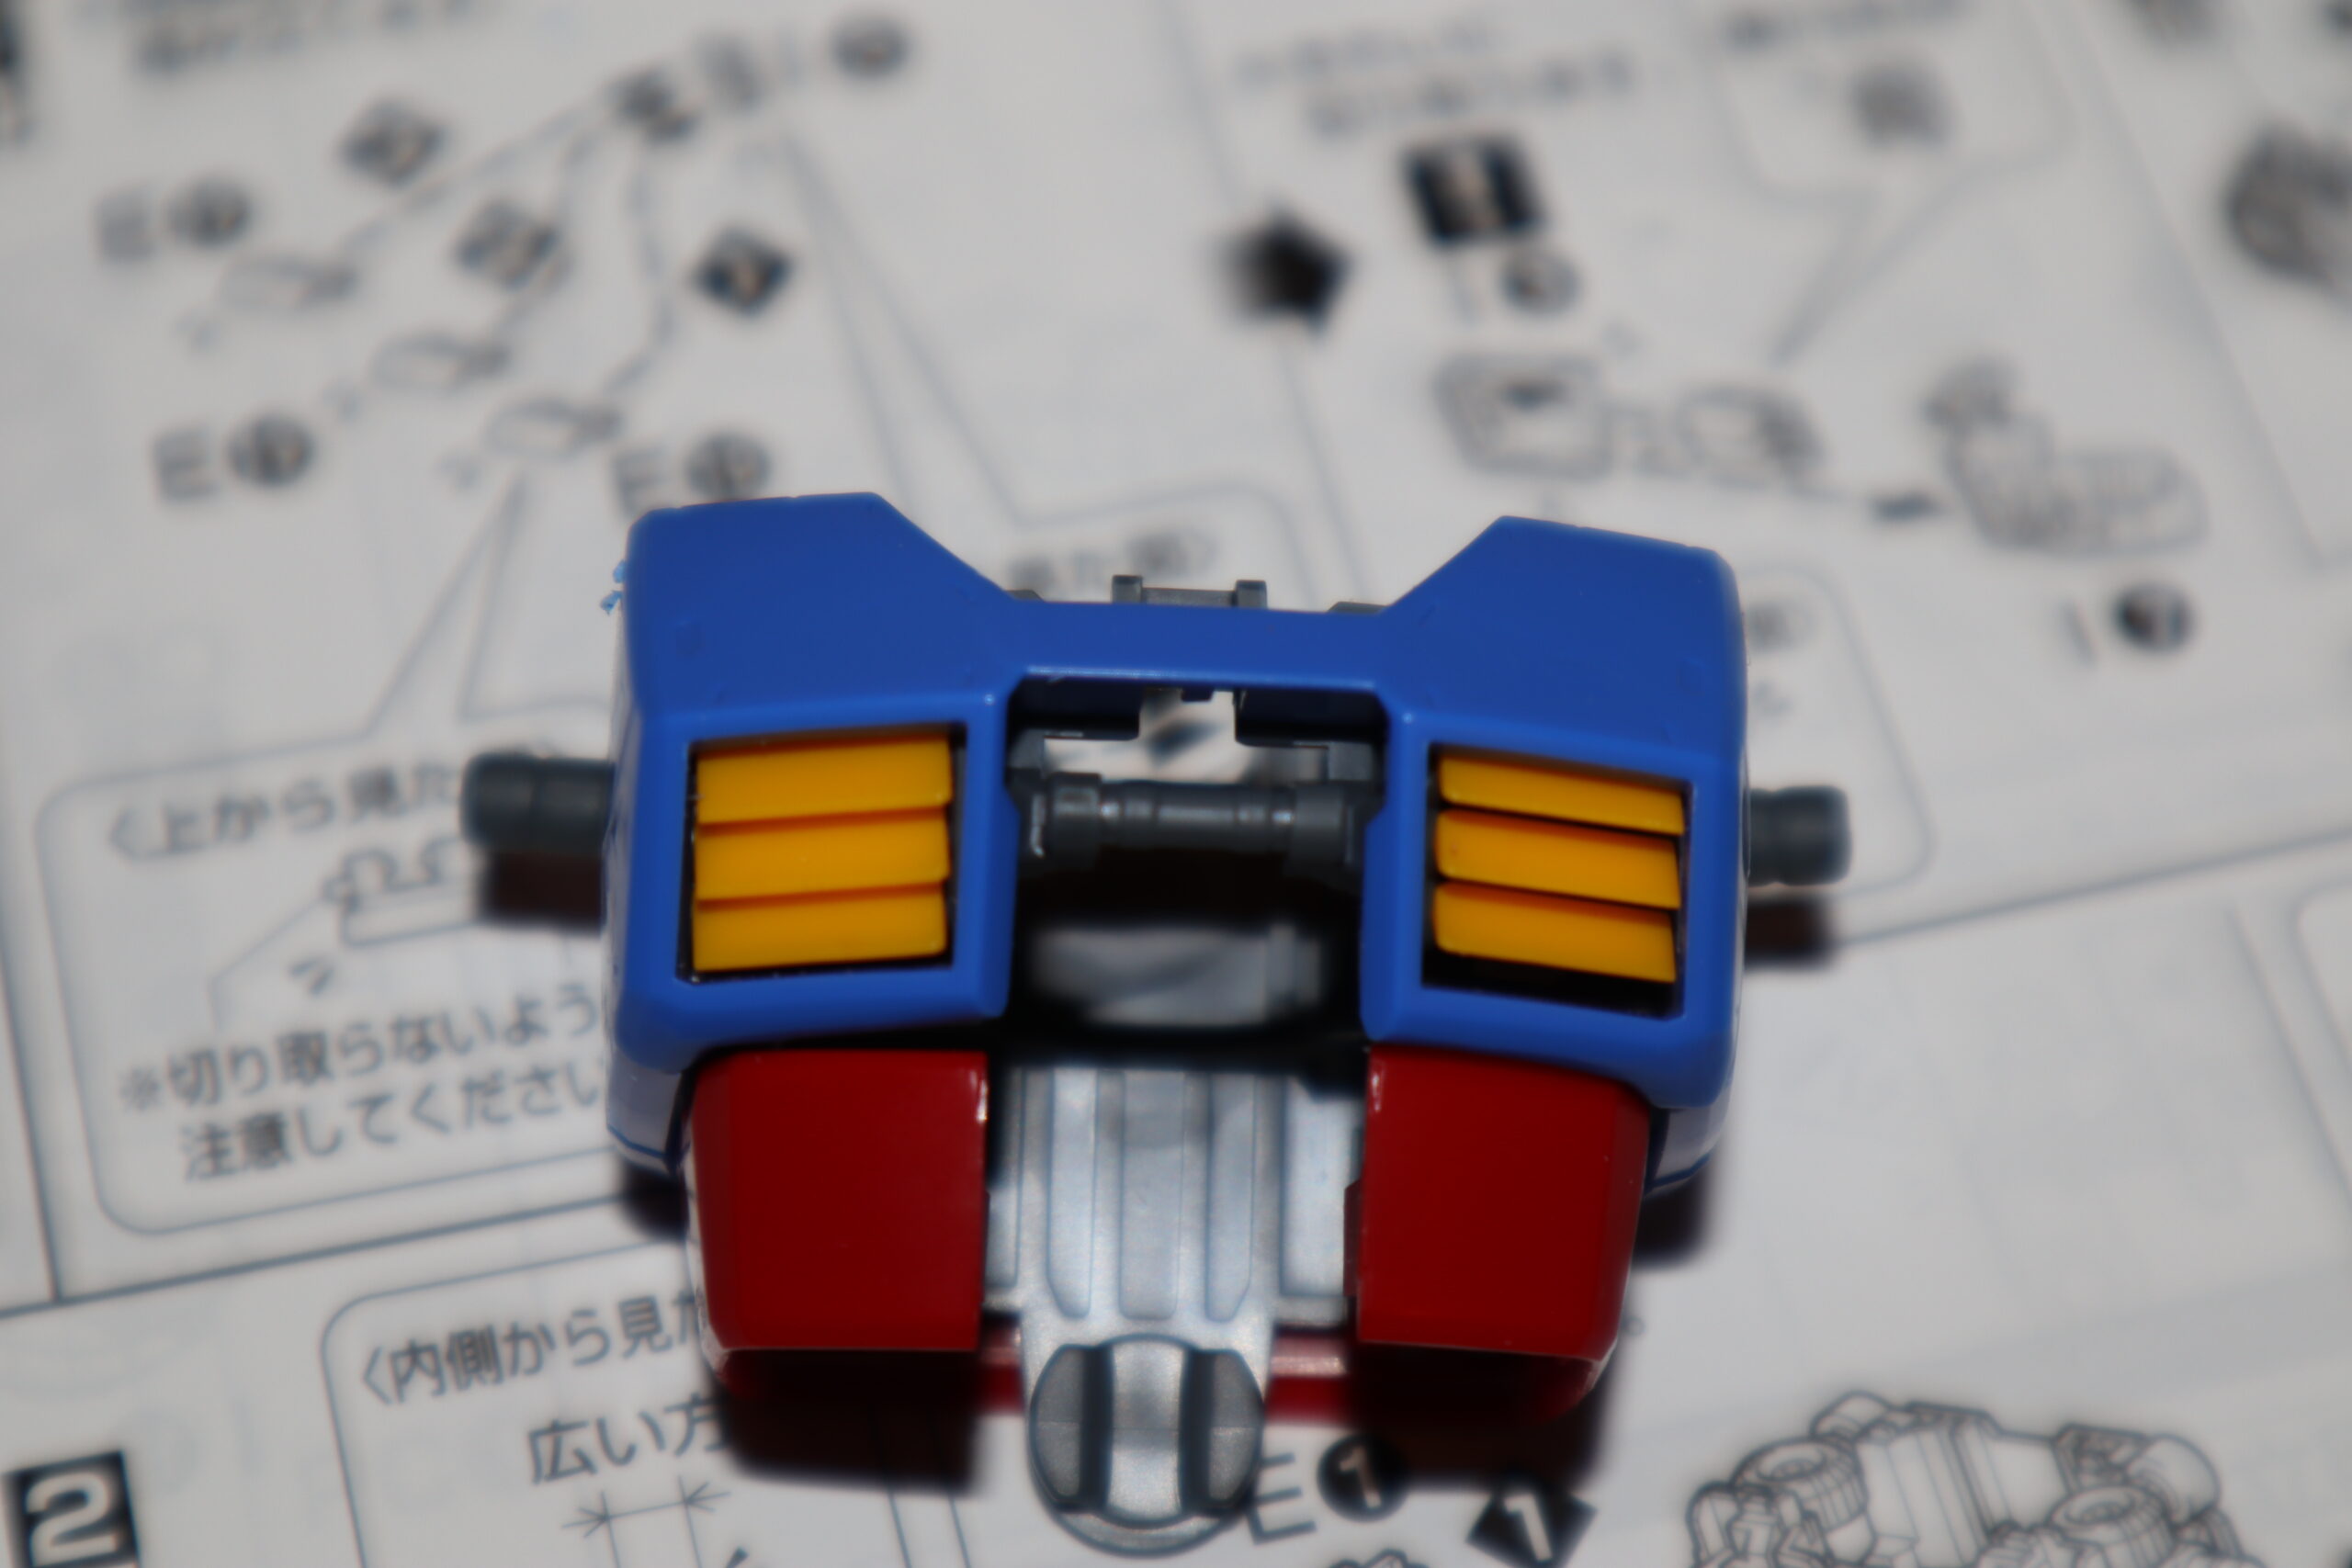
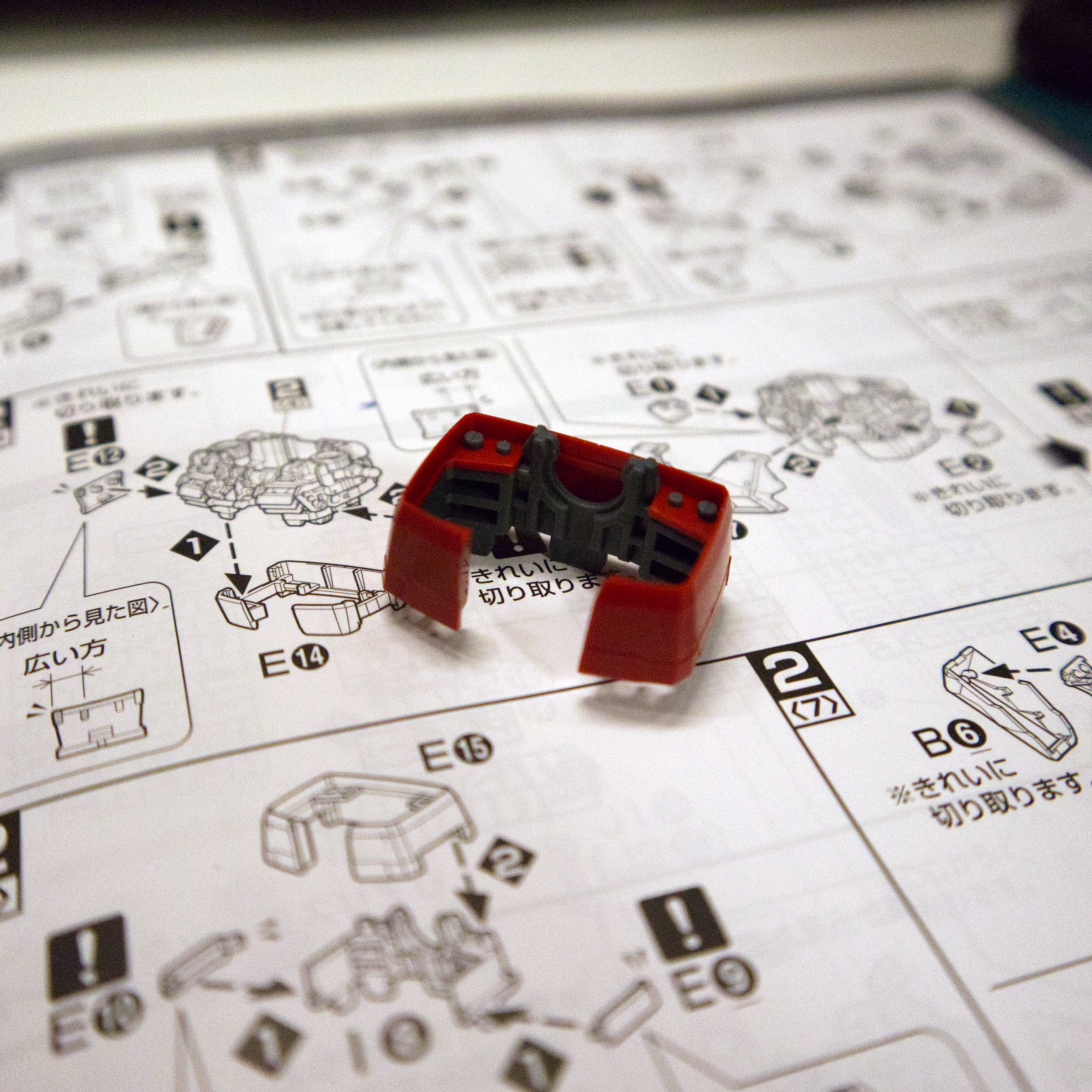
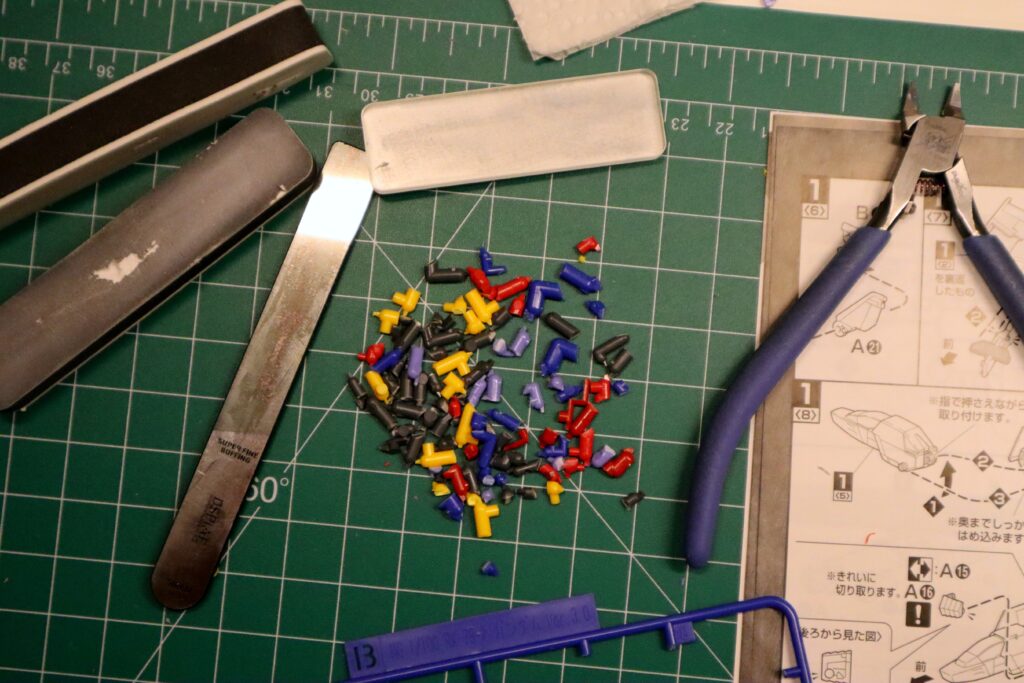
There were also stickers, of course. Tiny, microscopic little dots of foil that I’m supposed to apply with exacting precision to a tiny depression in the plastic.

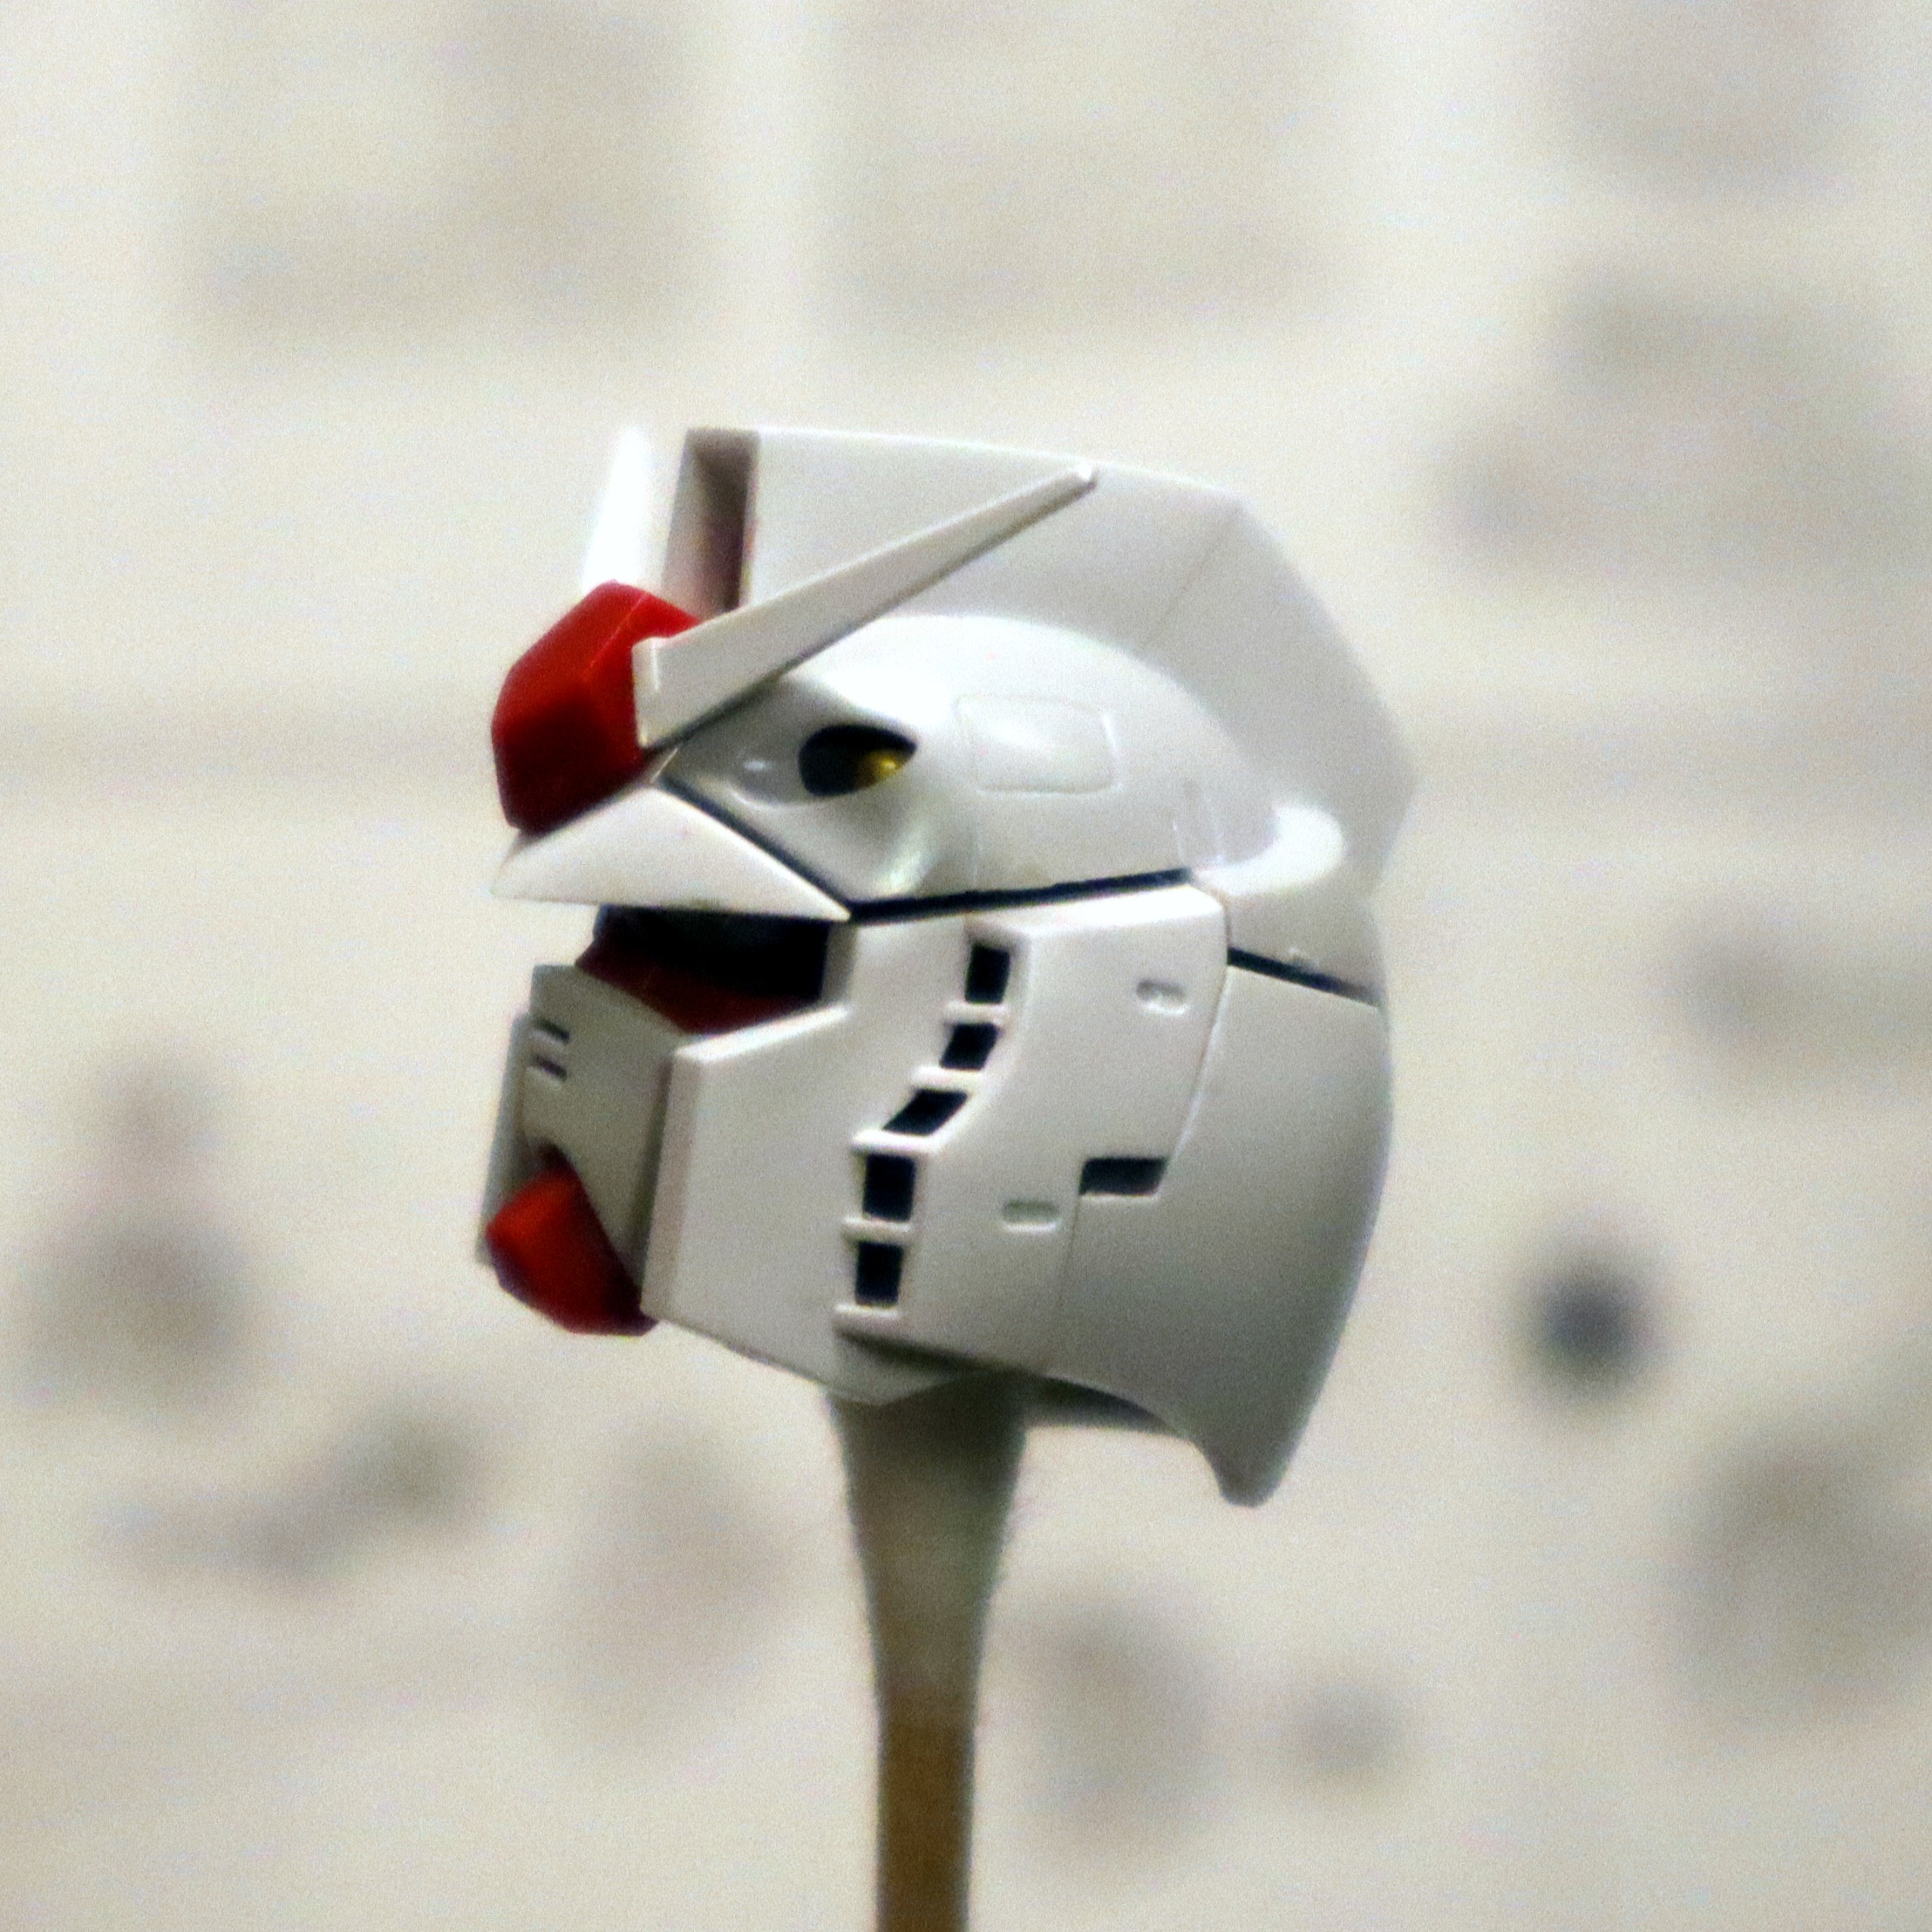
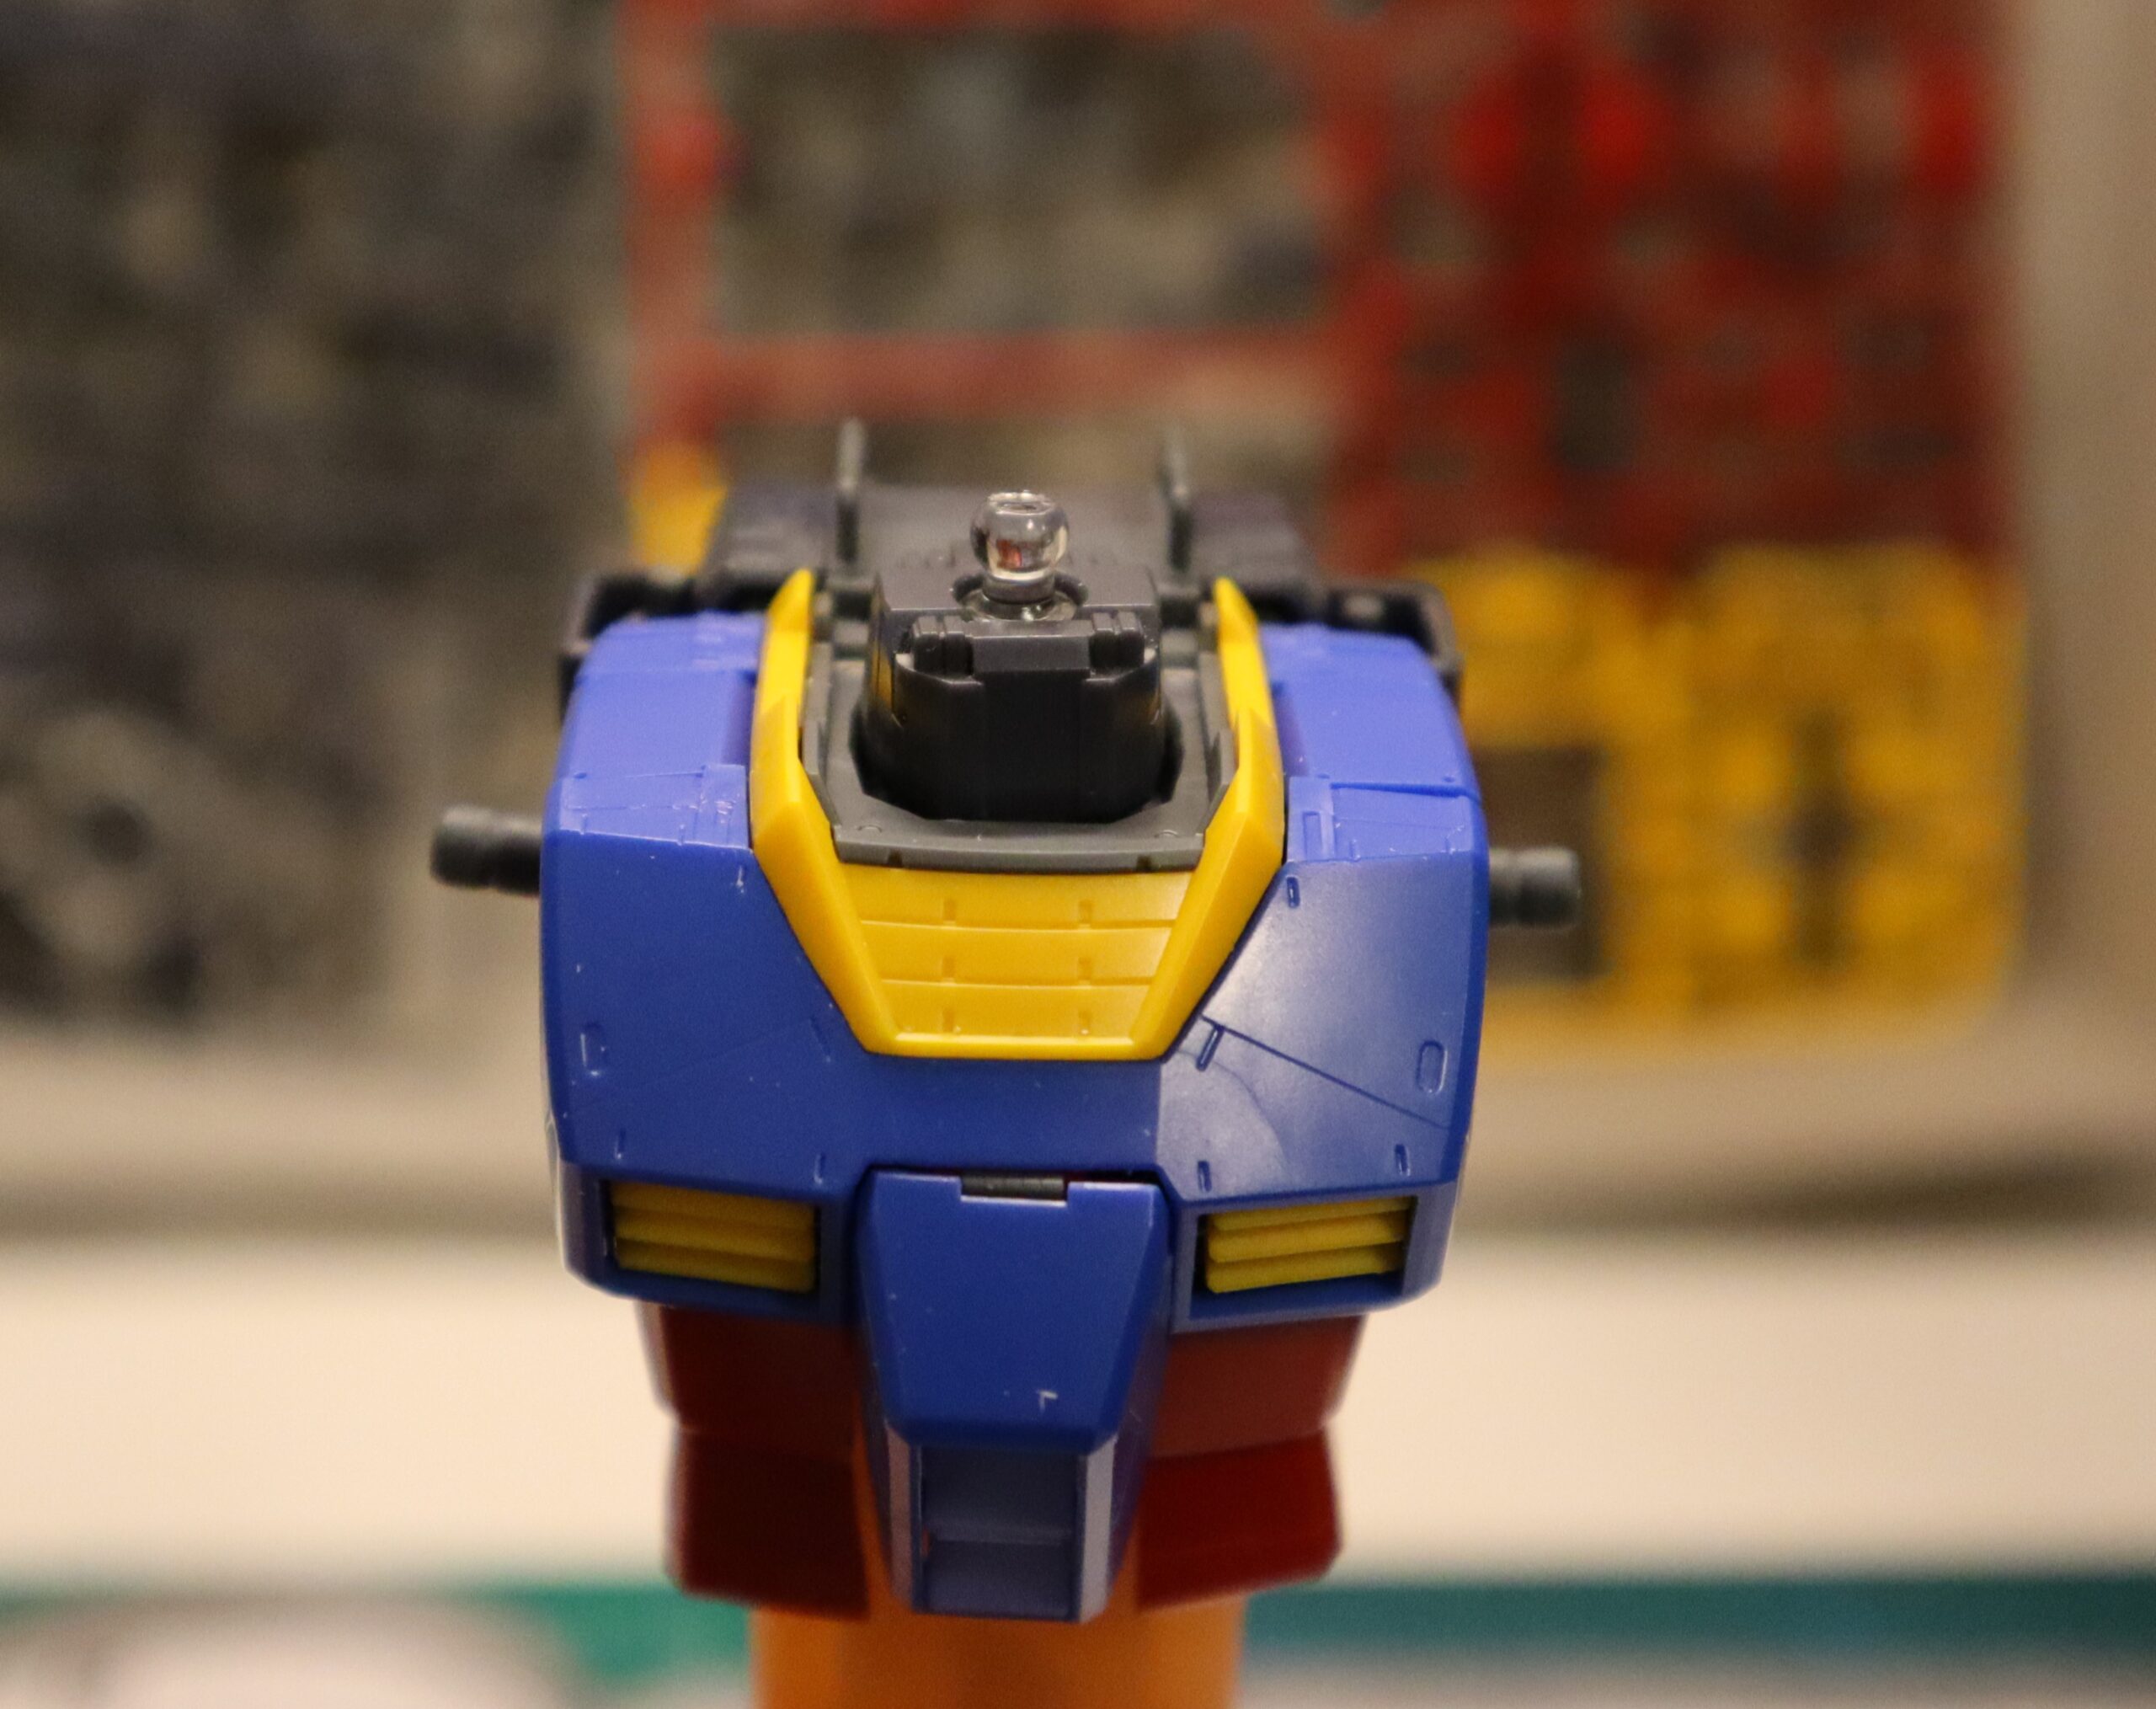
Fantastic. There’s also a sticker that goes on the backside of the knee and I’m still not sure I did it right. I keep thinking that middle rectangular piece shouldn’t be there and the sticker should serve as framing around it, but before I start cutting into things, I need to think on it some more.

At any rate, it doesn’t look right.

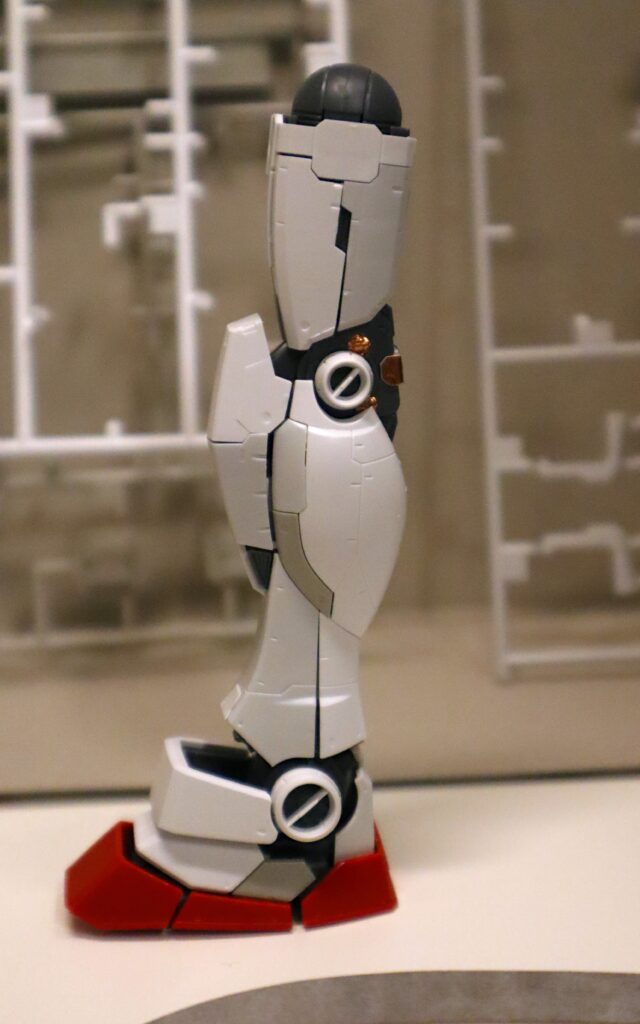
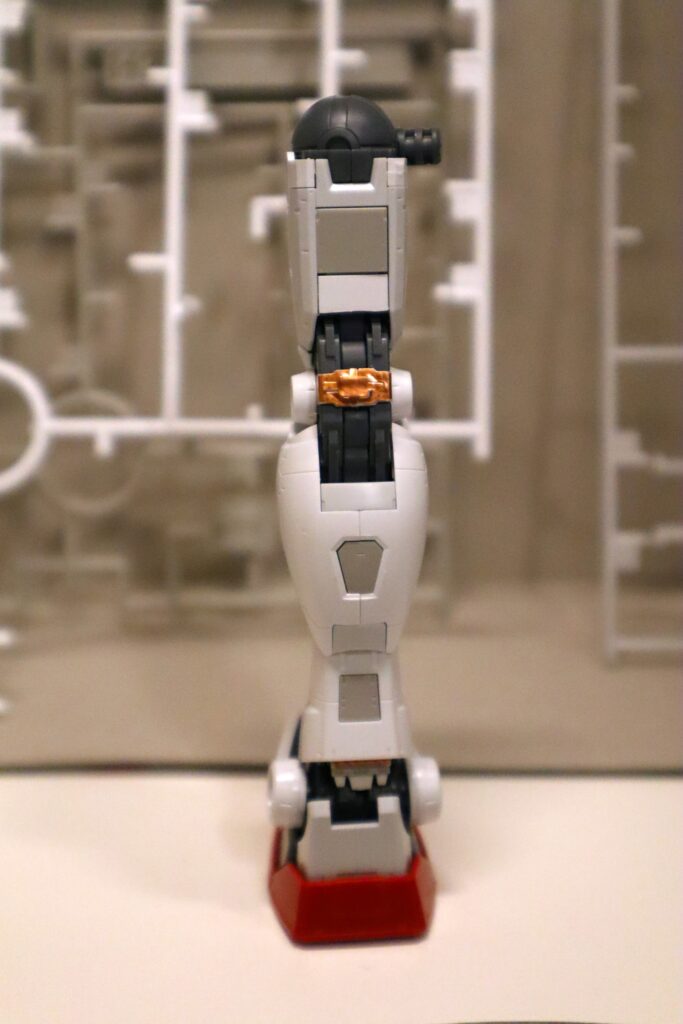
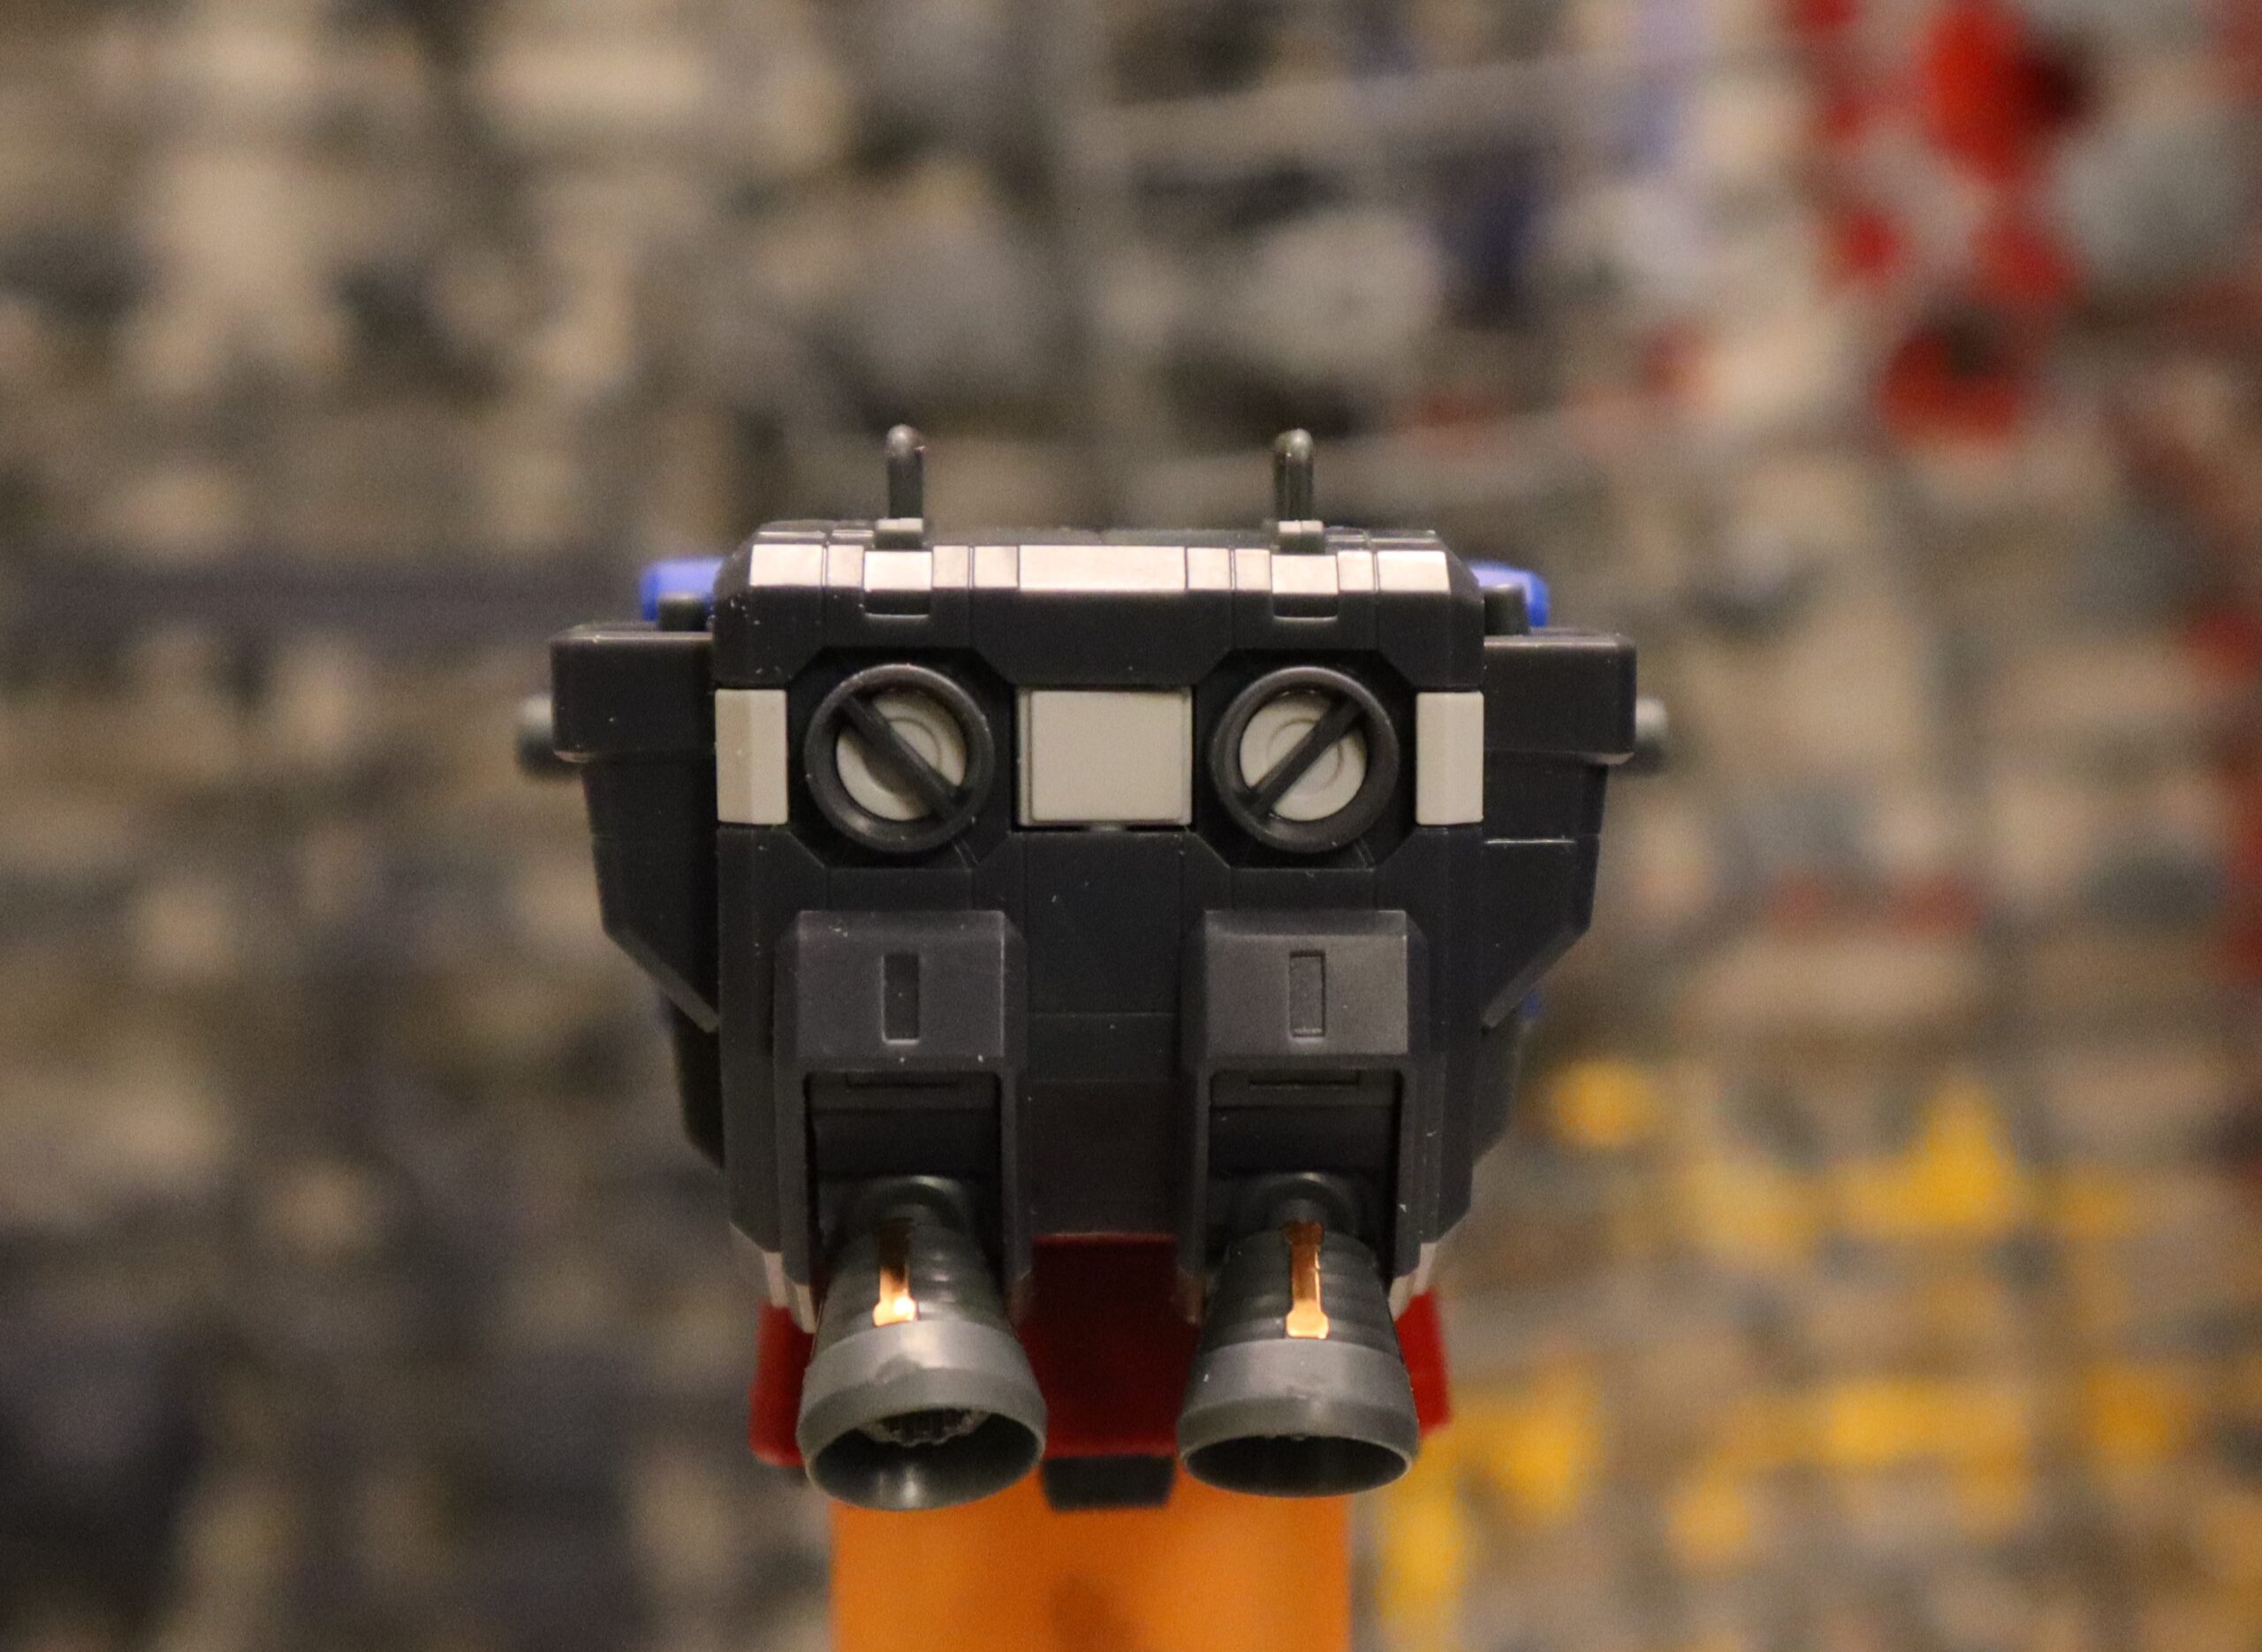
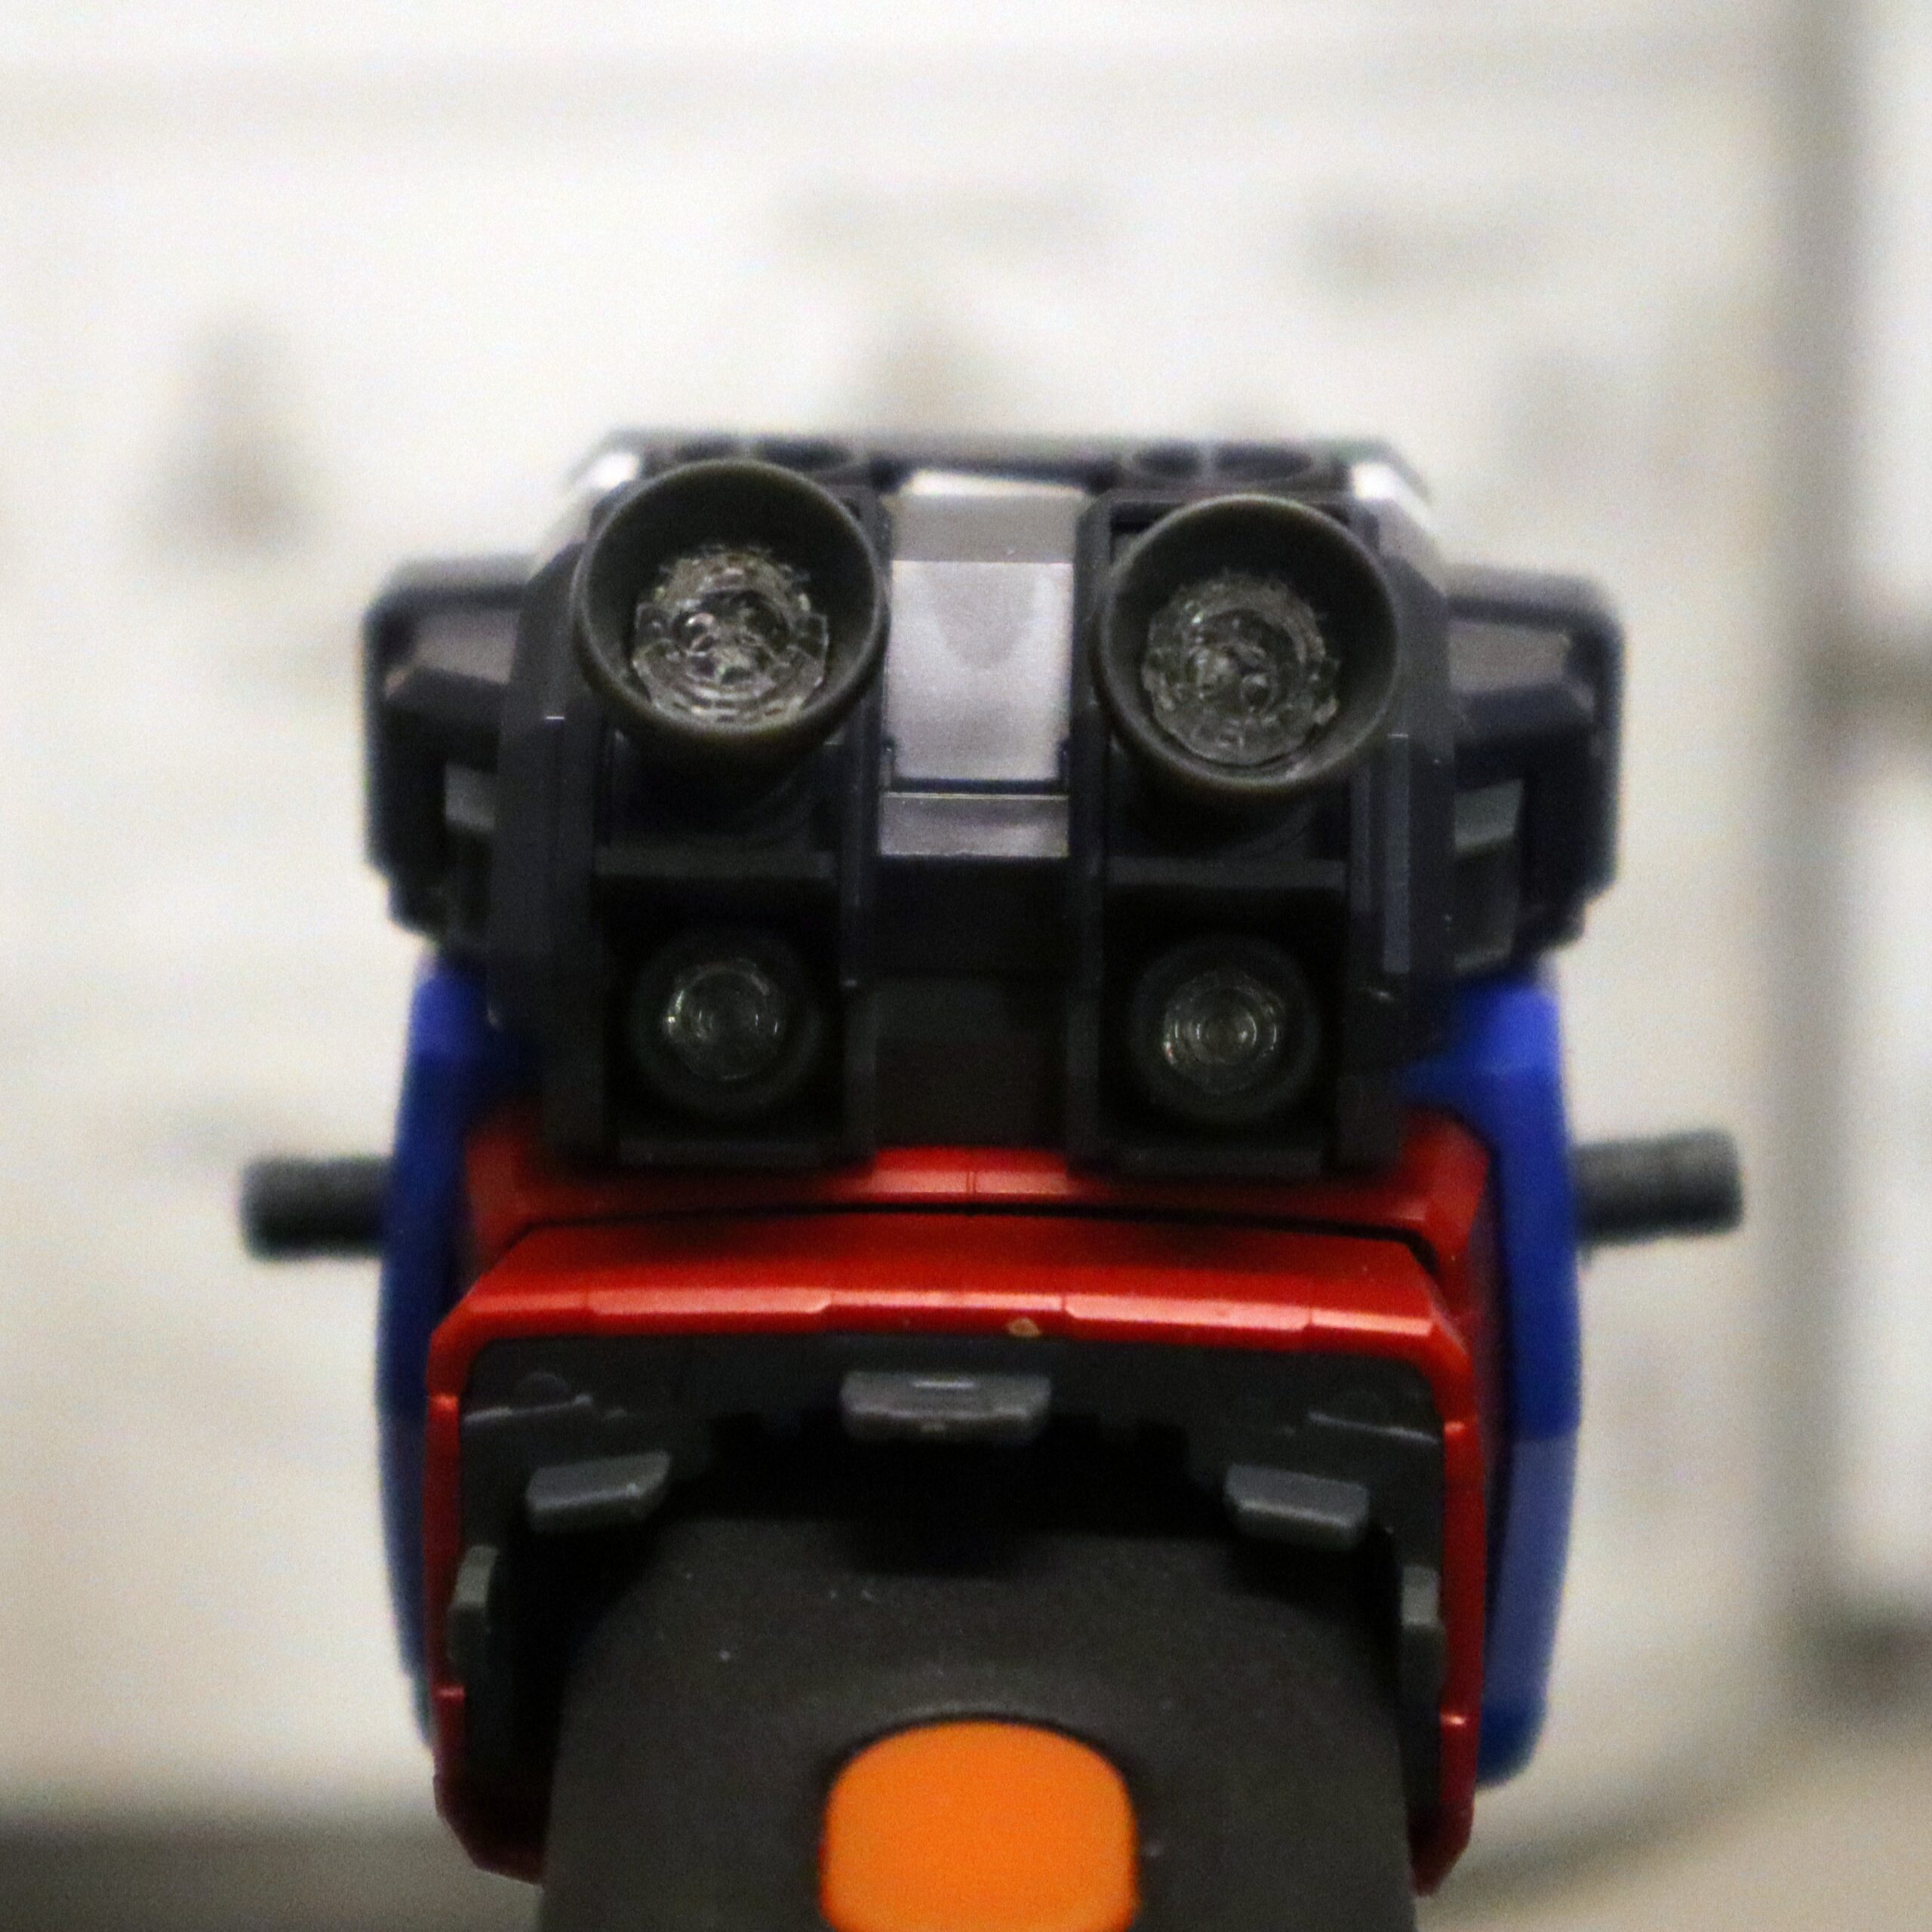
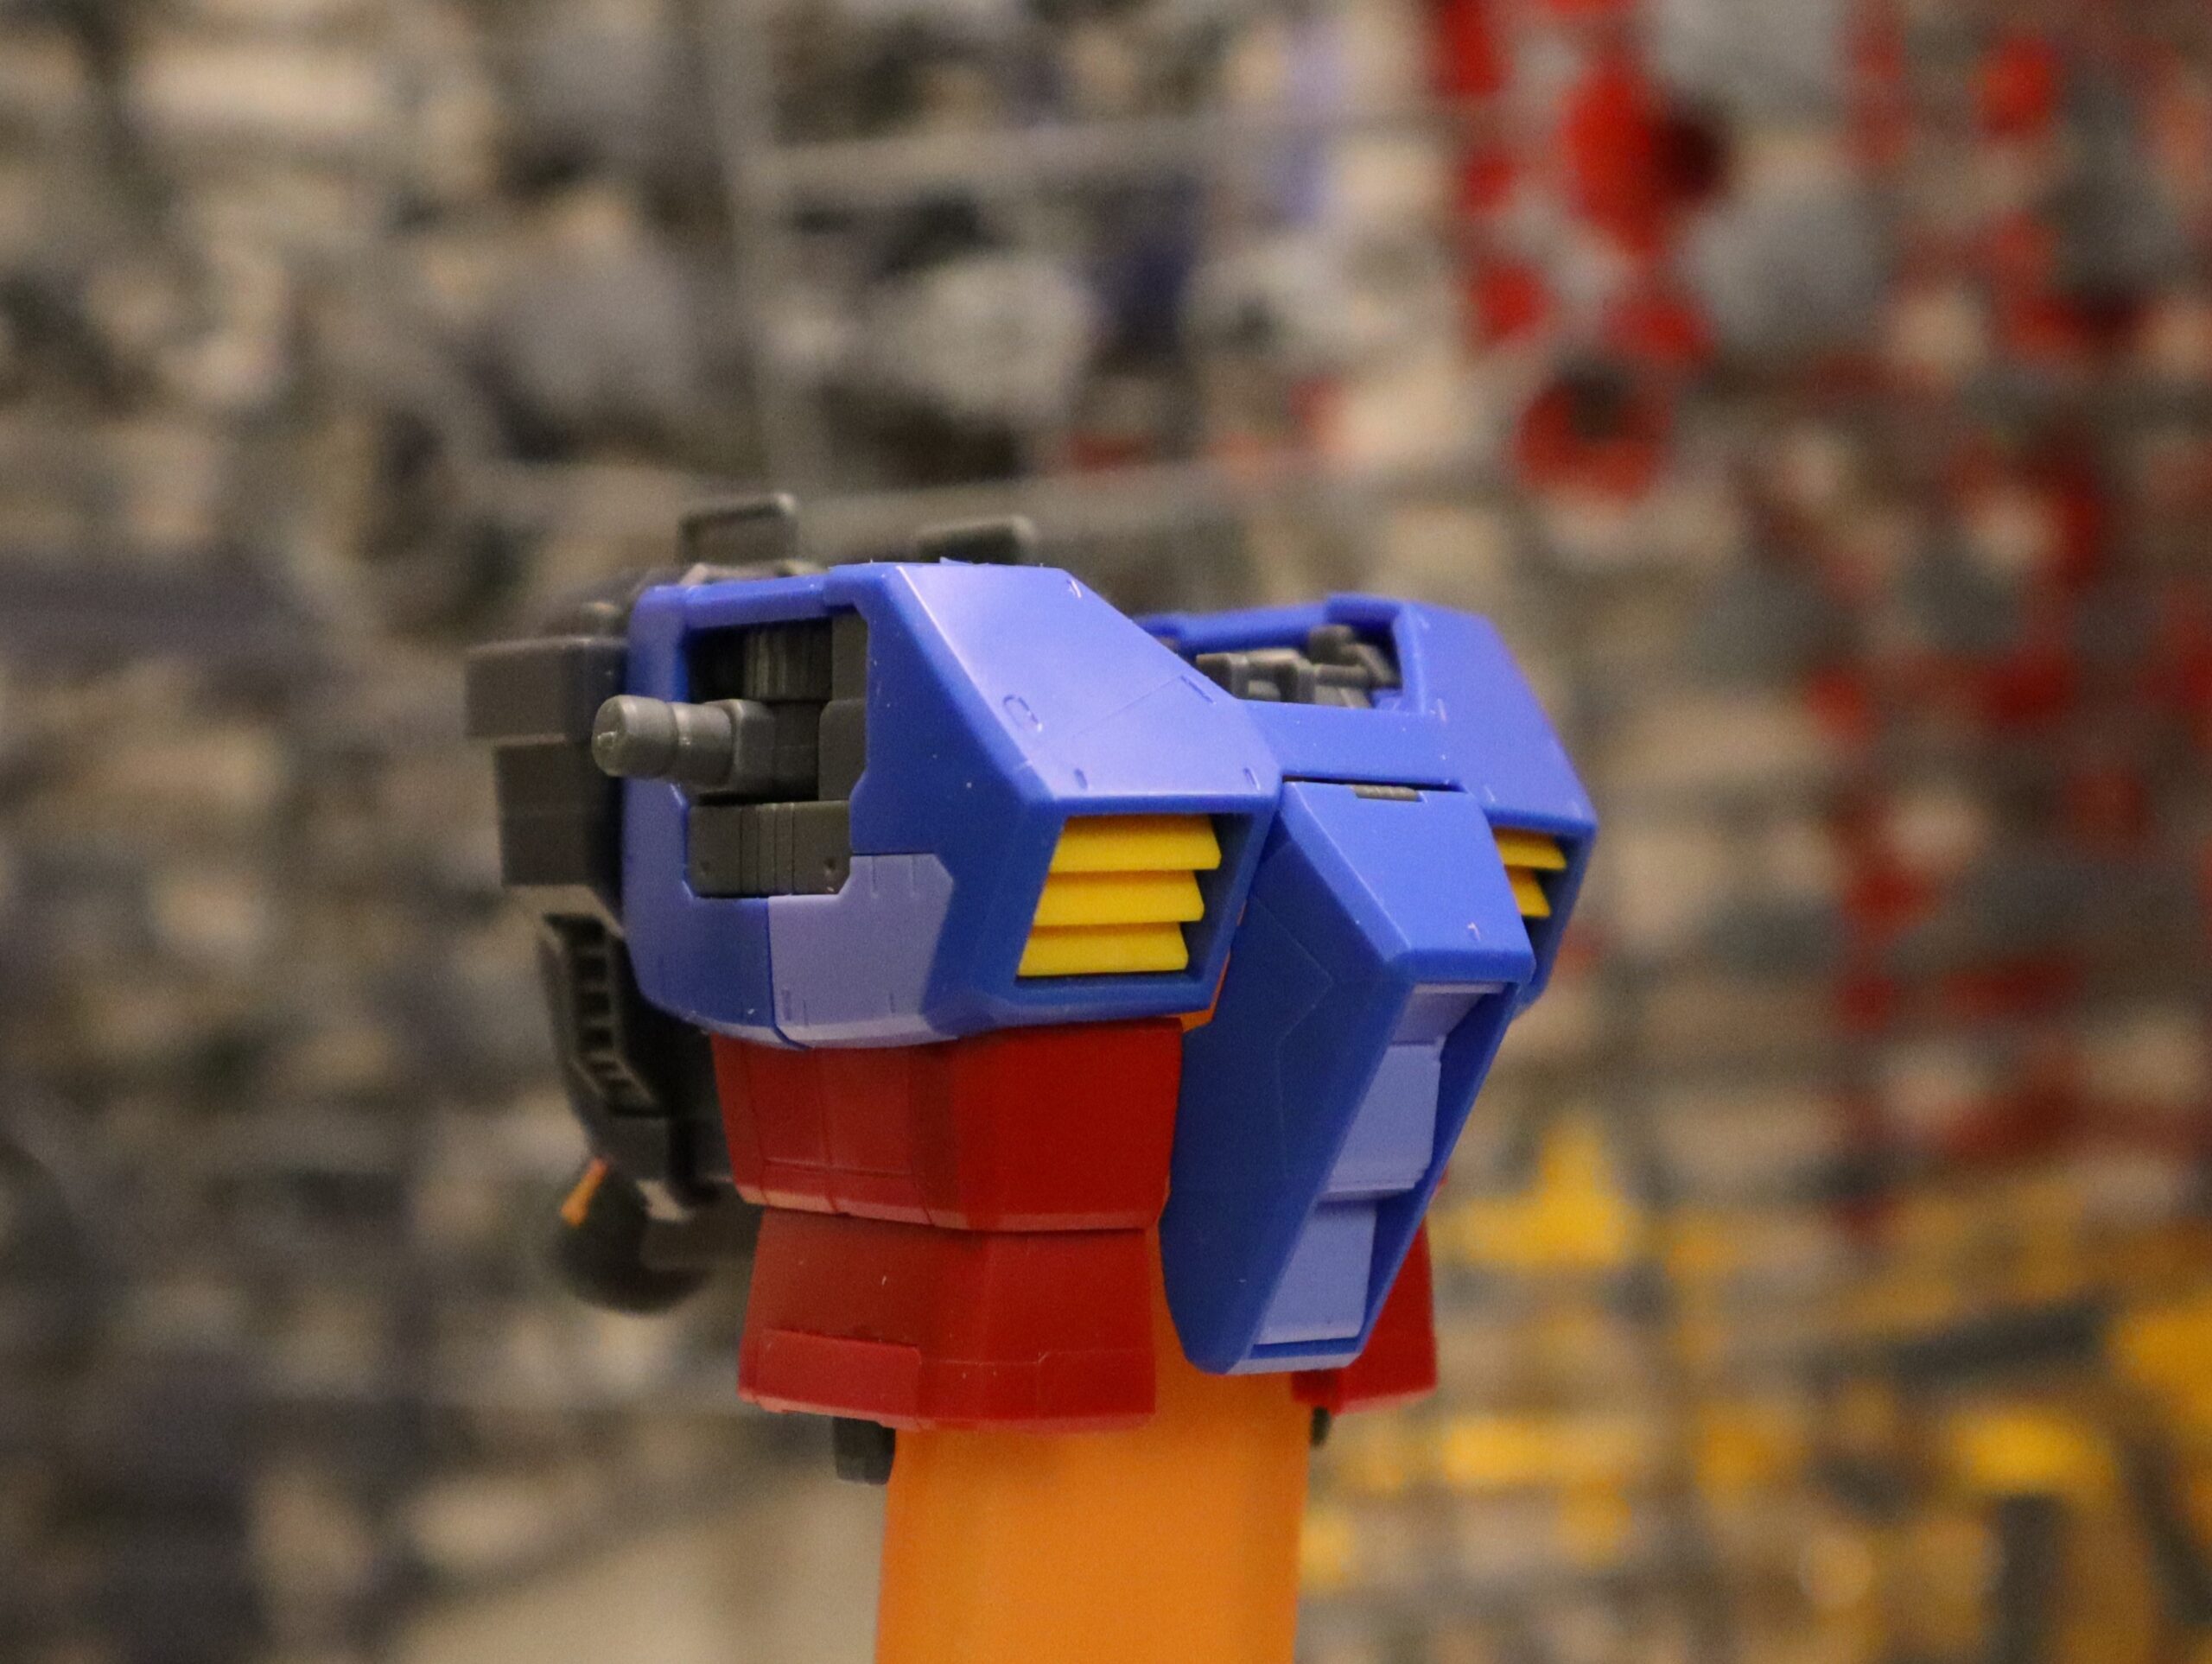
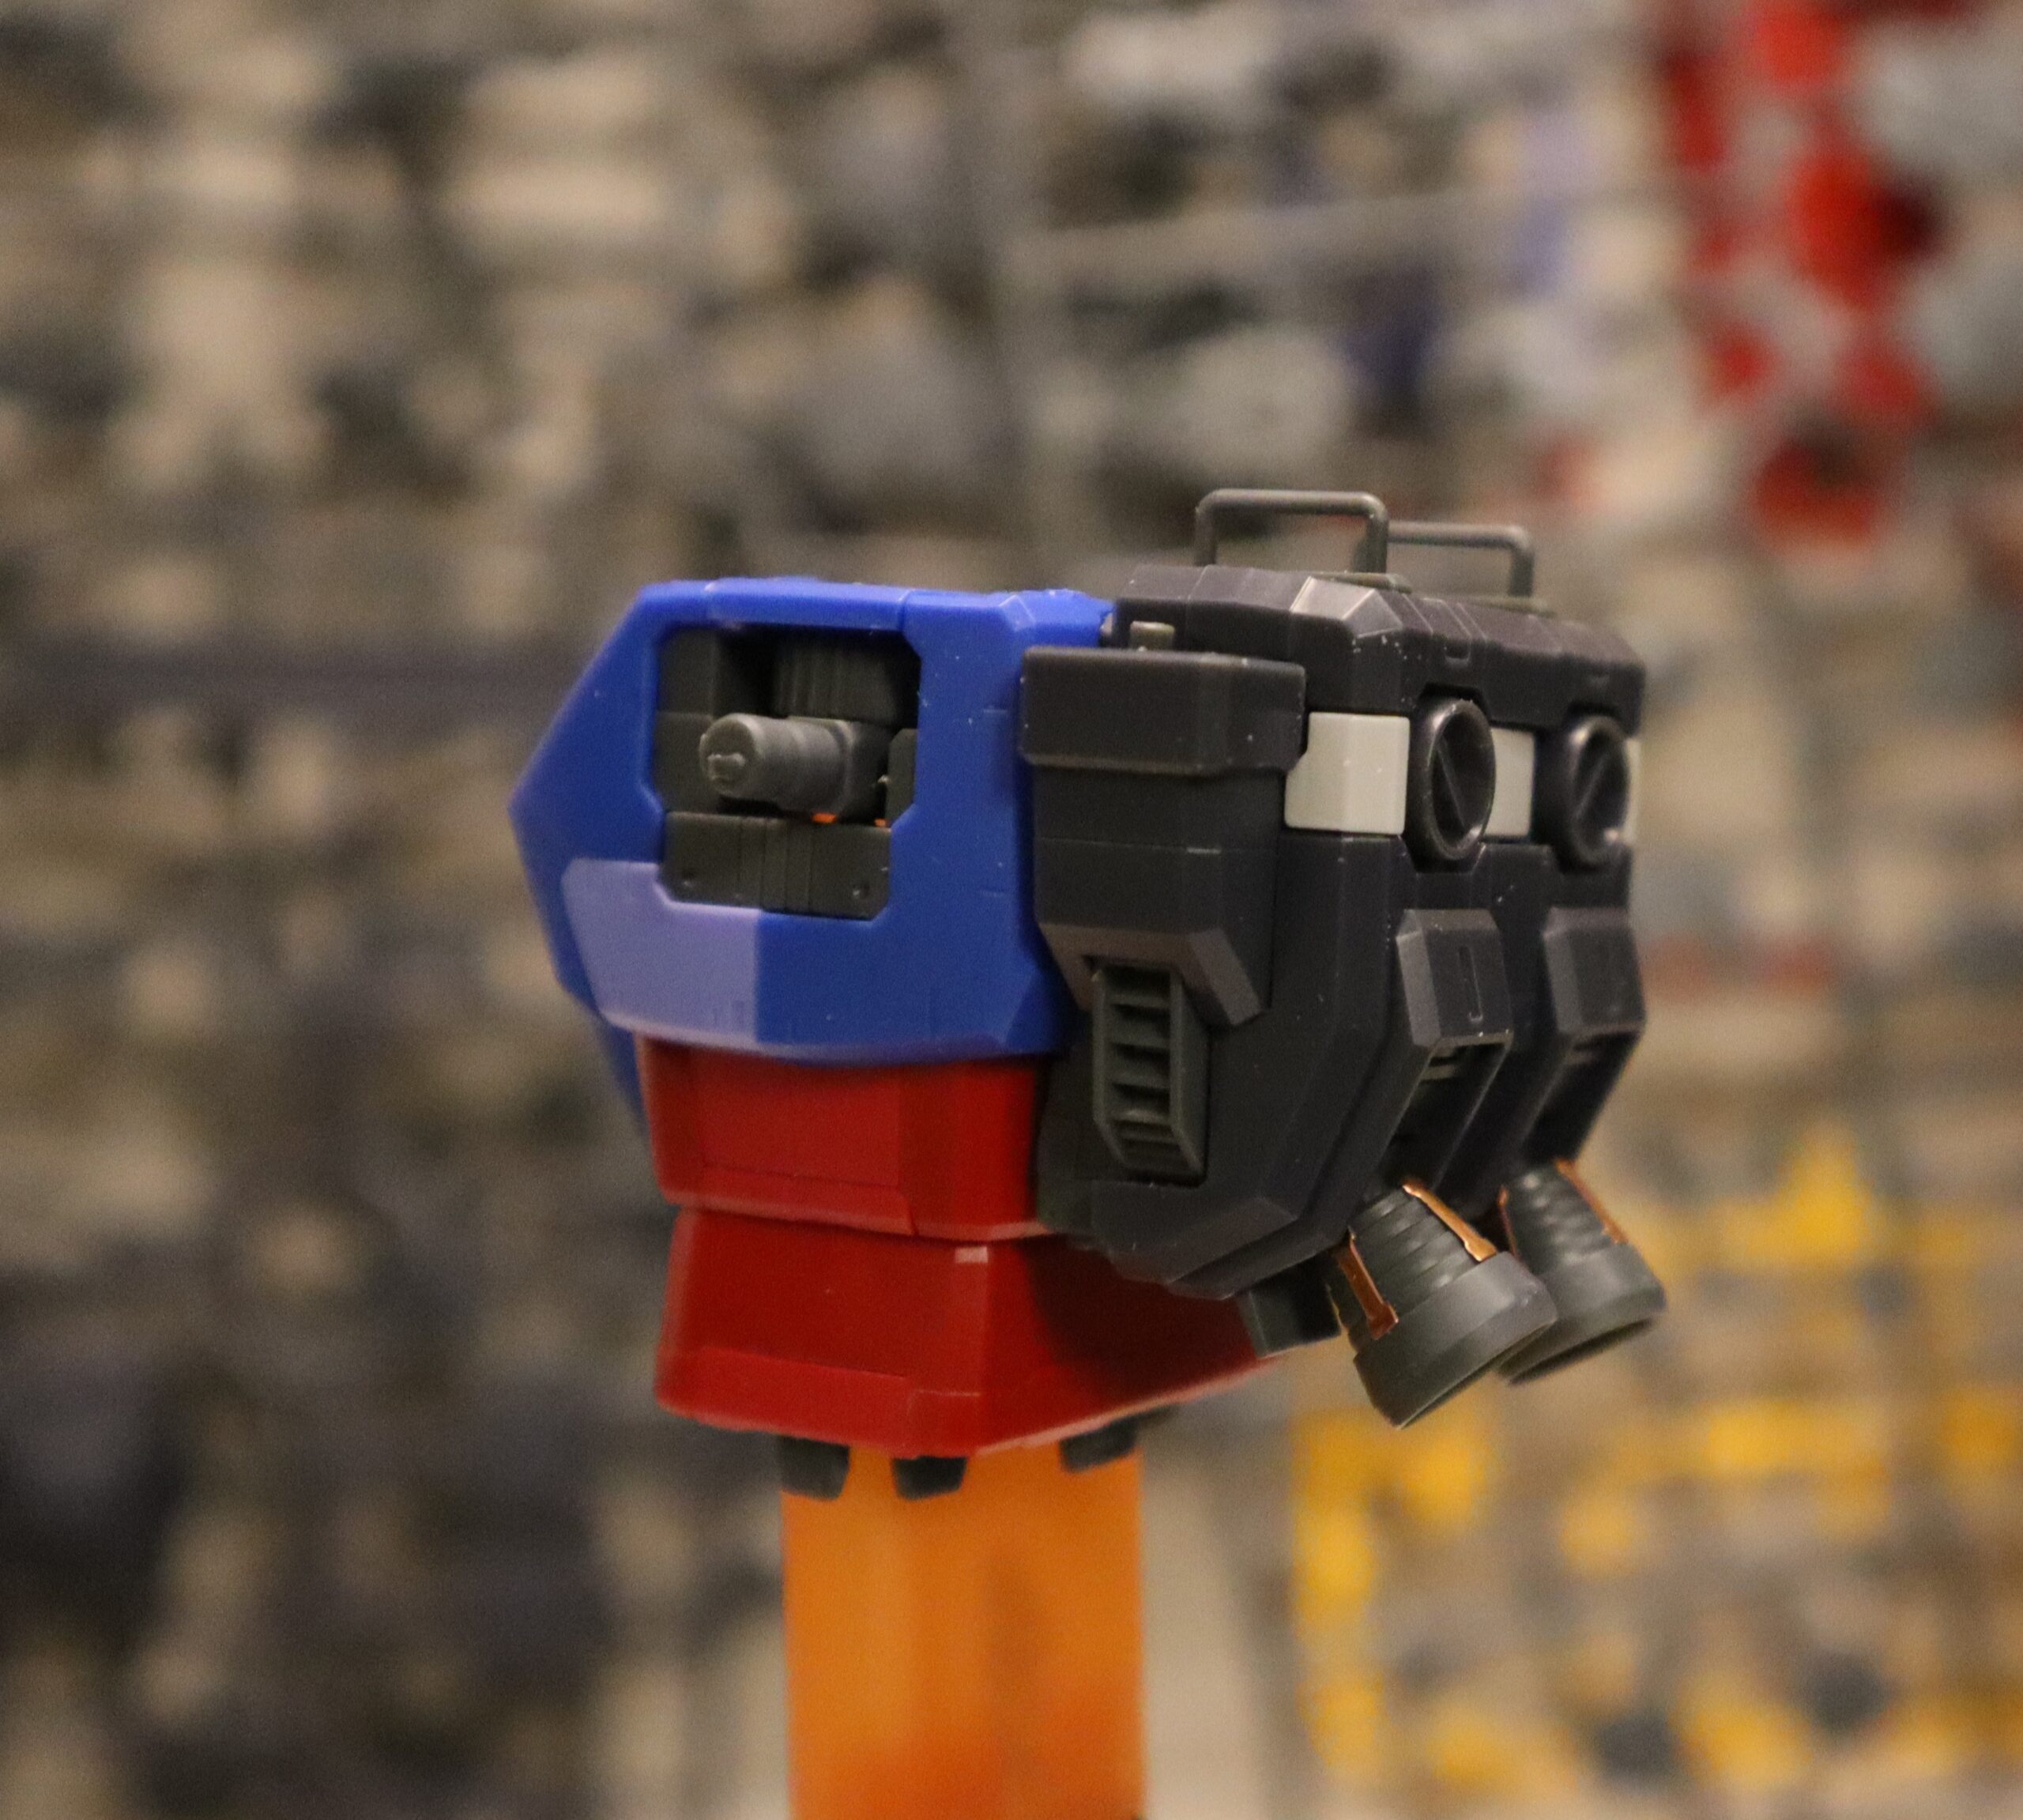
Other than the stickers and the tricky knee pieces, the legs came together quick and they look fantastic. It remind me why I love MG models so much, as the pieces are inherently larger, but they also tend to remain firmly attached and aren’t subject to constantly falling apart at the slightest jiggle or errant wind.

The legs have great articulation and it’s such a satisfying feeling when you can flex the leg and nothing falls off.

It’s the small things in life.

Putting the Arms Together

I’d taken a bit of a break from working on this model to focus on the holidays and do some chores that I’d been putting off forever, and once I start getting into a cleaning an organization groove, it takes a lot to stop.

But that’s over and it was time to get back to the model. I’d already completed the head, chest, and rocket pack for the model, so now it’s just a matter of completing the limbs.

Everything was going along swimmingly, but I want to admit something here — I hate doing the same work twice. It seriously annoys me and guess what doing arms and legs entails? That’s right, it’s two identical things that you have to build twice.

This time, instead of building out one arm and then the other one, I decided to do both simultaneously, like the instructions recommend, and I wasn’t as aggravated as I usually get, where I’ll just assemble one arm and then put off doing the other one by completing a leg or something and then coming back.

I also don’t look ahead on the instructions when I do these models. Every new page carries a surprise and this one involved my eternal bane: stickers. Long, narrow stickers that needed to be precisely placed upon the edge of a plastic piece.

This needed to be done four times (eight counting the other arm piece). Luckily I had my new tweezers, but one thing that made itself obvious during this process is that I probably need to get one of those “helping hands” setups that people use for soldering, as well as a magnifying glass for sticker and decal placement. Since I’m probably going to be soldering projects in the future, it’ll be a good investment anyway.

The instructions have you build a bunch of smaller components, which are then all assembled at the end into the arms themselves.

Since most of the pieces were dark gray plastic and white ABS, I didn’t have to spend too much time on mark removal. With the dark gray plastic, it’s easy to scrap off most stuff with my thumb, and the marks don’t show up too much on the white plastic, so I don’t have to do too much in the way of intense sanding and polishing.

I was happy with how both arms were coming together. All the pieces snapped together and fit tightly and there wasn’t that one piece that never wants to play nice and constantly fall off, which was a welcome gift.

The only squirrely part were the hands, which as you can see in the picture below, are a bit much. It’s great for manipulating individual fingers, but each digit is held in with a ball-and-socket joint and can easily fall out while trying to get everything in place.

The small size of the fingers and where they’re mounted to the sprue also makes them hard to clean marks off once they’re clipped out, so that took a lot more time than I expected, but I was pleased with the end result.

I finished up the shoulder pieces and completely forgot to take pictures of their assembly, but rest assured it went smooth with absolutely no issues whatsoever.

The next step will be the legs, which traditionally take a little longer due to the increased number of pieces used, and then finally the waist.

I’m really enjoying this model so far and though I’ve put together my fair share of RX-78s, I think this is my favorite so far (I’ve never spent the money to purchase a Perfect Grade).

Head Down, Chest Out

After completing the little fight jet thingy, I’m finally getting into the meat of the mech — the chest unit, backpack, and head.

One of my favorite things about Master Grades that continues in this particular model is the ease of assembly, but even with each design iteration some frustrating things remain.

The RX-78 head came together fairly easily, but even after disassembling and reassembling it several times, I could not get the “cap” of the head to fit flush with the other pieces. There’s a noticeable gap and it doesn’t feel like it fits quite right.

The good news is I got the eye sticker straight on the first try, and since we always celebrate the small victories, I will carry this rare achievement forward.

Even if the V crest falls off if you look at it wrong, but at this point it’s a tradition and why mess with that?

Next up was the chest unit, which was probably the fastest I’d ever put together an RX-78 chest, but I was pleasantly surprised that the yellow slats in the chest were actual moving slats. This is my first MG version of the model, so it was a first for me, but I got a kick out of actually being able to move those things after all these years.

The one part that seems off for now is the yellow collar piece on the chest unit doesn’t seem to be very secure. It wasn’t so loose that it just fell off with gravity, but I found that it easily disengaged with only slight pressure, so it’s something I’ll have to keep in mind when attached other pieces to the chest unit and posing it.

The last big thing from this session was the backpack, which had a lot of extremely thin stickers that I needed to apply to the nozzles. You know I hate stickers, but I got some new tweezers and I managed to get all eight stickers applied without too many issues.

As an added bonus, they were all straight with no wrinkles! Another rare sticker achievement on my part. But I still hate stickers. #decals4lyfe

The backpack also has transparent pieces inside the rocket nozzles, which is a nice touch, but I think from an aesthetic standpoint they’d look better if they’d been tinted an orange or an orange-red color. If I’m feeling froggy, I might paint these later on down the road.

Once I got all these pieces assembled together, I could finally see the size and detail that this MG model will have and I’m happy with what I have so far. It’s a nice, clean model of an old standby. They’ve had 40 some odd years to learn lessons and get things right, and I’m liking what I’m seeing.

Here are the tools and discard piles from this section. We also emptied out another sprue:

One Little Ship

This is the first MG build that I’ve done in well over a year, having taken time off to do traditional vehicle and aircraft models for awhile.

I also just completed the gold-plated RG Unicorn Gundam, which went as smooth as silk, but I was really looking forward to getting back into my favorite grade of Gundam models.

The MG RX-78-2 that I’m working on now is the third version of this model type and it includes a little ship that the pilot can scoot around in when he inexplicably doesn’t want to pilot a giant robot war machine.

One of the great things about a Master Grade model is that the pieces tend to be larger, making them easier to handle and assemble with less room for error or breakage compared to HG and RG types.

However, we have this wee ship that we’re supposed to assemble, so the pieces are kind of small, but one of the things that immediately became apparent was that I was going to have to bring out the file and polisher.

The Gold Plated Unicorn Gundam I’d just assembled had spoiled me–the pieces were mounted to the sprues in a way that any stress or similar marks from the mounting points would be either hidden when assembled or under-gated if they were going to be seen. The plating also turned out to be surprisingly forgiving and I didn’t really need to do any filing, sanding, or polishing on the pieces.

But I got snapped back to reality real quick on this guy. All of the blue and red pieces needed to have at least some sort of filing & sanding with a subsequent polish to remove sprue marks from the pieces.

Depending on the type of plastic used, these marks stand out like a sore thumb, especially on colored pieces, so a lot of time can be spent cleaning-up the pieces before they’re assembled, so it can be slow going at times.

For this ship, the red and blue pieces would be the ones I’d have to clean up. The clear and white pieces don’t really need much work because you can’t see the imperfections too much (I always check after assembly to be sure and if it’s obvious, I’ll take them apart and clean them up as well).

Other than that, the little ship went together smoothly. It has a couple of transformation options, with folding wings, and a nose assembly that can either be retracted into the main body or fully extended.

It’s not a piece that’s incorporated into the main Gundam body, so it’s an accessory. That makes it an odd choice to be the first thing to assemble (instead of with all the other accessories and weapons at the end), but it turned out to be fortuitous by allowing me to get back in the habit of filing and polishing pieces before working on the main Gundam parts themselves.

By completing the ship, I also emptied my first sprue, which has to be a record. They almost always design these things so that you’re basically using all the sprues until nearly the very end, but this one had a sprue dedicated just to this ship.

I’ve also included a picture below showing all the tools I used for this part of the model. It’s something I always wished more people would include in their videos and pictures of their model builds — they always show the model itself, but not all the tools they used to complete it, so that’s why I include a pic at the end of all these posts.

Master Grade RX-78-2 V3

Oddly enough, out of all the RX-78 models I’ve done, this is the first Master Grade version that I’ve started. This model in particular is V 3.0, so it has some updates to the model construction, as well as a separate little ship that wasn’t in the original anime or models.

I’m looking forward to this one, since it’s been awhile since I’ve done an MG, but also curious to see what the main differences are between this construction and a High or Real Grade version of the RX-78.