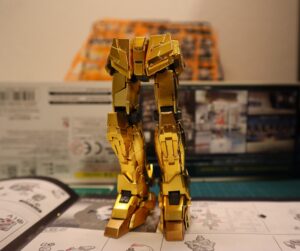
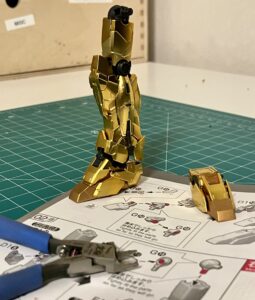
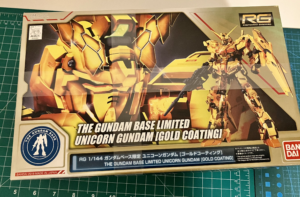
- Leg Dayby pauliegon
The Gundam is half-complete at this point and after assembling the legs, we’ll pretty much have a complete mech sans weaponry.
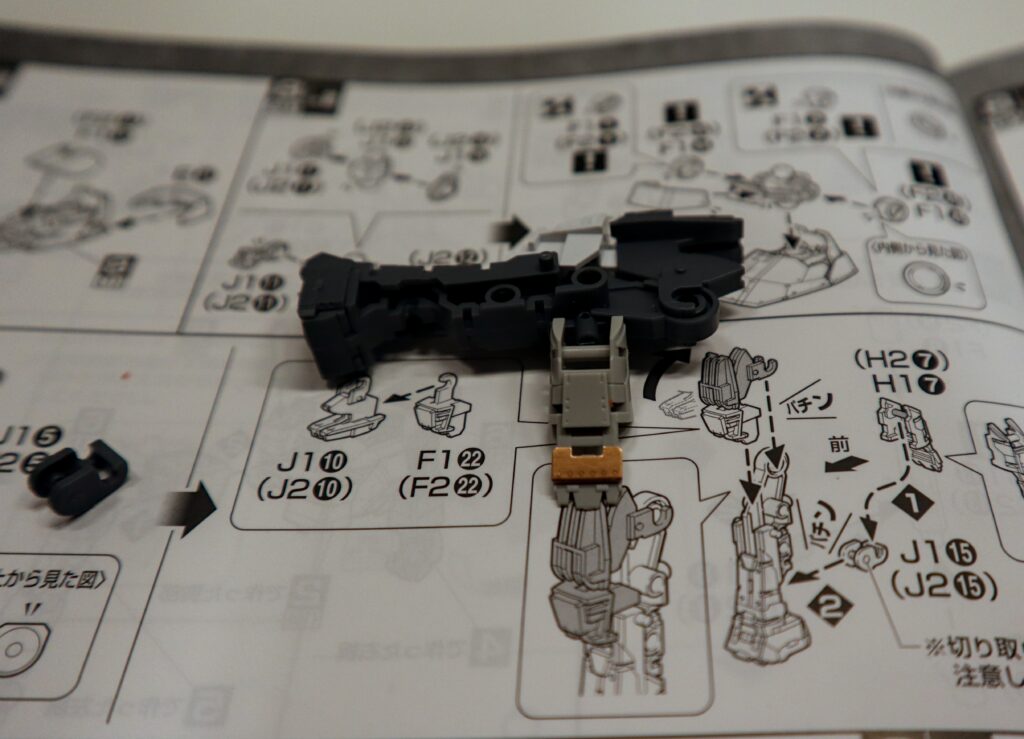
Like most Master Grades, the legs use an inner black plastic frame that are assembled in two halves. They also feature a few hinky things here and there that’ll leave you staring at the instructions and scratching your head to figure out how these pieces really go together.
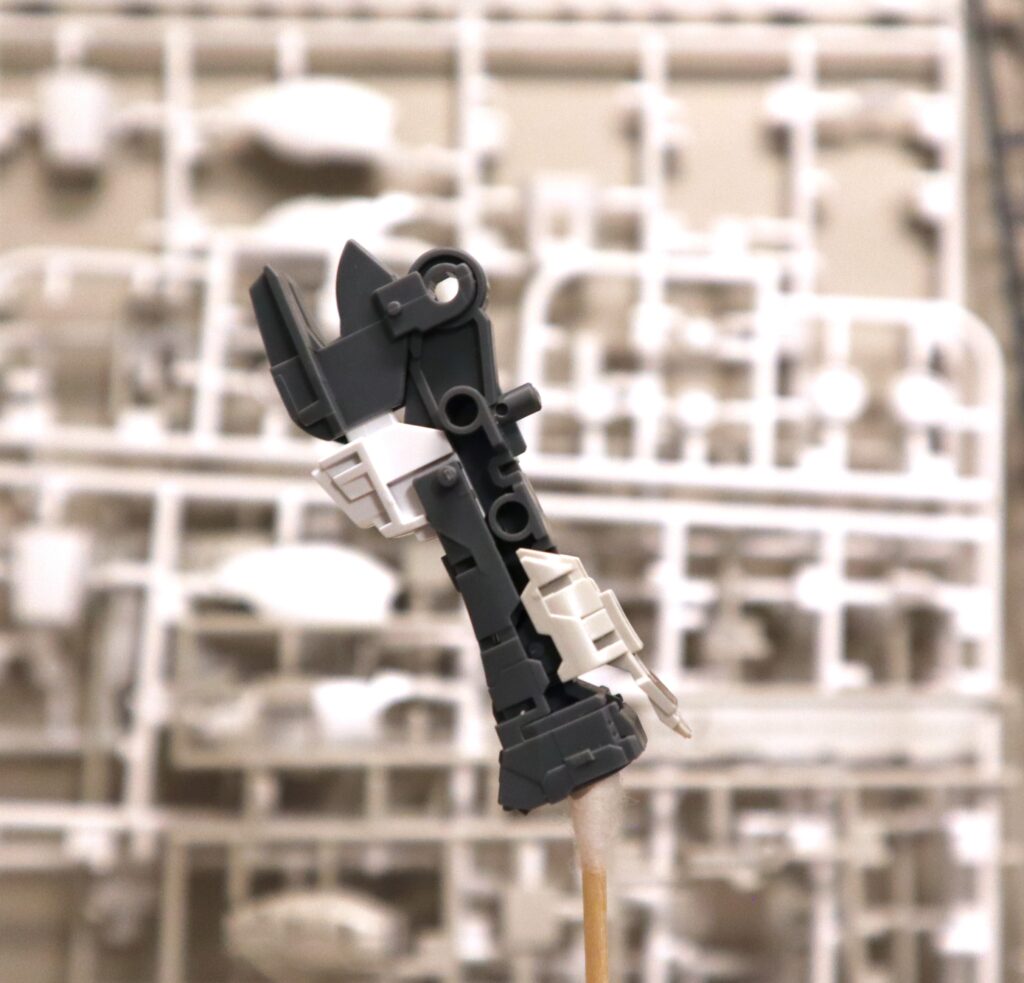
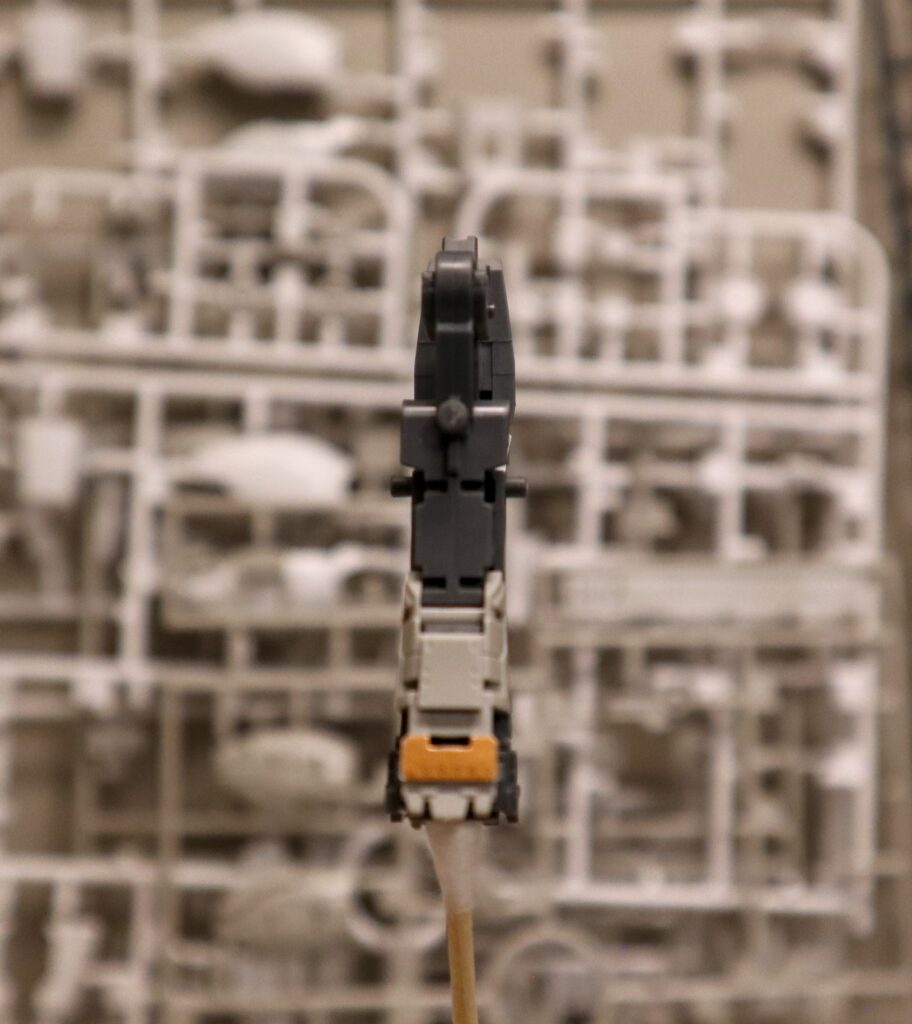
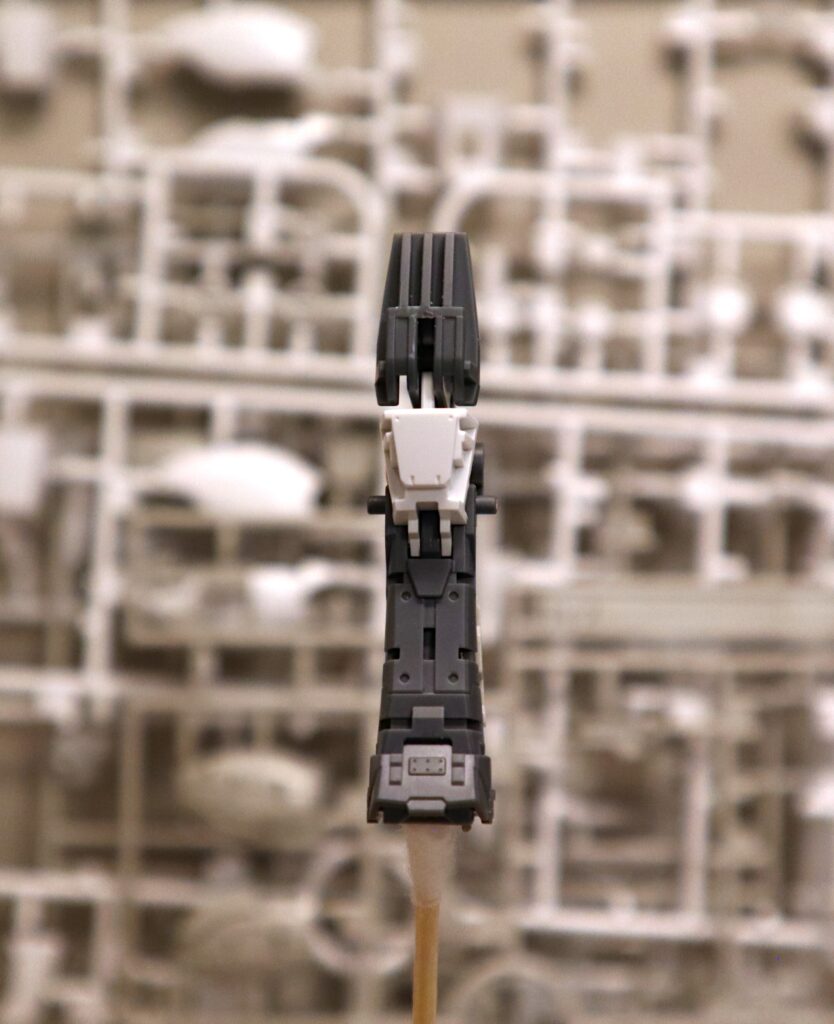
For this one, it was the knee area. The upper and lower plastic frames went together fairly quickly and easily, and the first few white plastic pieces that serve as the leg cladding clicked in like they were supposed to, but it was the knee pieces that tripped me up and it took a few tries to make sure I had them secured and in the right spots.
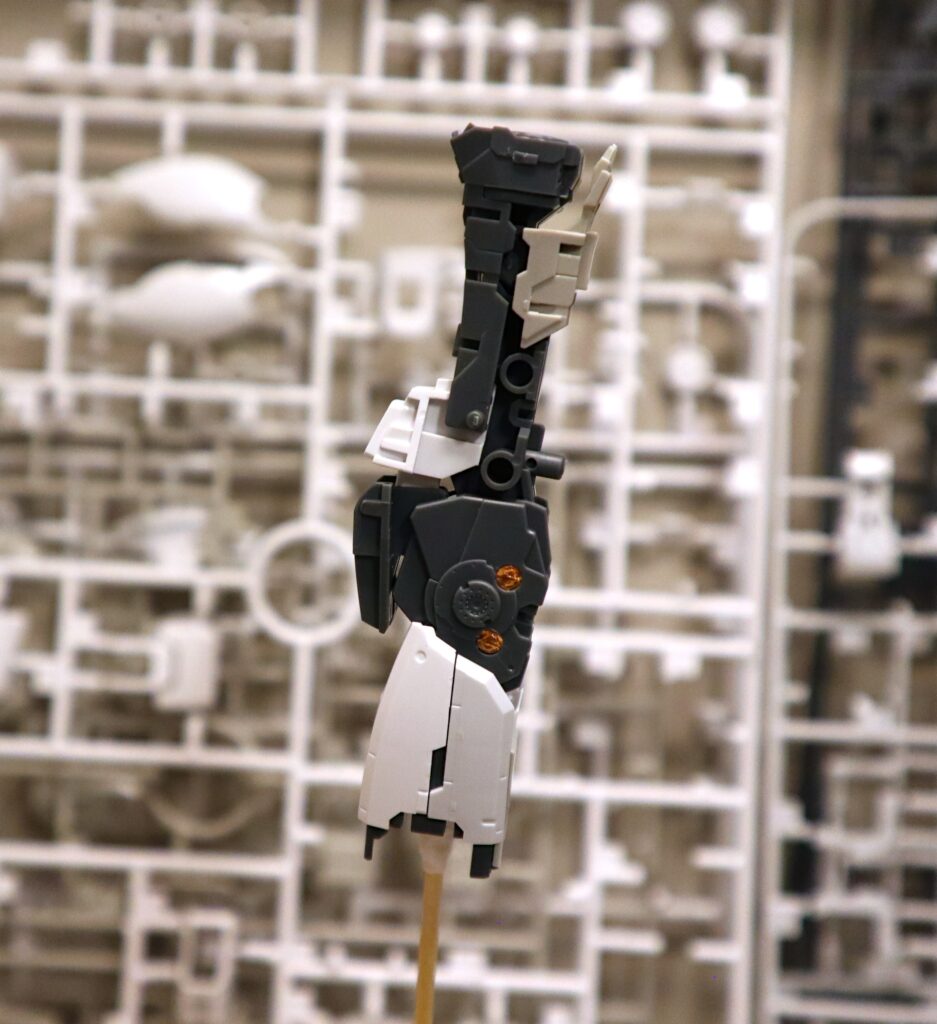
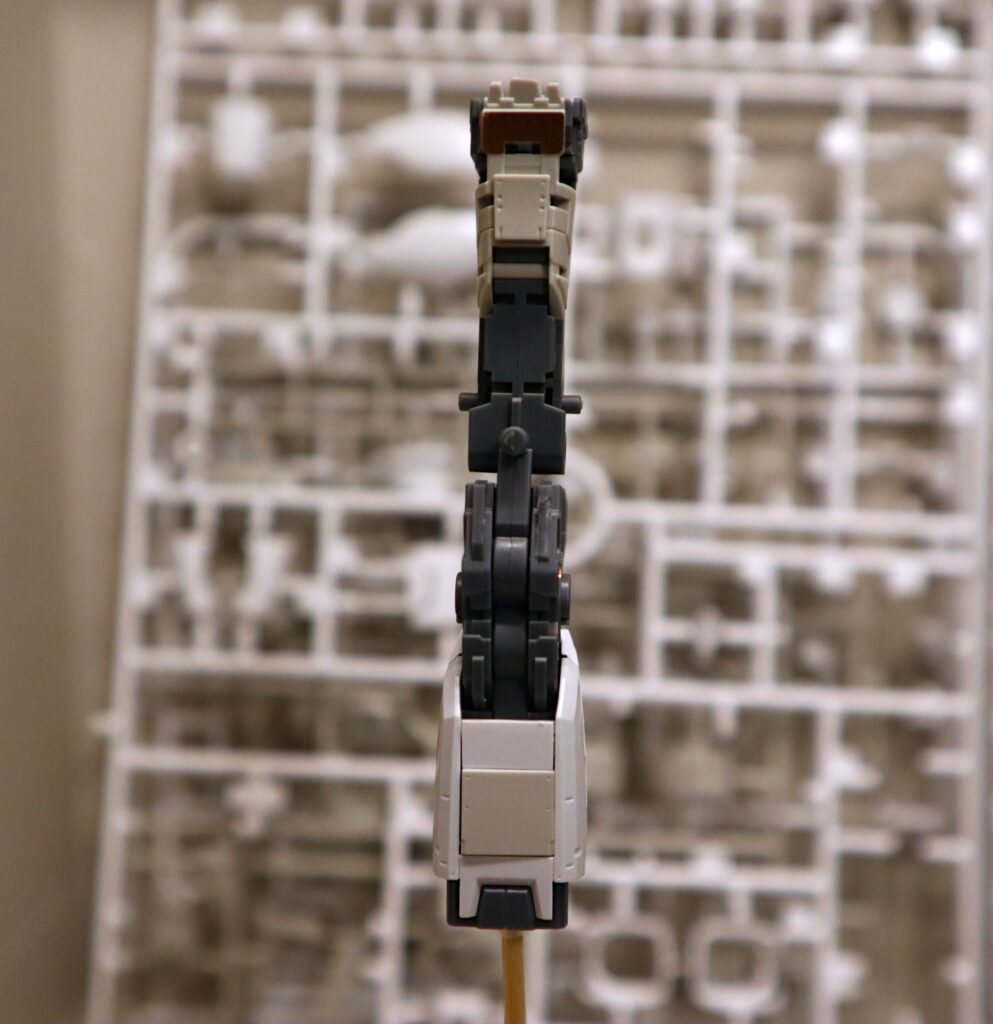
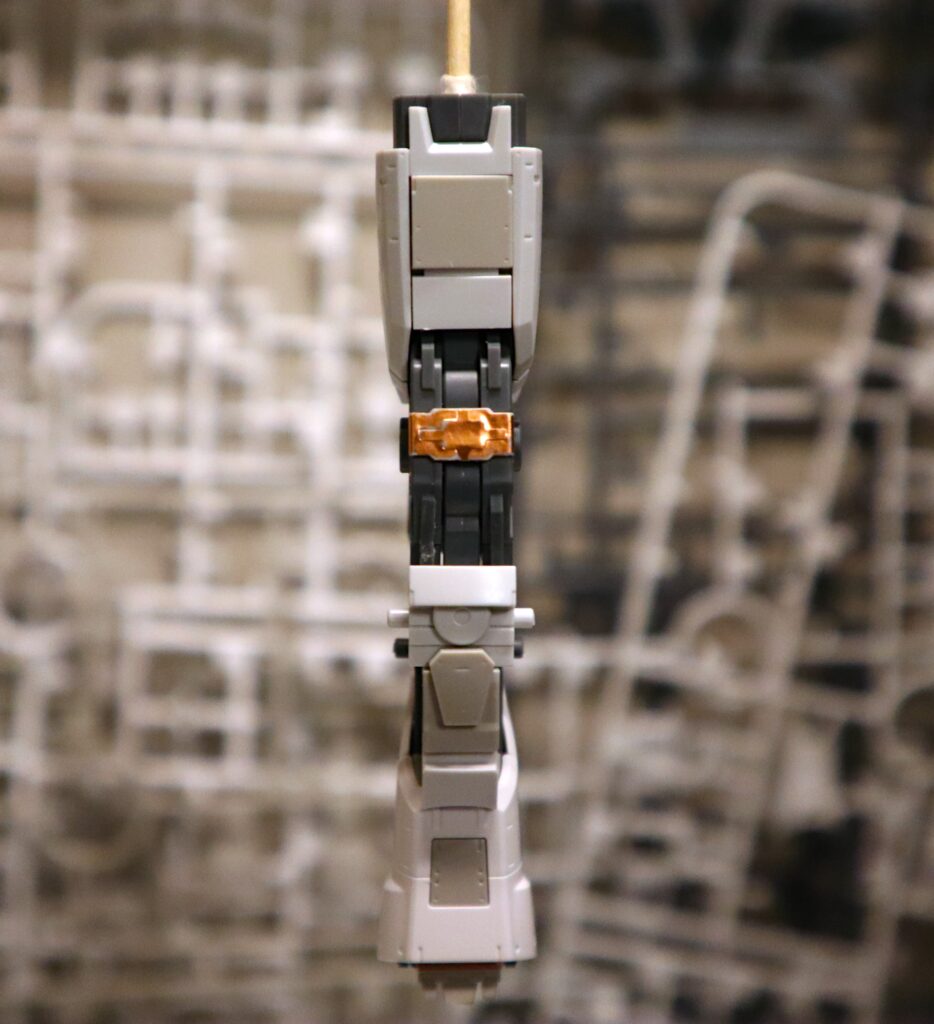
There were also stickers, of course. Tiny, microscopic little dots of foil that I’m supposed to apply with exacting precision to a tiny depression in the plastic.
Fantastic. There’s also a sticker that goes on the backside of the knee and I’m still not sure I did it right. I keep thinking that middle rectangular piece shouldn’t be there and the sticker should serve as framing around it, but before I start cutting into things, I need to think on it some more.
At any rate, it doesn’t look right.
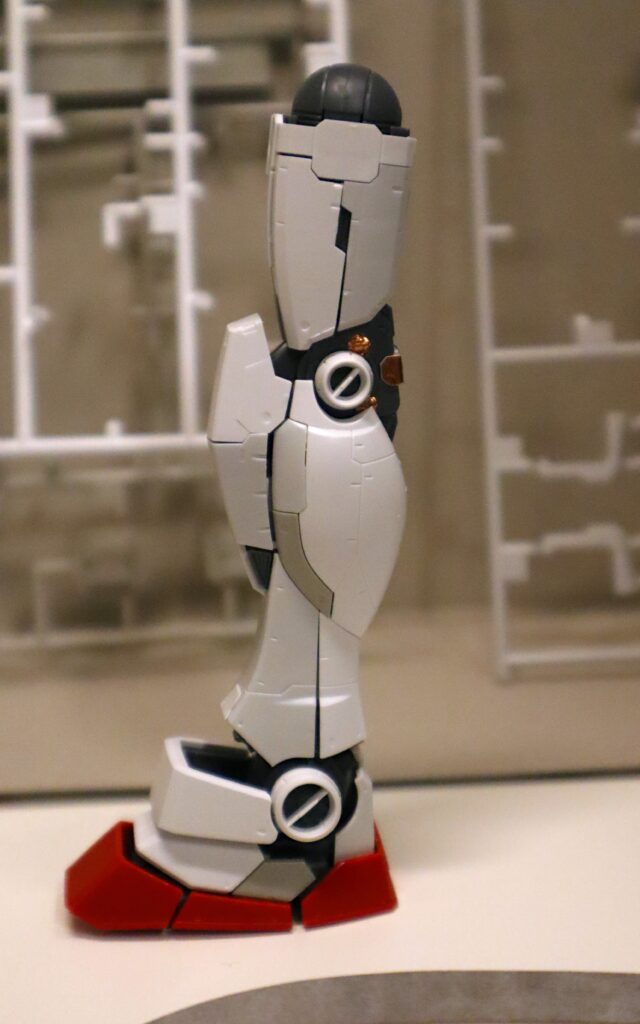
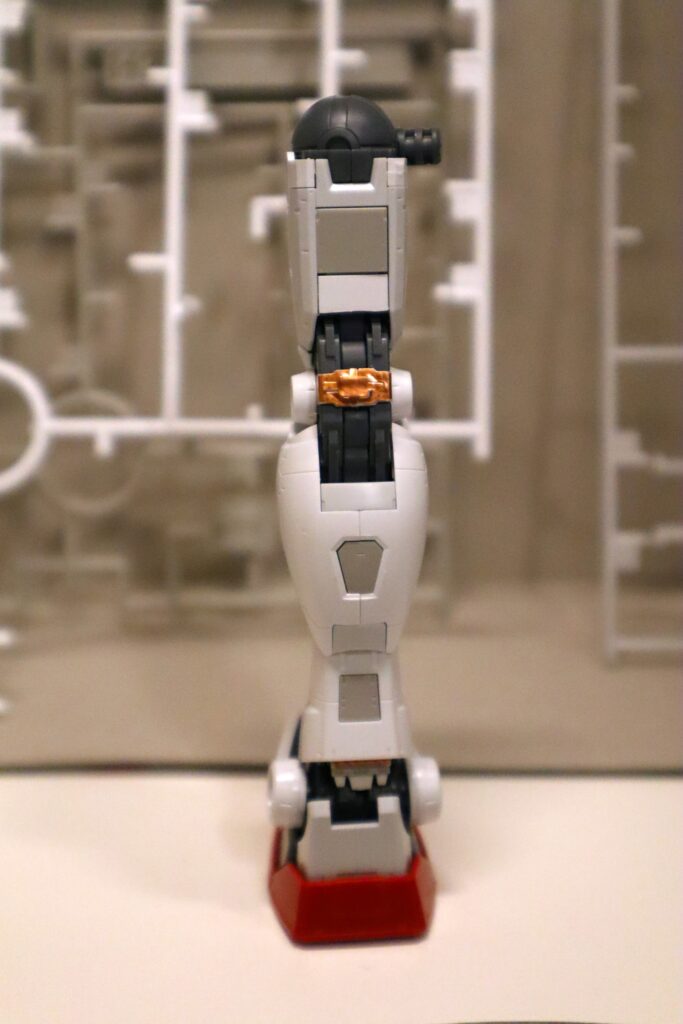
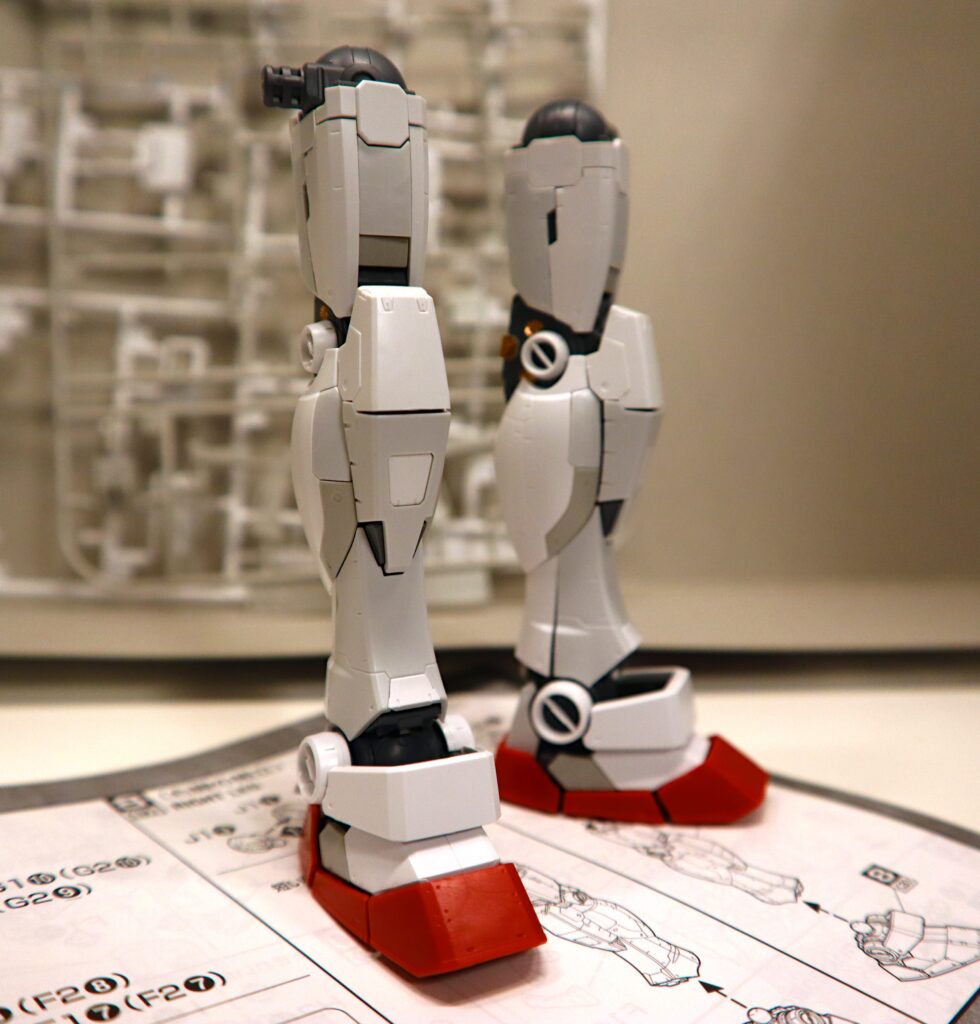
Other than the stickers and the tricky knee pieces, the legs came together quick and they look fantastic. It remind me why I love MG models so much, as the pieces are inherently larger, but they also tend to remain firmly attached and aren’t subject to constantly falling apart at the slightest jiggle or errant wind.
The legs have great articulation and it’s such a satisfying feeling when you can flex the leg and nothing falls off.
It’s the small things in life.
- Putting the Arms Togetherby pauliegon
I’d taken a bit of a break from working on this model to focus on the holidays and do some chores that I’d been putting off forever, and once I start getting into a cleaning an organization groove, it takes a lot to stop.
But that’s over and it was time to get back to the model. I’d already completed the head, chest, and rocket pack for the model, so now it’s just a matter of completing the limbs.
Everything was going along swimmingly, but I want to admit something here — I hate doing the same work twice. It seriously annoys me and guess what doing arms and legs entails? That’s right, it’s two identical things that you have to build twice.
This time, instead of building out one arm and then the other one, I decided to do both simultaneously, like the instructions recommend, and I wasn’t as aggravated as I usually get, where I’ll just assemble one arm and then put off doing the other one by completing a leg or something and then coming back.
I also don’t look ahead on the instructions when I do these models. Every new page carries a surprise and this one involved my eternal bane: stickers. Long, narrow stickers that needed to be precisely placed upon the edge of a plastic piece.
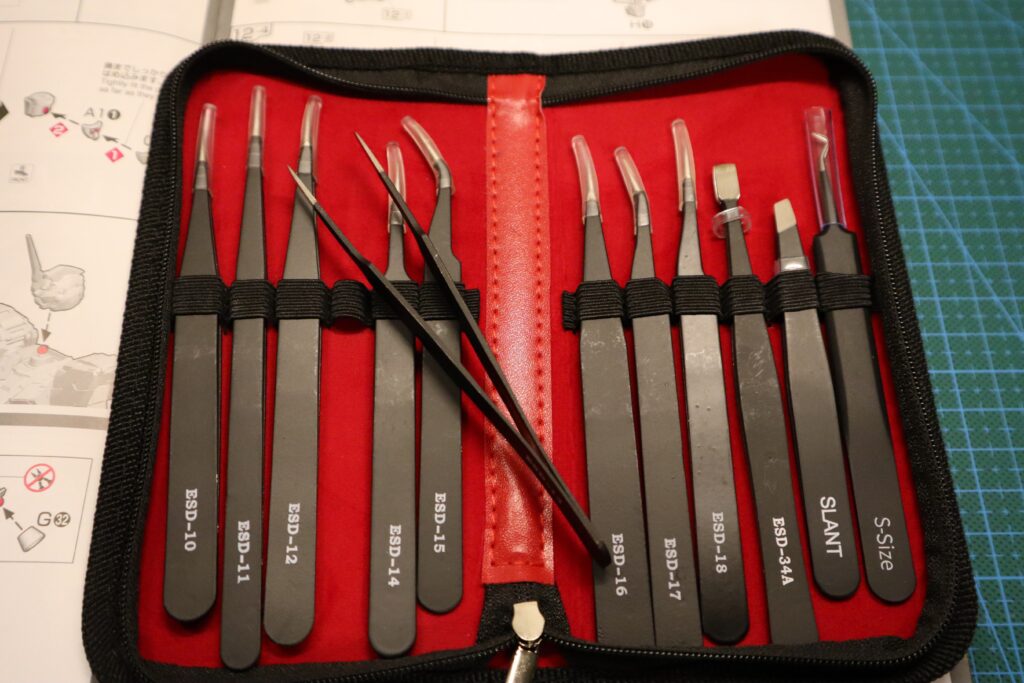
This needed to be done four times (eight counting the other arm piece). Luckily I had my new tweezers, but one thing that made itself obvious during this process is that I probably need to get one of those “helping hands” setups that people use for soldering, as well as a magnifying glass for sticker and decal placement. Since I’m probably going to be soldering projects in the future, it’ll be a good investment anyway.
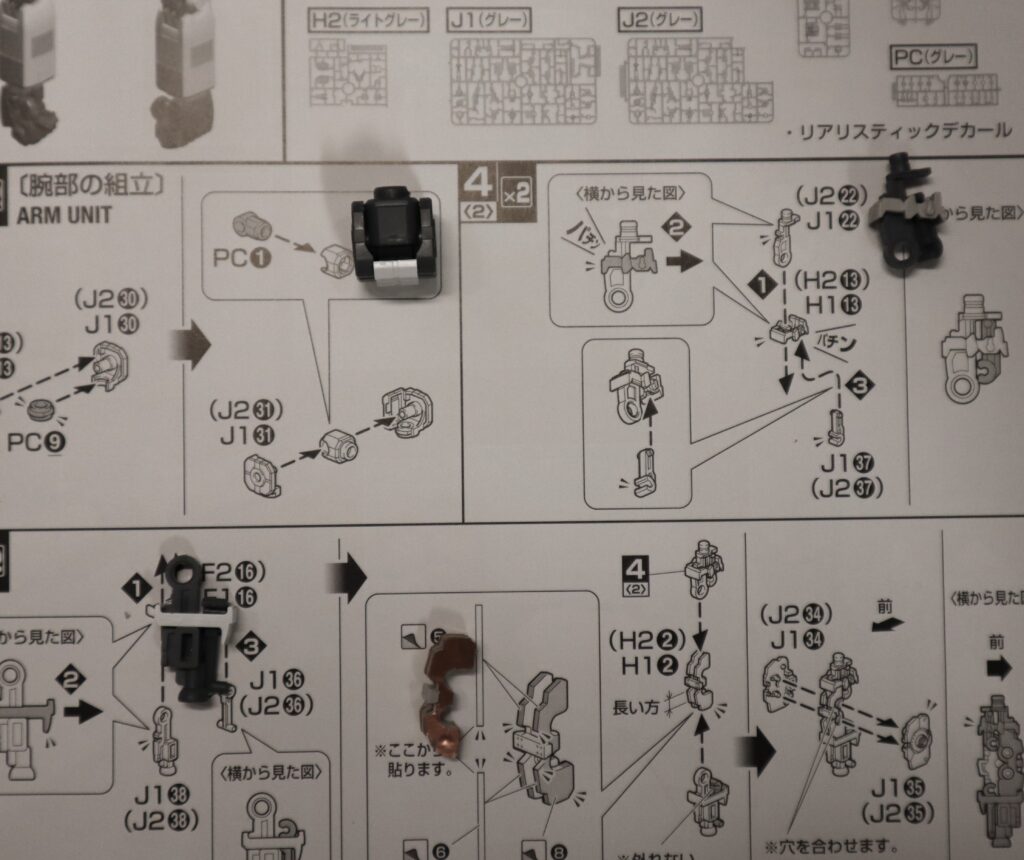
All these little pieces 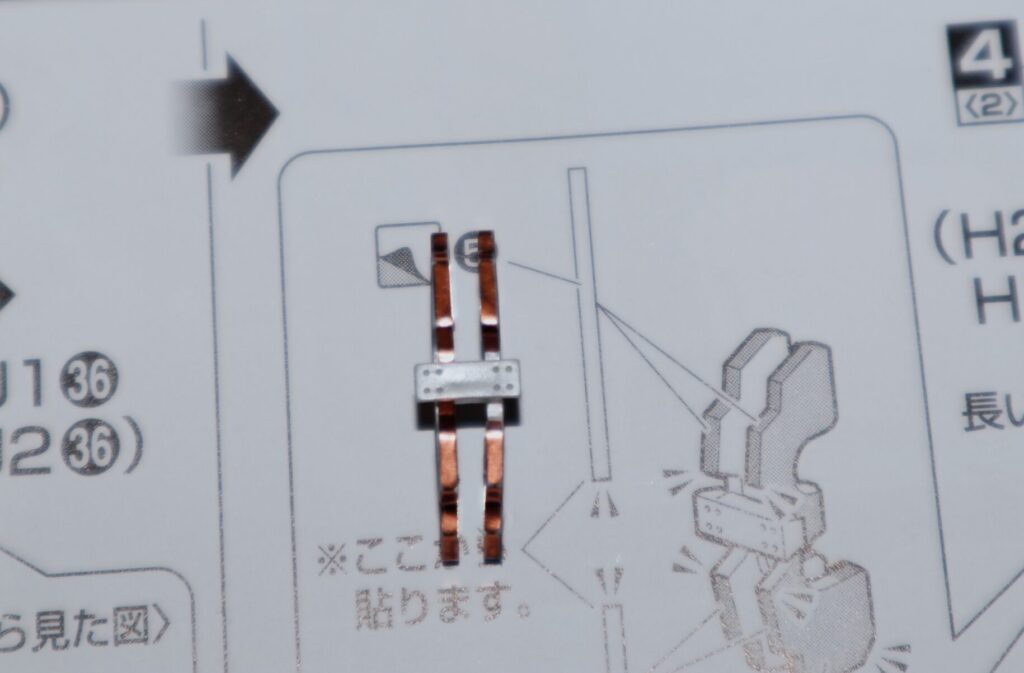
Stickers are my bane, but not too bad here The instructions have you build a bunch of smaller components, which are then all assembled at the end into the arms themselves.
Since most of the pieces were dark gray plastic and white ABS, I didn’t have to spend too much time on mark removal. With the dark gray plastic, it’s easy to scrap off most stuff with my thumb, and the marks don’t show up too much on the white plastic, so I don’t have to do too much in the way of intense sanding and polishing.
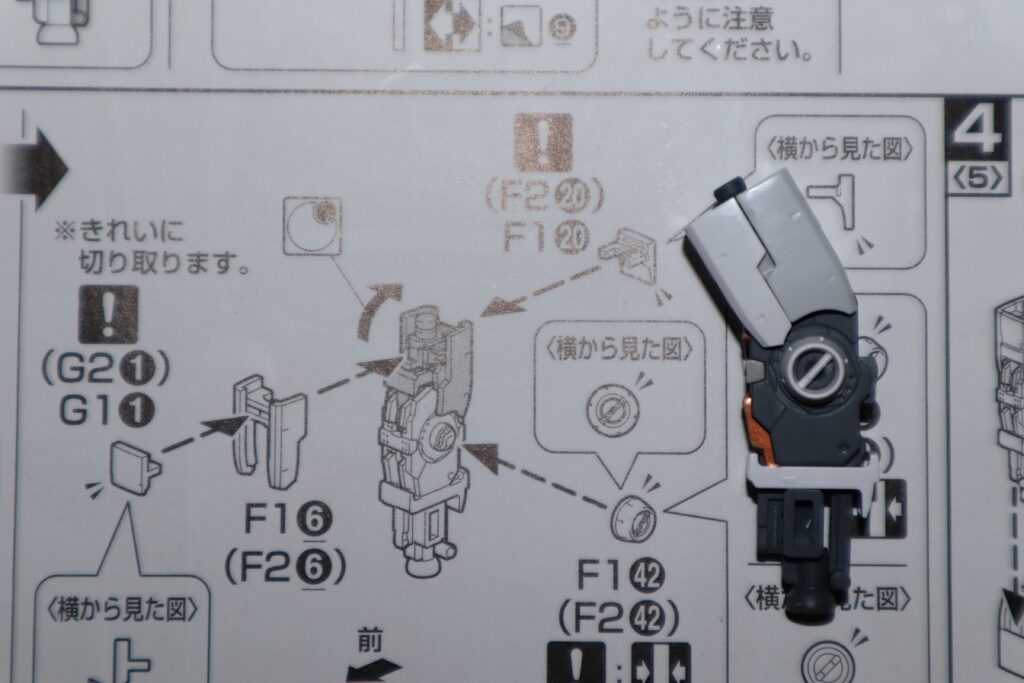
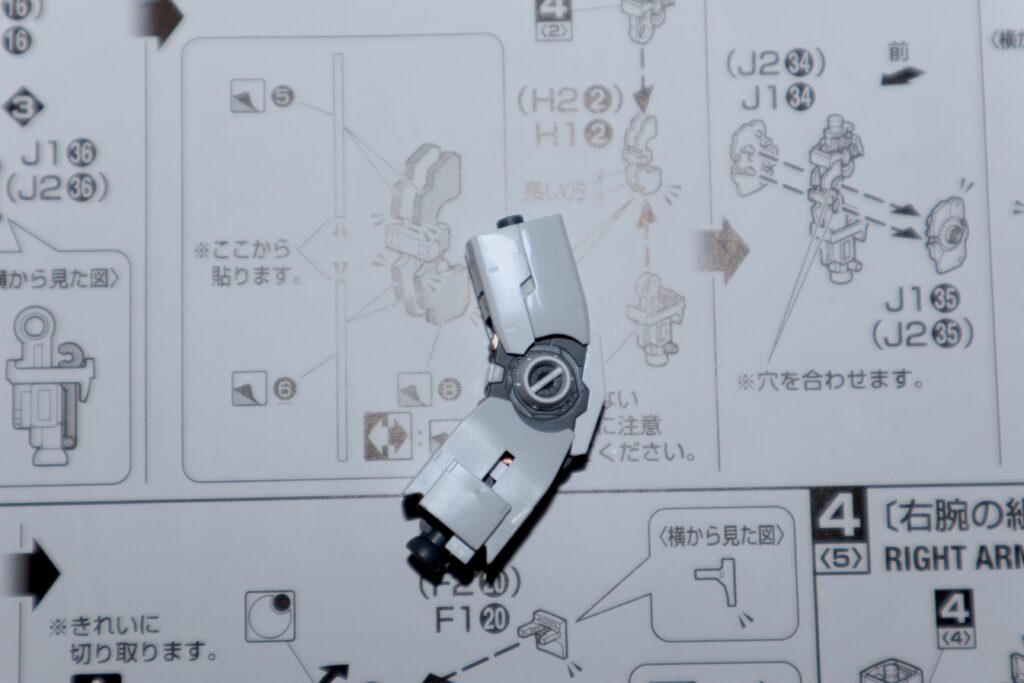
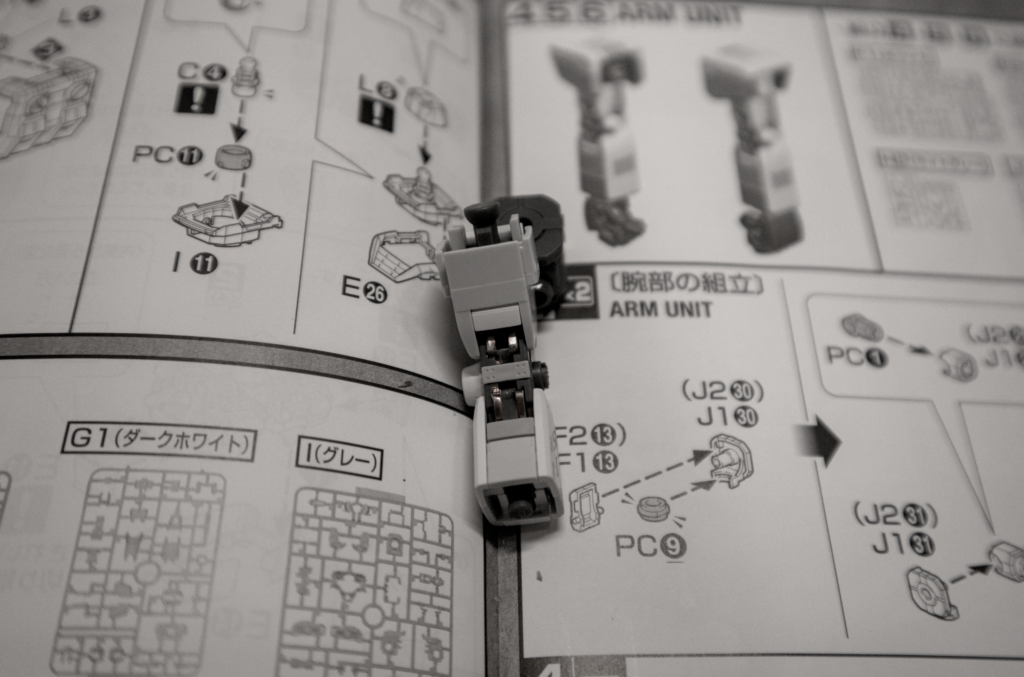
I was happy with how both arms were coming together. All the pieces snapped together and fit tightly and there wasn’t that one piece that never wants to play nice and constantly fall off, which was a welcome gift.
The only squirrely part were the hands, which as you can see in the picture below, are a bit much. It’s great for manipulating individual fingers, but each digit is held in with a ball-and-socket joint and can easily fall out while trying to get everything in place.
The small size of the fingers and where they’re mounted to the sprue also makes them hard to clean marks off once they’re clipped out, so that took a lot more time than I expected, but I was pleased with the end result.
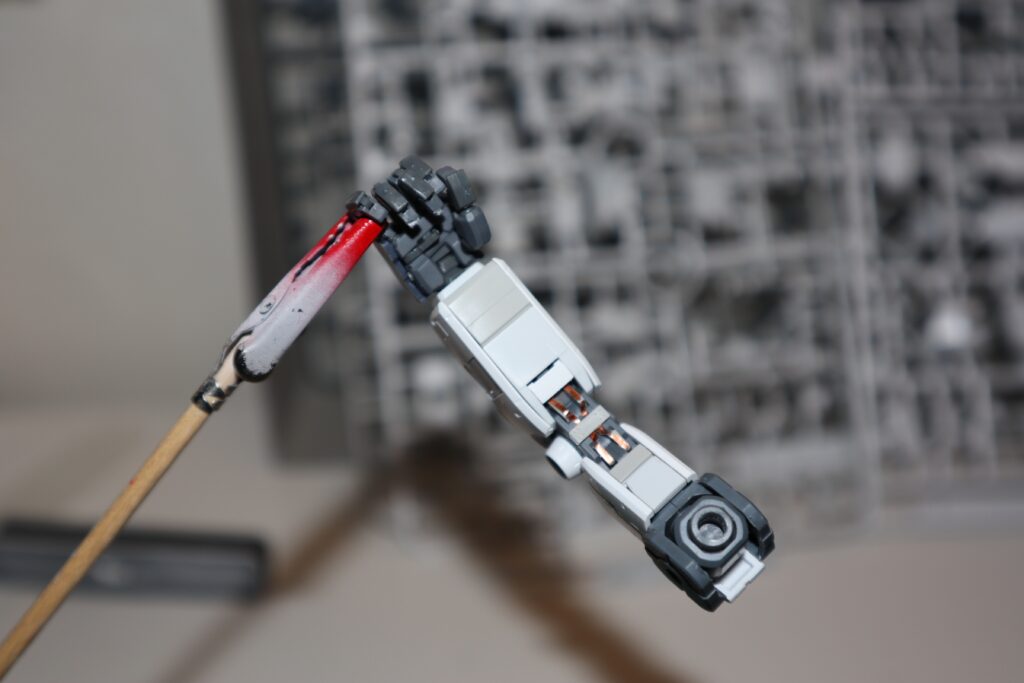
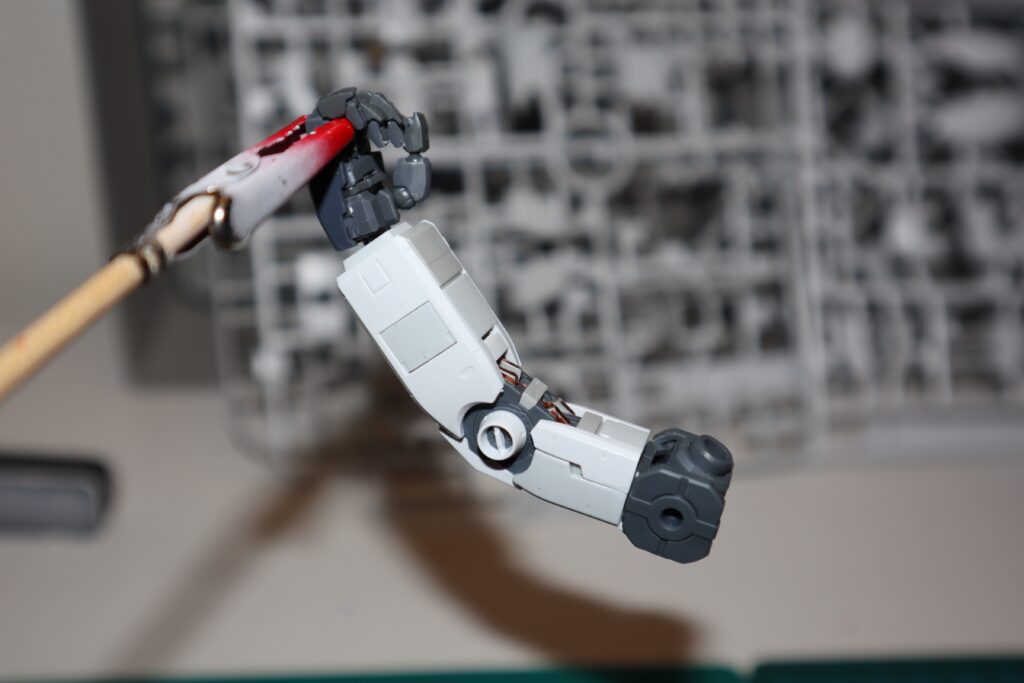
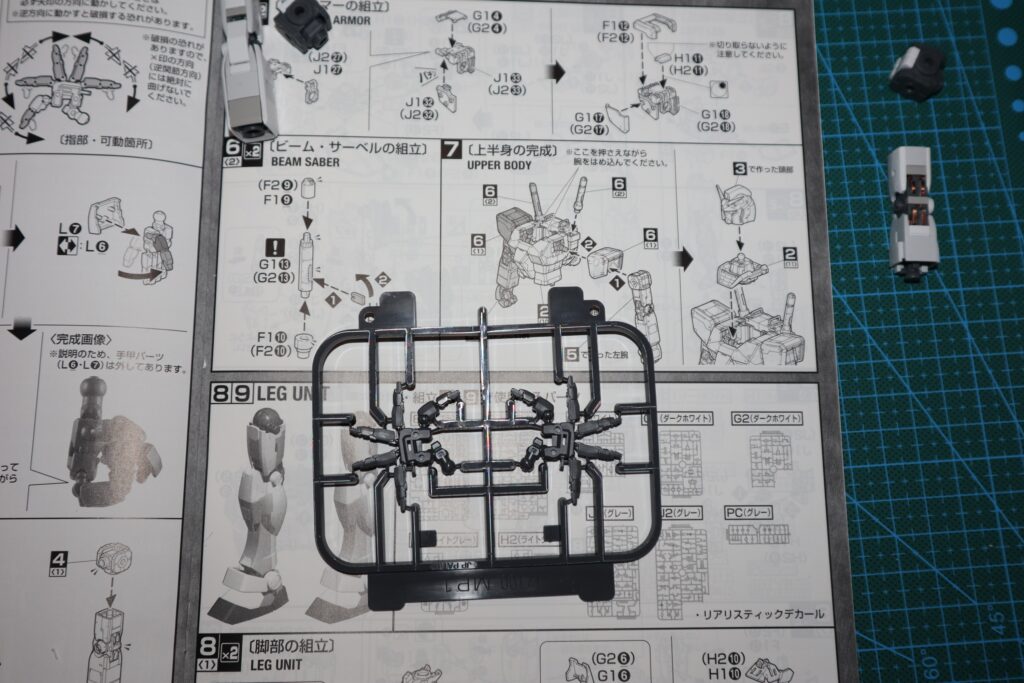
Spirit Fingers! I finished up the shoulder pieces and completely forgot to take pictures of their assembly, but rest assured it went smooth with absolutely no issues whatsoever.
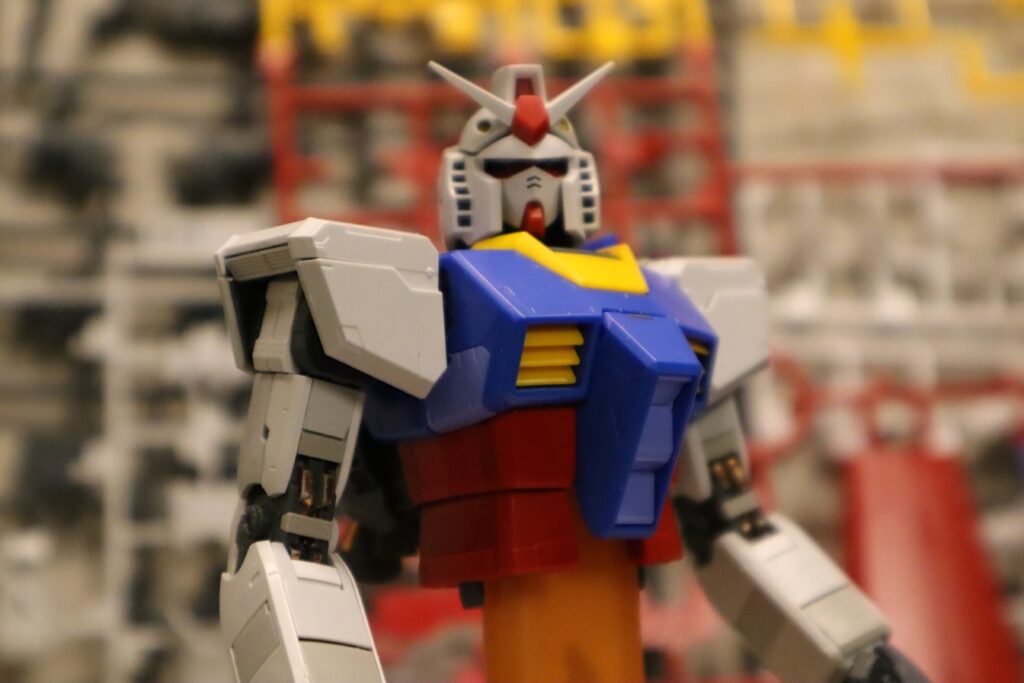
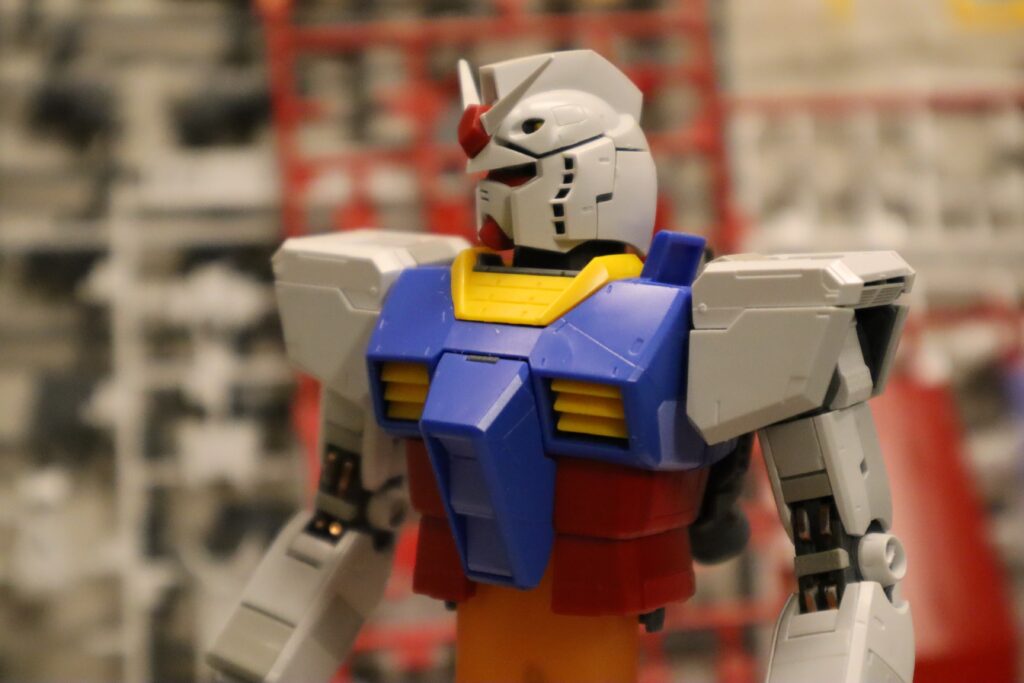
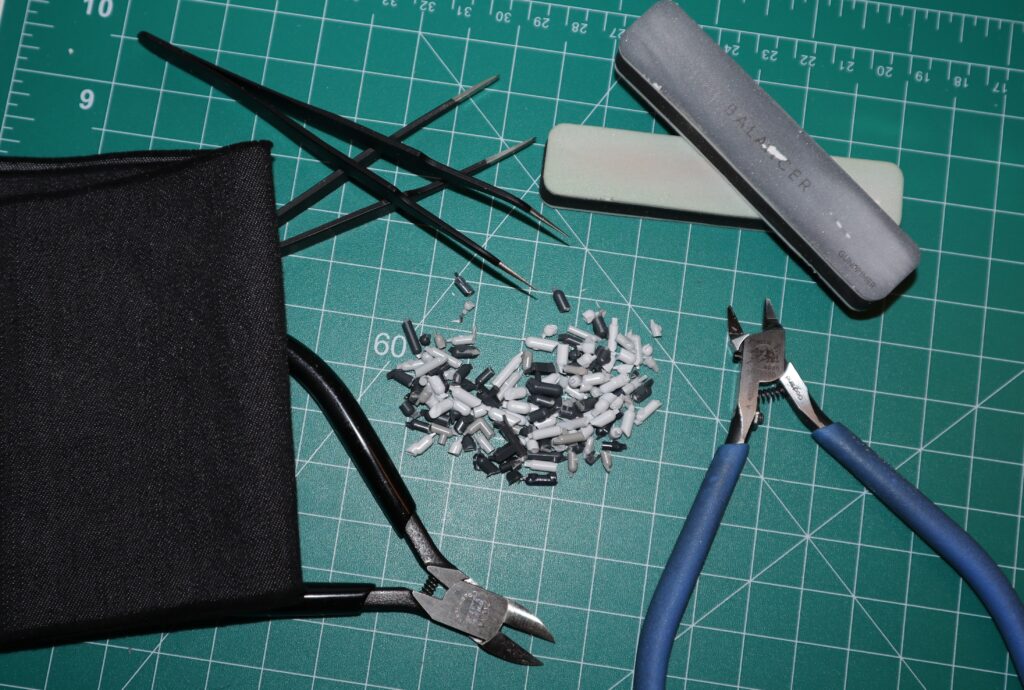
The tools used The next step will be the legs, which traditionally take a little longer due to the increased number of pieces used, and then finally the waist.
I’m really enjoying this model so far and though I’ve put together my fair share of RX-78s, I think this is my favorite so far (I’ve never spent the money to purchase a Perfect Grade).
- Head Down, Chest Outby pauliegon
After completing the little fight jet thingy, I’m finally getting into the meat of the mech — the chest unit, backpack, and head.
One of my favorite things about Master Grades that continues in this particular model is the ease of assembly, but even with each design iteration some frustrating things remain.
The RX-78 head came together fairly easily, but even after disassembling and reassembling it several times, I could not get the “cap” of the head to fit flush with the other pieces. There’s a noticeable gap and it doesn’t feel like it fits quite right.
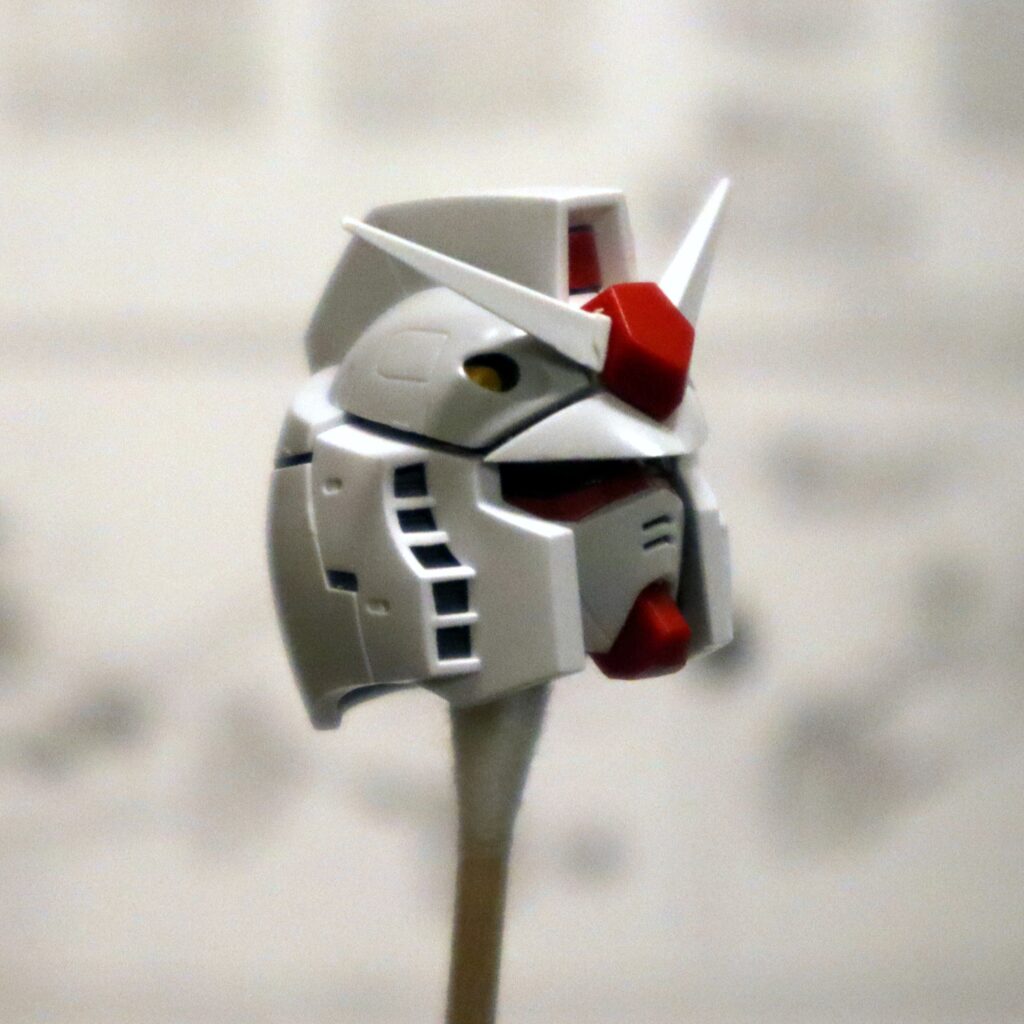
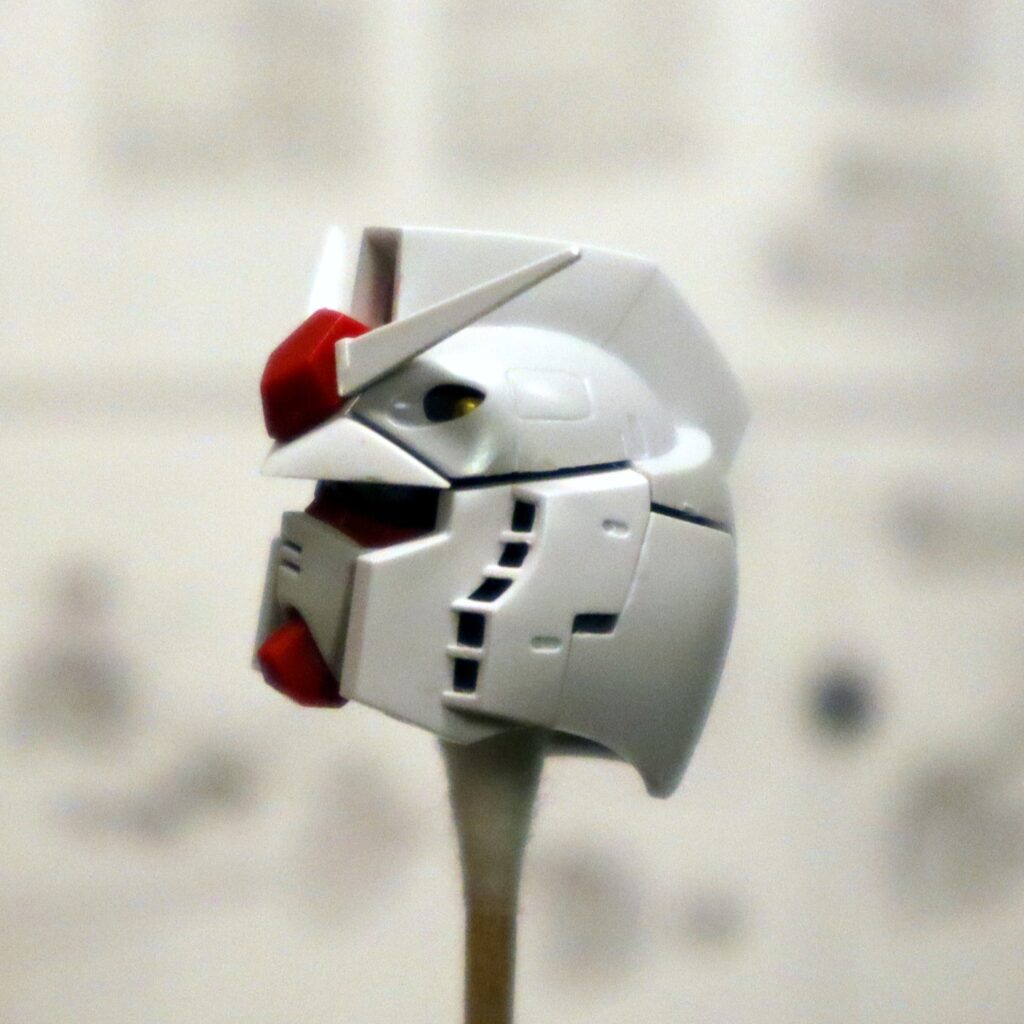
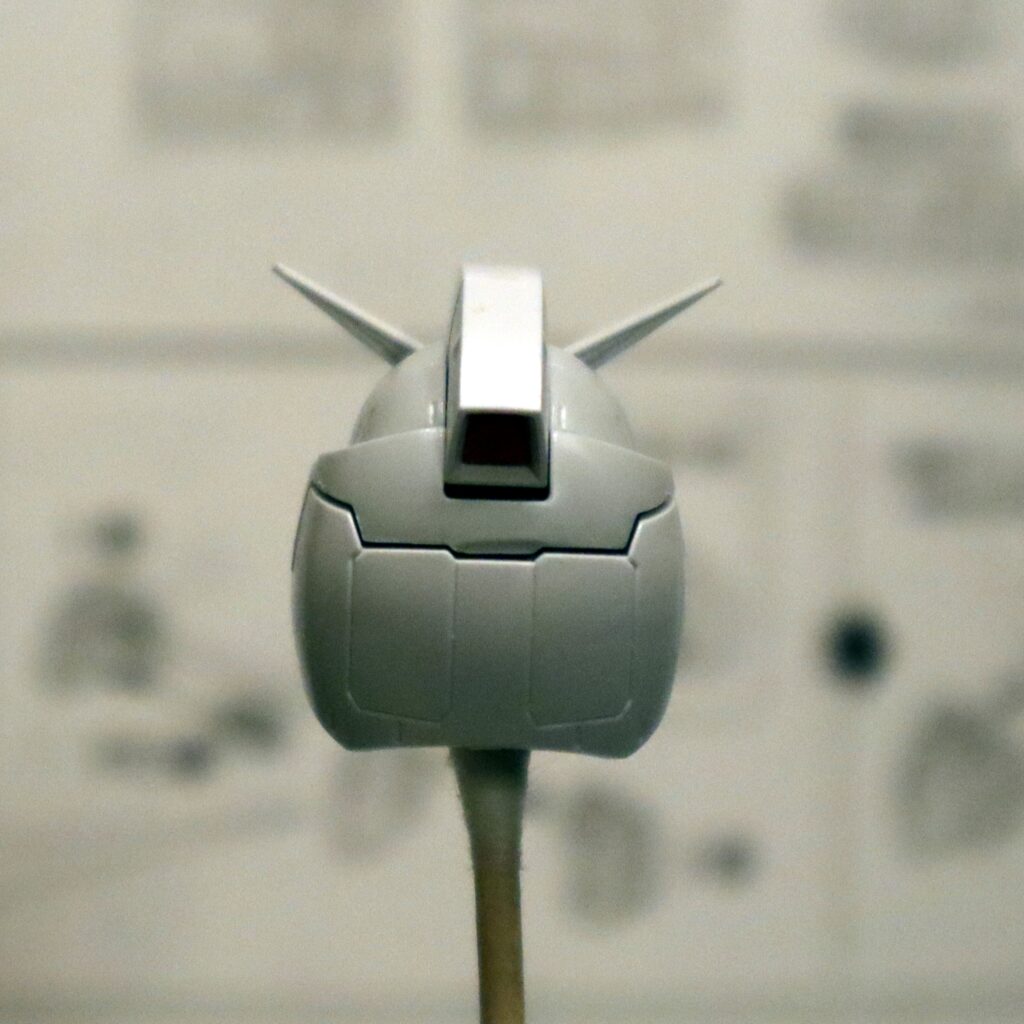
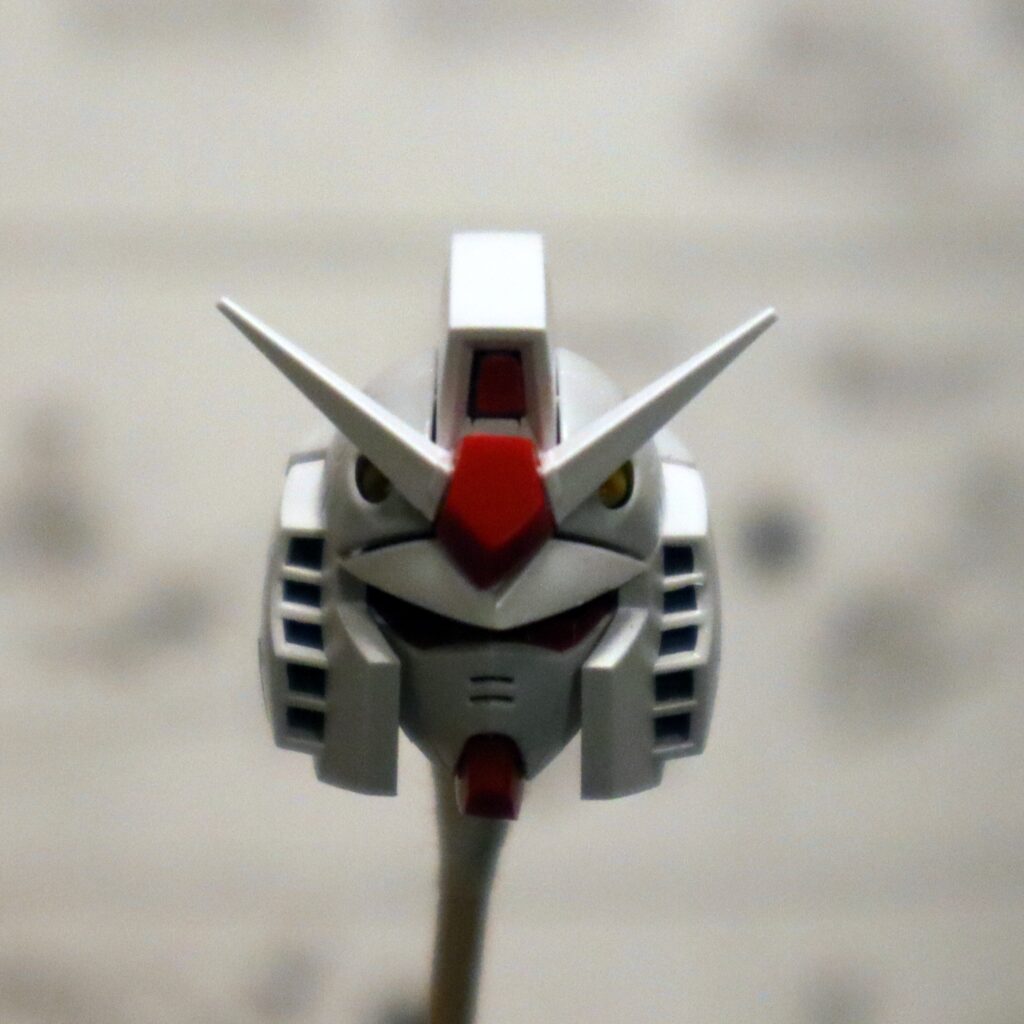
The good news is I got the eye sticker straight on the first try, and since we always celebrate the small victories, I will carry this rare achievement forward.
Even if the V crest falls off if you look at it wrong, but at this point it’s a tradition and why mess with that?
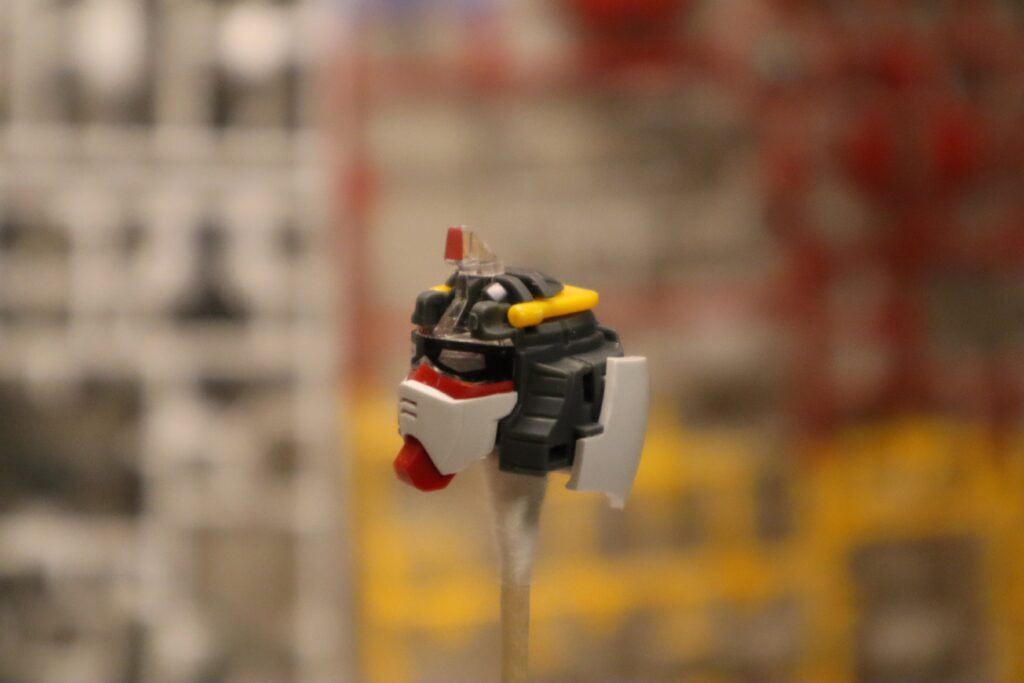

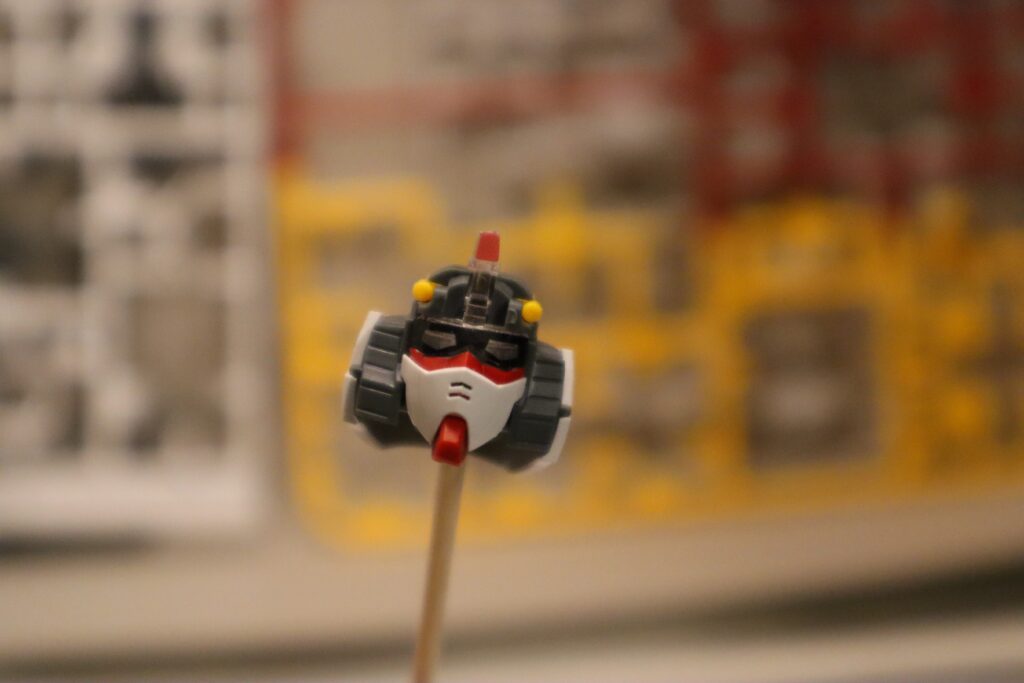
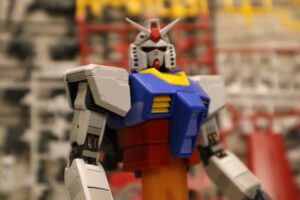
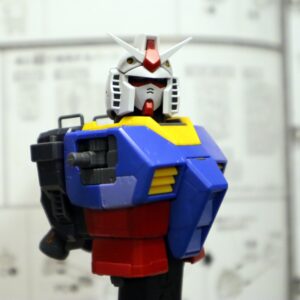
Next up was the chest unit, which was probably the fastest I’d ever put together an RX-78 chest, but I was pleasantly surprised that the yellow slats in the chest were actual moving slats. This is my first MG version of the model, so it was a first for me, but I got a kick out of actually being able to move those things after all these years.
The one part that seems off for now is the yellow collar piece on the chest unit doesn’t seem to be very secure. It wasn’t so loose that it just fell off with gravity, but I found that it easily disengaged with only slight pressure, so it’s something I’ll have to keep in mind when attached other pieces to the chest unit and posing it.
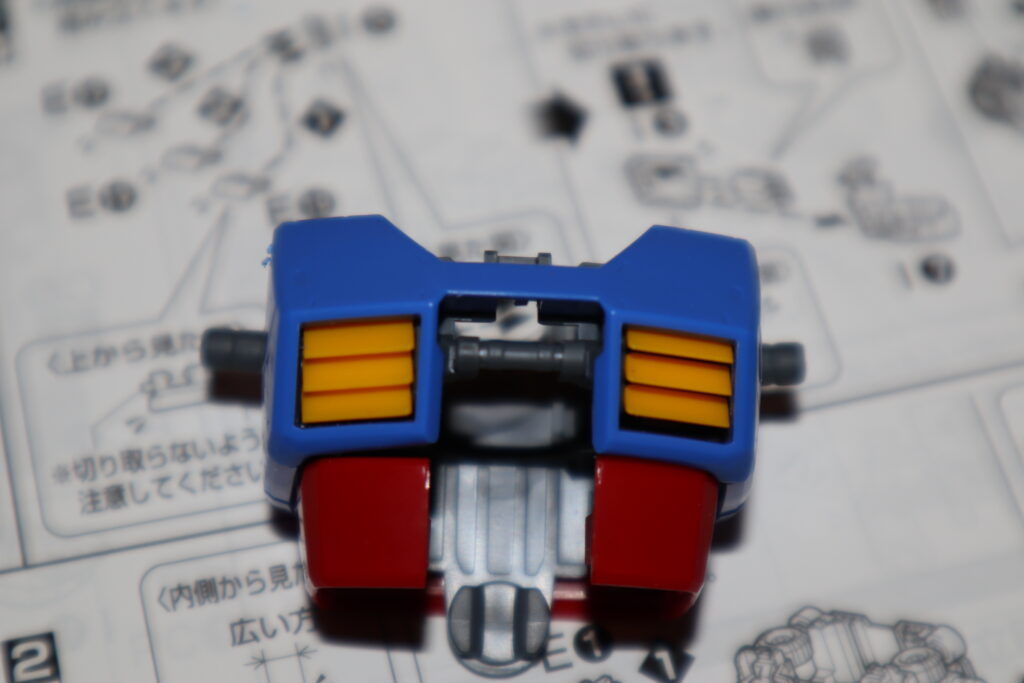
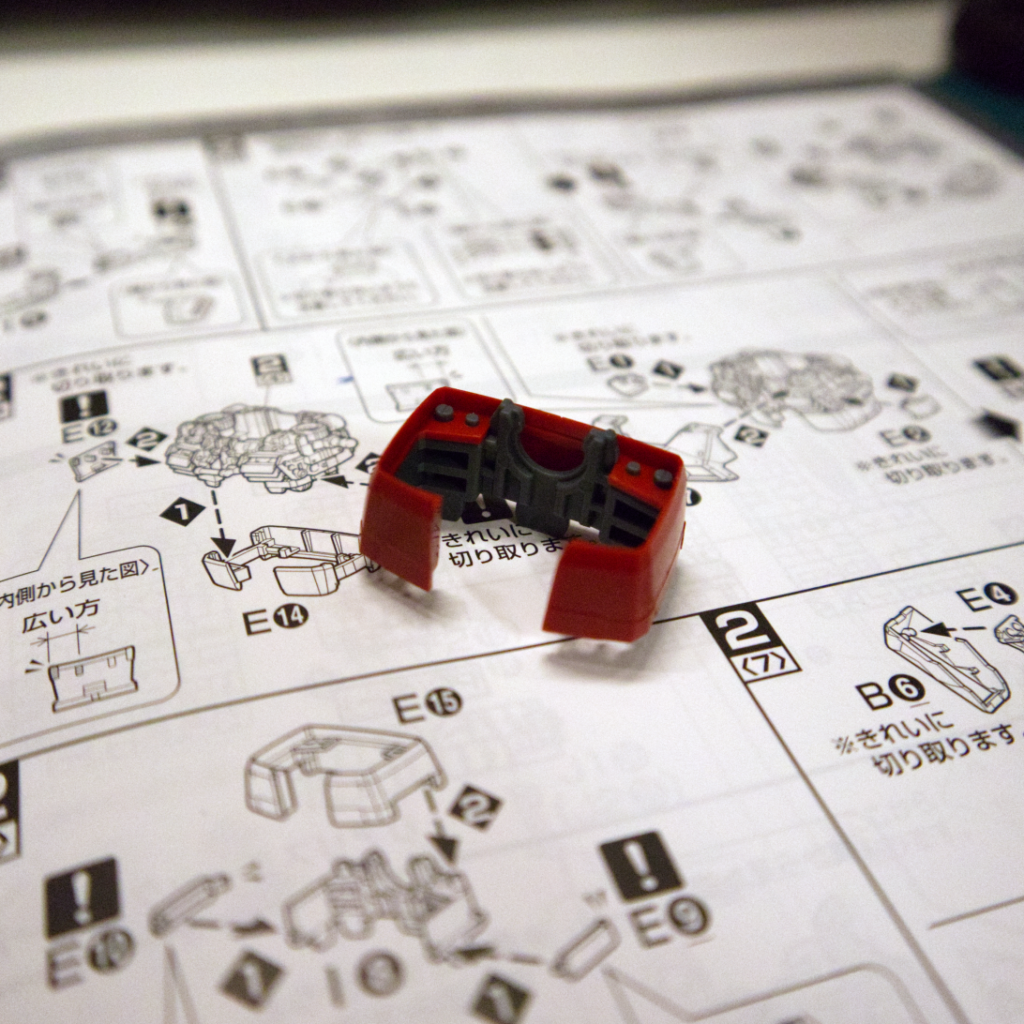

The yellow collar isn’t very secure The last big thing from this session was the backpack, which had a lot of extremely thin stickers that I needed to apply to the nozzles. You know I hate stickers, but I got some new tweezers and I managed to get all eight stickers applied without too many issues.
As an added bonus, they were all straight with no wrinkles! Another rare sticker achievement on my part. But I still hate stickers. #decals4lyfe
The backpack also has transparent pieces inside the rocket nozzles, which is a nice touch, but I think from an aesthetic standpoint they’d look better if they’d been tinted an orange or an orange-red color. If I’m feeling froggy, I might paint these later on down the road.
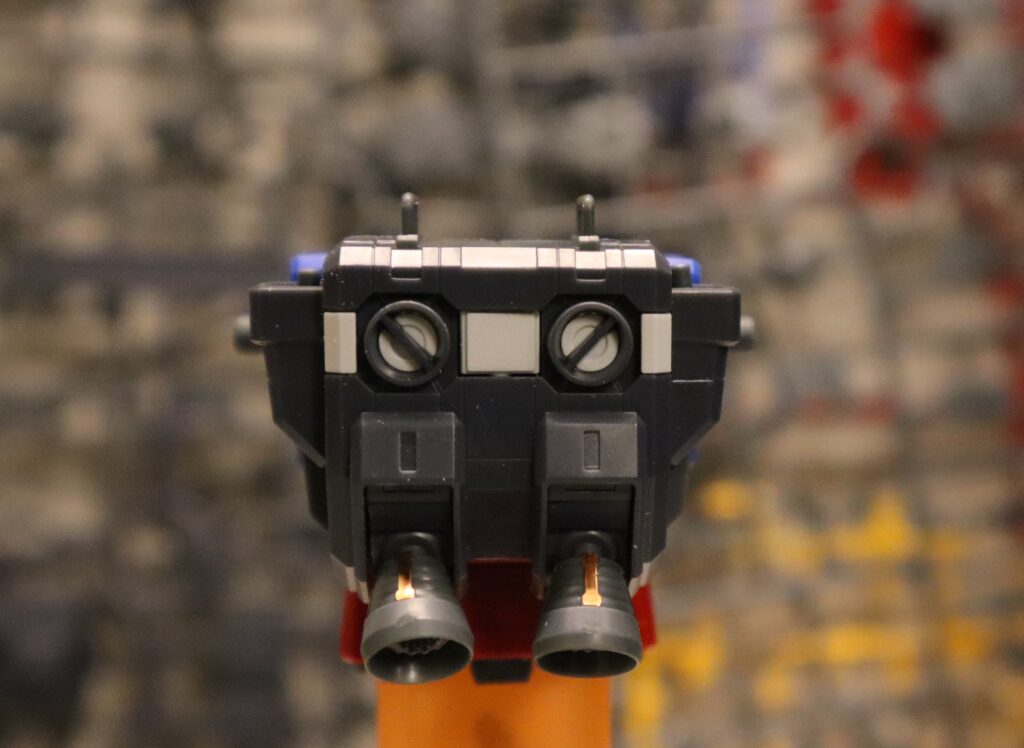
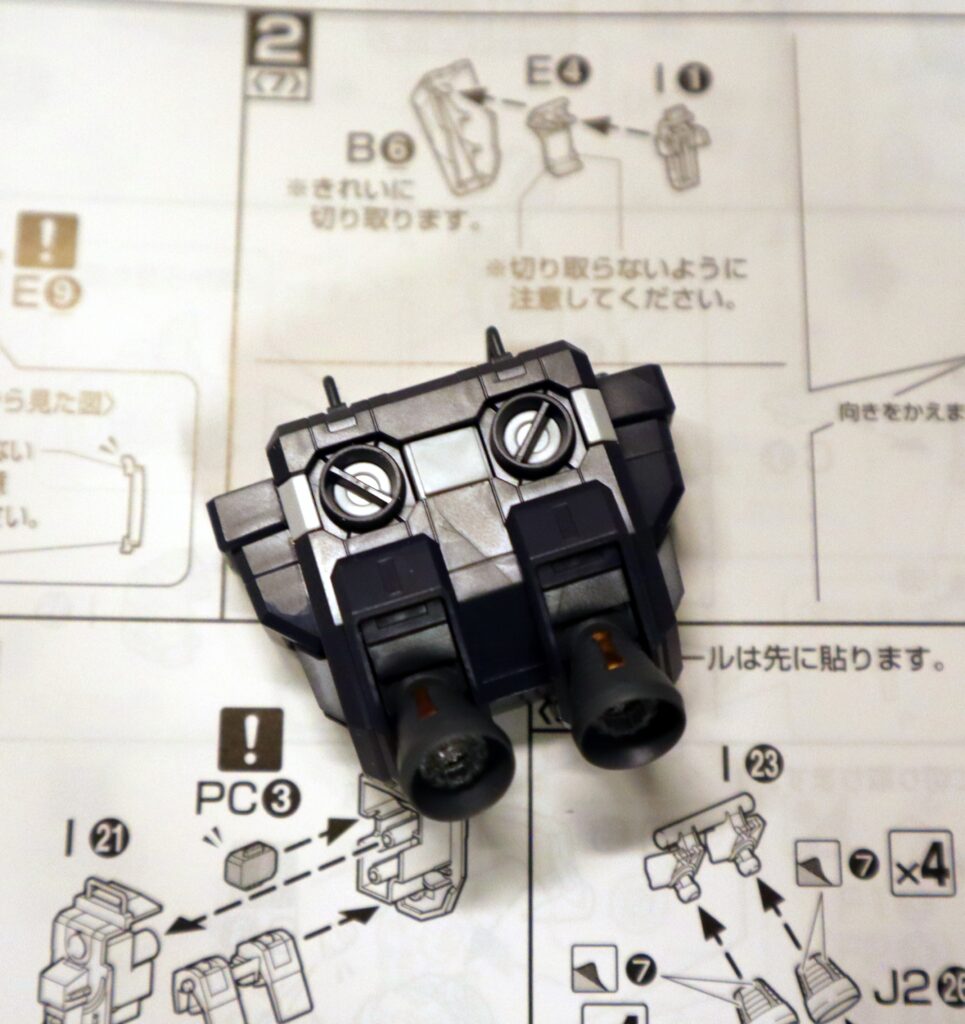
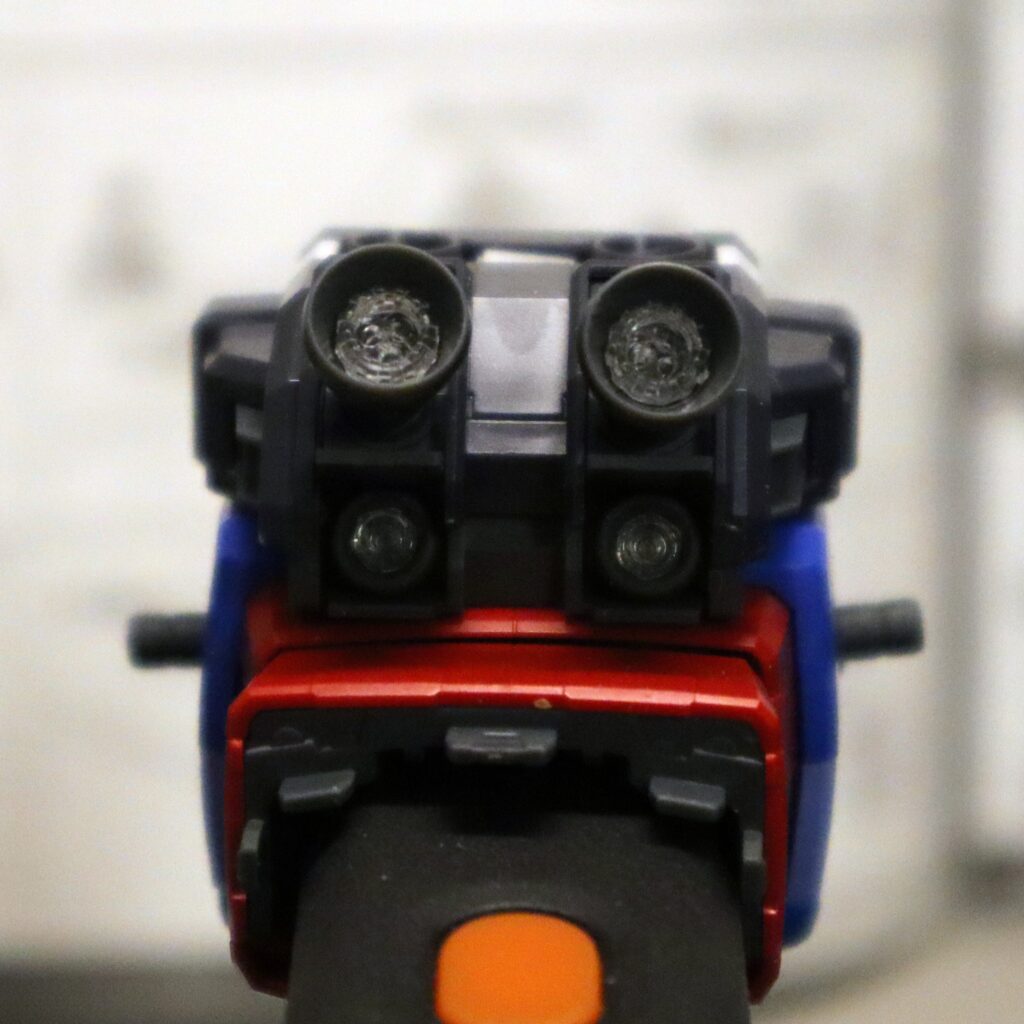
Once I got all these pieces assembled together, I could finally see the size and detail that this MG model will have and I’m happy with what I have so far. It’s a nice, clean model of an old standby. They’ve had 40 some odd years to learn lessons and get things right, and I’m liking what I’m seeing.
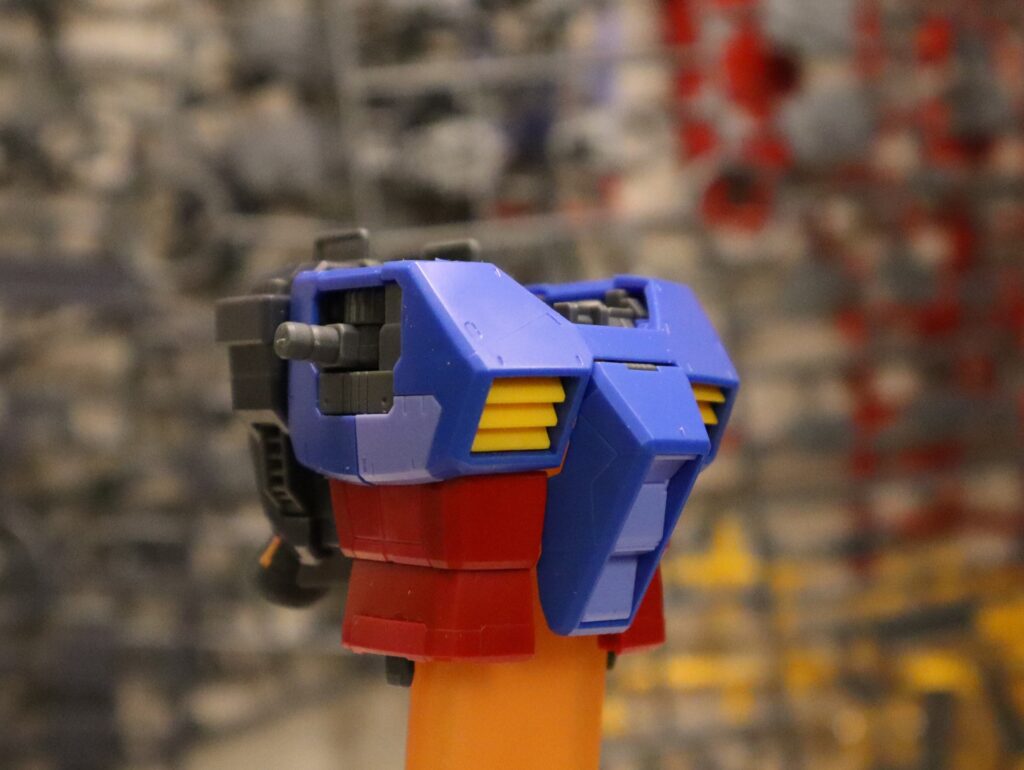
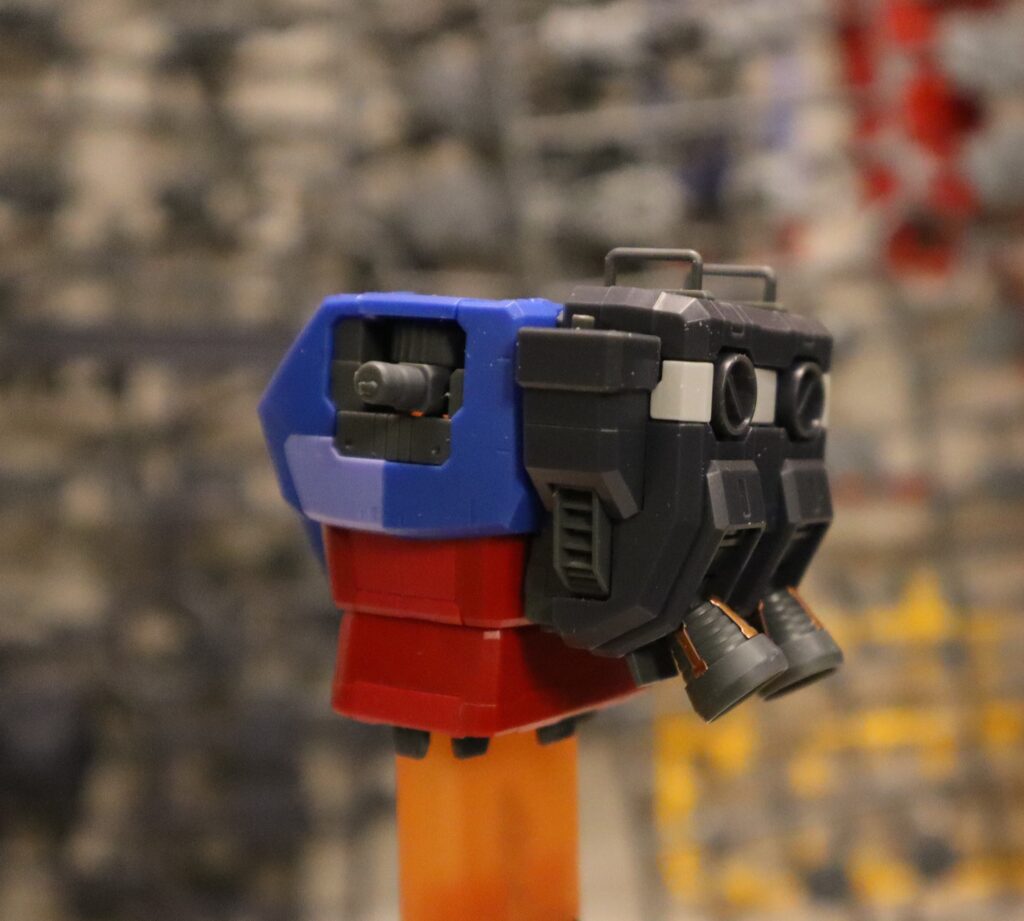

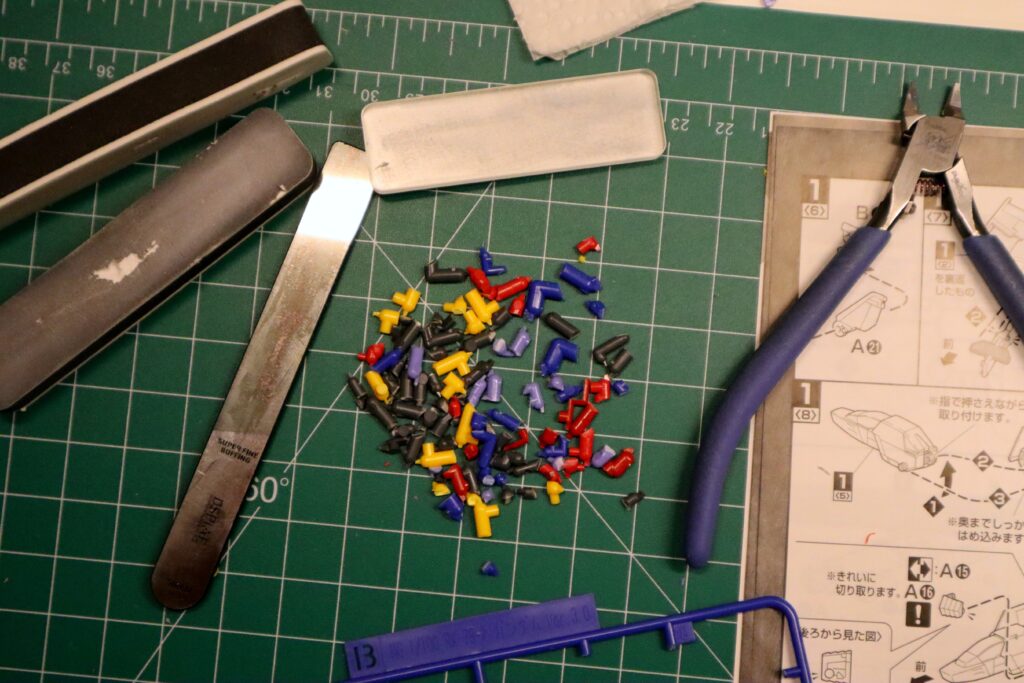
Here are the tools and discard piles from this section. We also emptied out another sprue:

- One Little Shipby pauliegon
This is the first MG build that I’ve done in well over a year, having taken time off to do traditional vehicle and aircraft models for awhile.
I also just completed the gold-plated RG Unicorn Gundam, which went as smooth as silk, but I was really looking forward to getting back into my favorite grade of Gundam models.
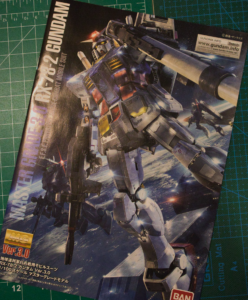
The MG RX-78-2 that I’m working on now is the third version of this model type and it includes a little ship that the pilot can scoot around in when he inexplicably doesn’t want to pilot a giant robot war machine.
One of the great things about a Master Grade model is that the pieces tend to be larger, making them easier to handle and assemble with less room for error or breakage compared to HG and RG types.
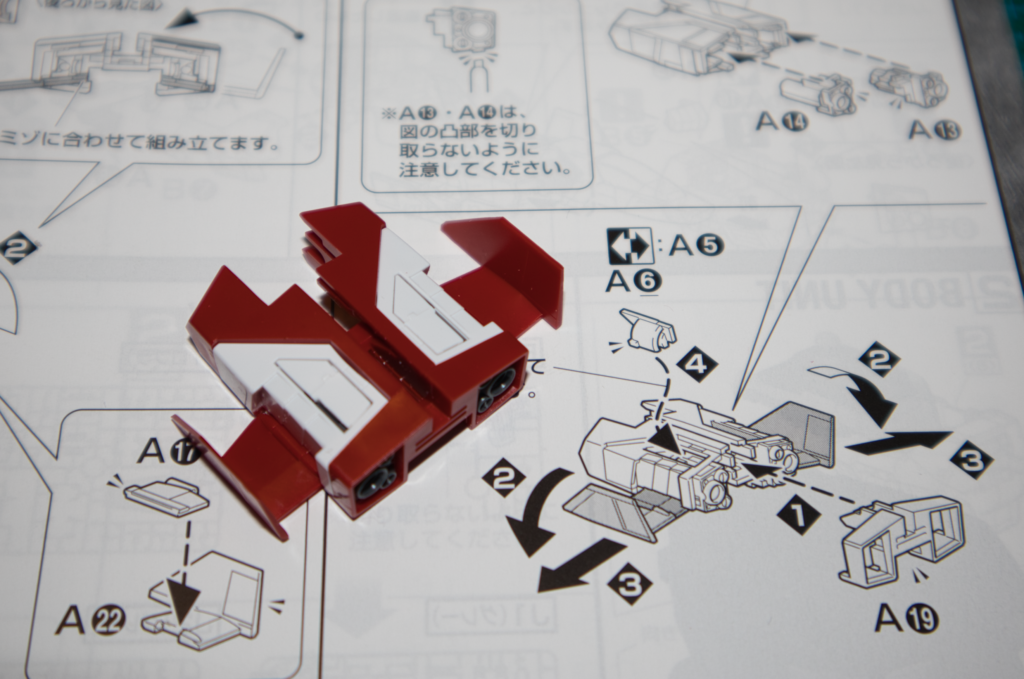
The Main Ship Body 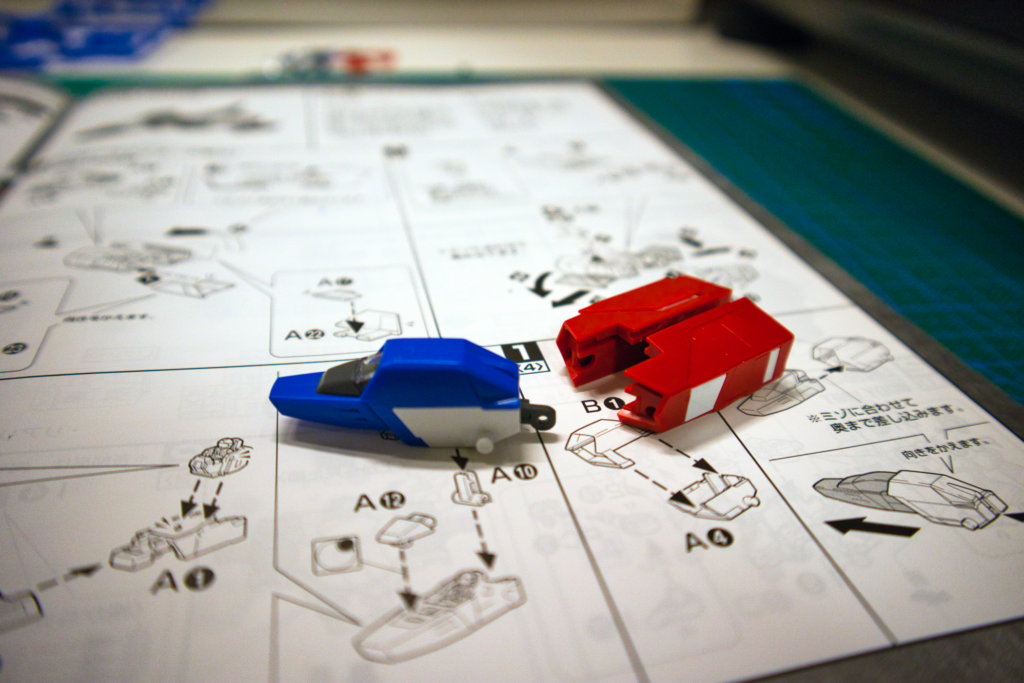
When 2 Become 1 However, we have this wee ship that we’re supposed to assemble, so the pieces are kind of small, but one of the things that immediately became apparent was that I was going to have to bring out the file and polisher.
The Gold Plated Unicorn Gundam I’d just assembled had spoiled me–the pieces were mounted to the sprues in a way that any stress or similar marks from the mounting points would be either hidden when assembled or under-gated if they were going to be seen. The plating also turned out to be surprisingly forgiving and I didn’t really need to do any filing, sanding, or polishing on the pieces.
But I got snapped back to reality real quick on this guy. All of the blue and red pieces needed to have at least some sort of filing & sanding with a subsequent polish to remove sprue marks from the pieces.
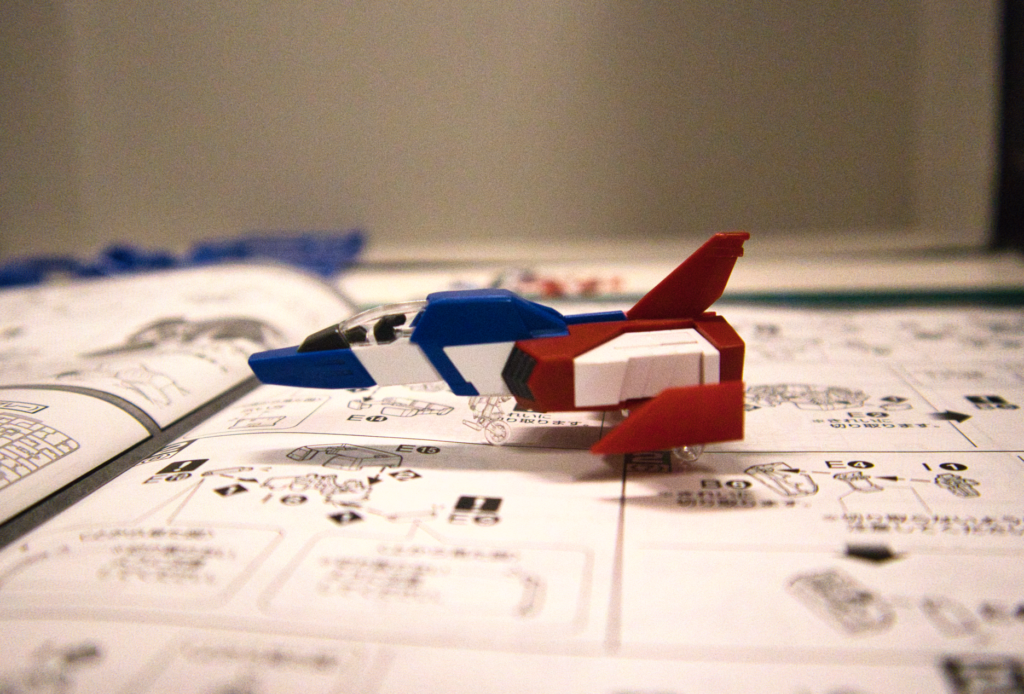
Depending on the type of plastic used, these marks stand out like a sore thumb, especially on colored pieces, so a lot of time can be spent cleaning-up the pieces before they’re assembled, so it can be slow going at times.
For this ship, the red and blue pieces would be the ones I’d have to clean up. The clear and white pieces don’t really need much work because you can’t see the imperfections too much (I always check after assembly to be sure and if it’s obvious, I’ll take them apart and clean them up as well).
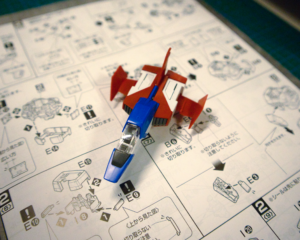
Other than that, the little ship went together smoothly. It has a couple of transformation options, with folding wings, and a nose assembly that can either be retracted into the main body or fully extended.
It’s not a piece that’s incorporated into the main Gundam body, so it’s an accessory. That makes it an odd choice to be the first thing to assemble (instead of with all the other accessories and weapons at the end), but it turned out to be fortuitous by allowing me to get back in the habit of filing and polishing pieces before working on the main Gundam parts themselves.

The Completed Ship From the Top 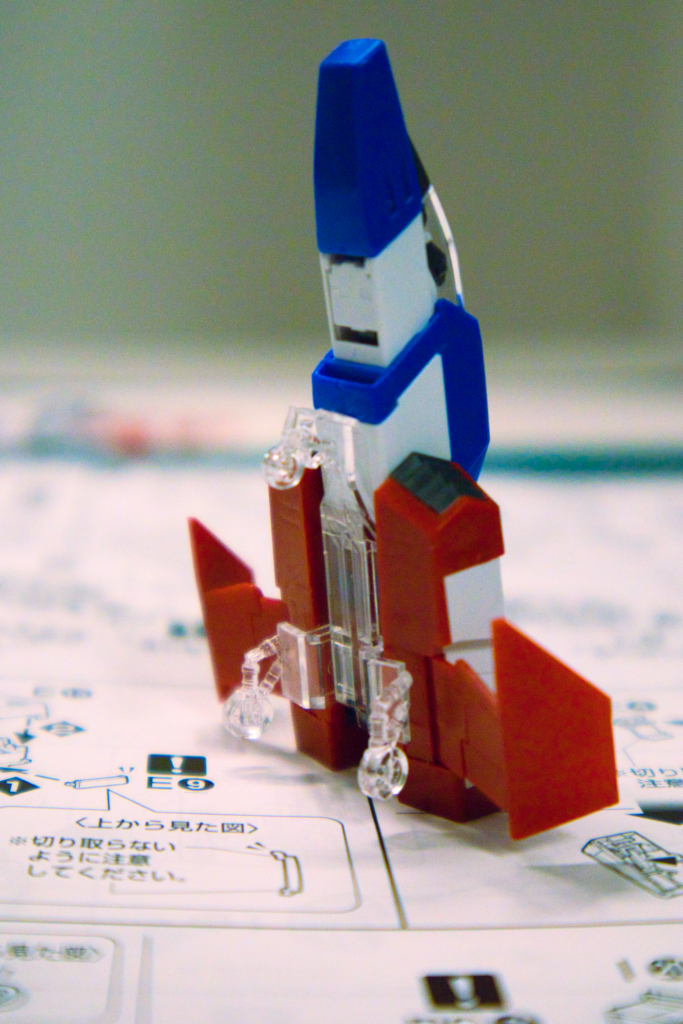
The Sheer Verticality of It All By completing the ship, I also emptied my first sprue, which has to be a record. They almost always design these things so that you’re basically using all the sprues until nearly the very end, but this one had a sprue dedicated just to this ship.
I’ve also included a picture below showing all the tools I used for this part of the model. It’s something I always wished more people would include in their videos and pictures of their model builds — they always show the model itself, but not all the tools they used to complete it, so that’s why I include a pic at the end of all these posts.

Empty Sprue 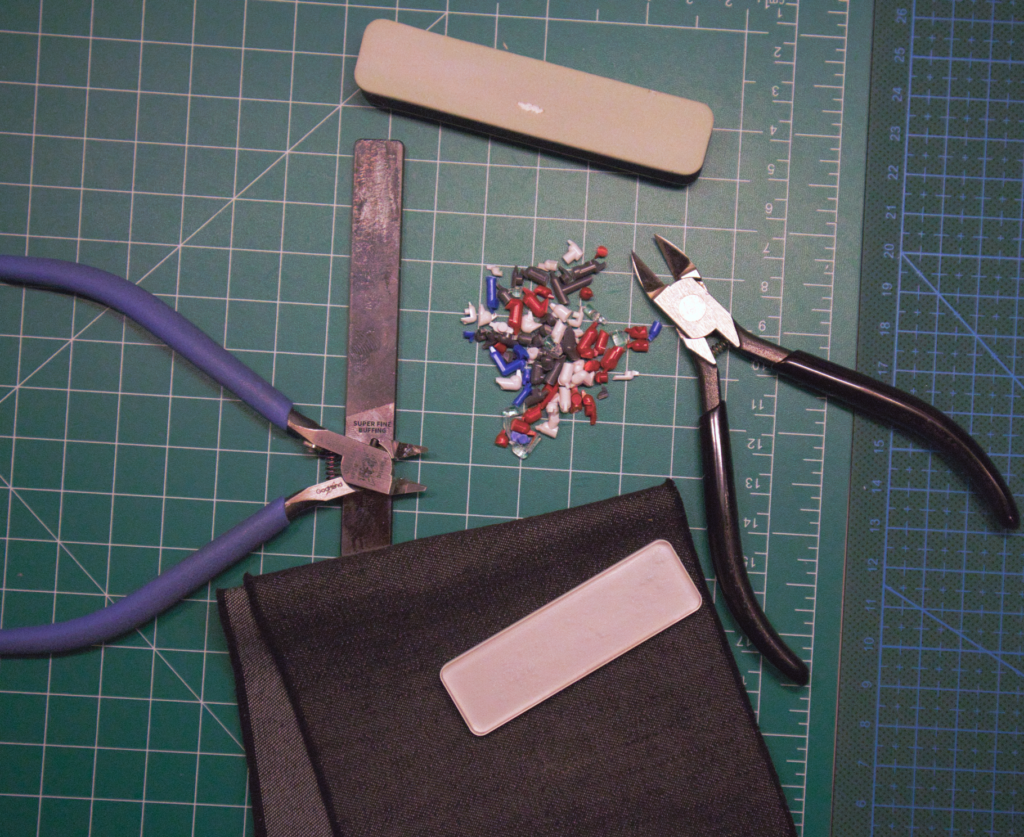
Nipping, Filing, Sanding, Polishing - Master Grade RX-78-2 V3by pauliegon
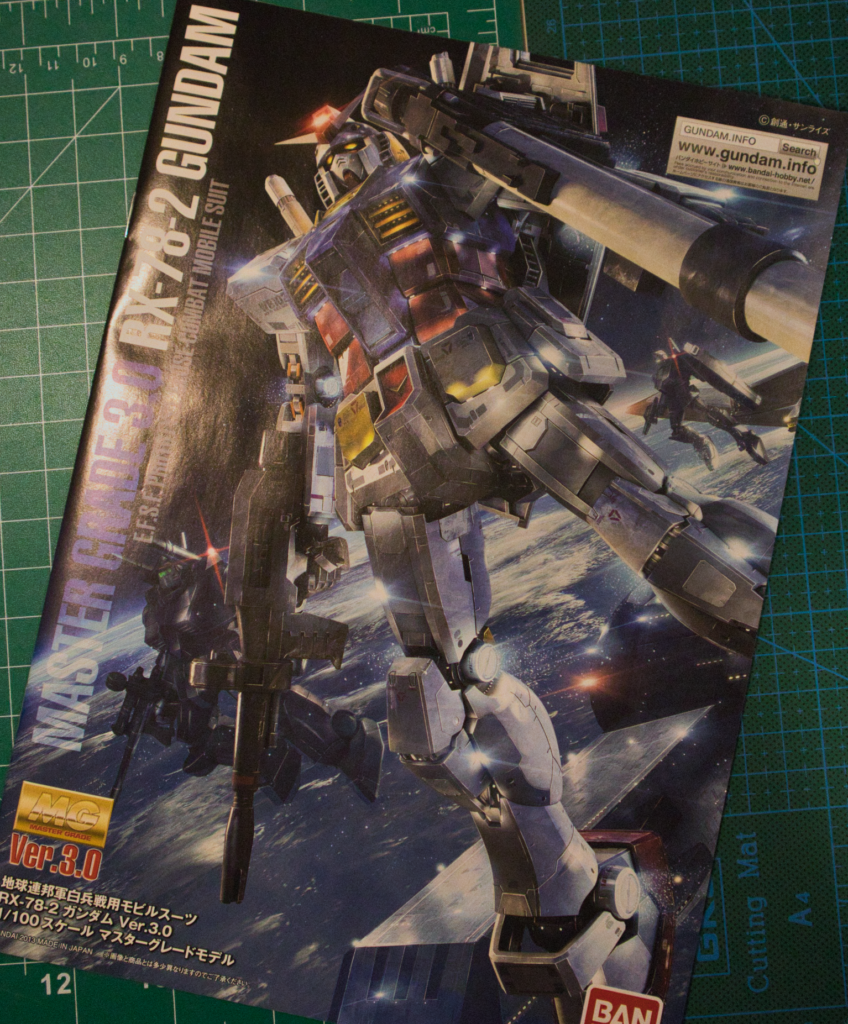
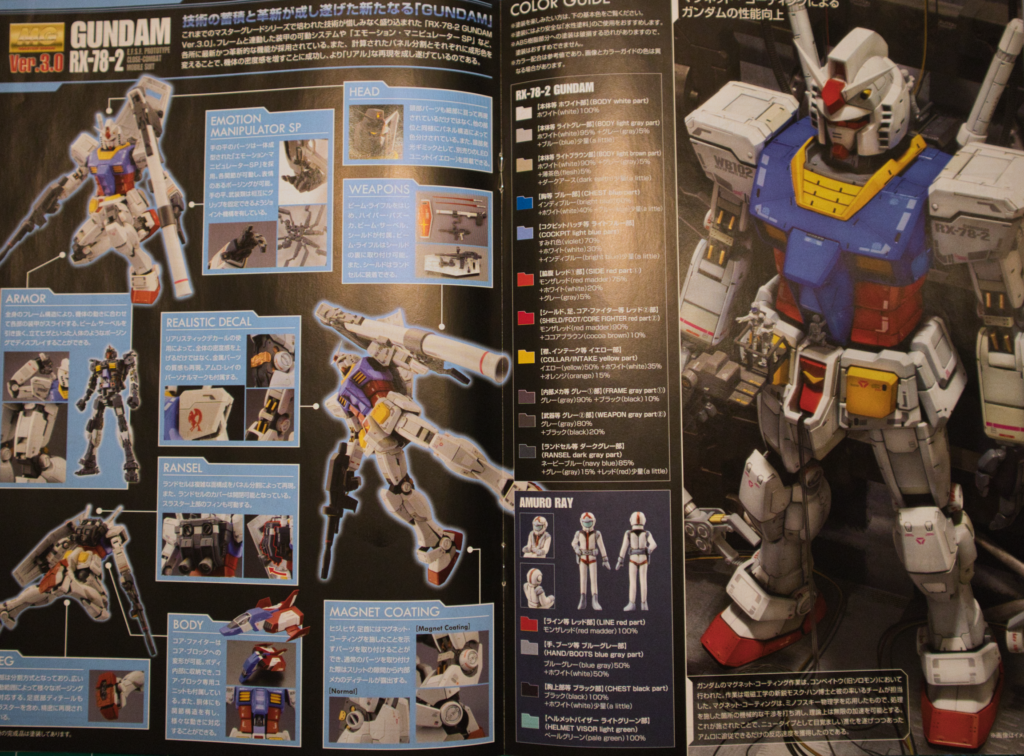
Oddly enough, out of all the RX-78 models I’ve done, this is the first Master Grade version that I’ve started. This model in particular is V 3.0, so it has some updates to the model construction, as well as a separate little ship that wasn’t in the original anime or models.
I’m looking forward to this one, since it’s been awhile since I’ve done an MG, but also curious to see what the main differences are between this construction and a High or Real Grade version of the RX-78.
- A Gundam Without Weapons is Just Damby pauliegon
It’s always a little bittersweet reaching the end of a model build, especially a fun one that goes well like this one has.
We’re at the last steps in the instruction manual for what some could consider to be the miscellaneous pieces — the various weapons and the shield itself.
The weapons themselves are almost always easy to get through, since there are few pieces and they’re made of ABS plastic, which is really forgiving of stress marks — sometimes you can just scrape off excess with your thumbnail, so there’s not a lot of clean-up to do on them.
However, these weapons have multiple modes available, so there’s moving pieces and I had to pause when I saw this in the manual:
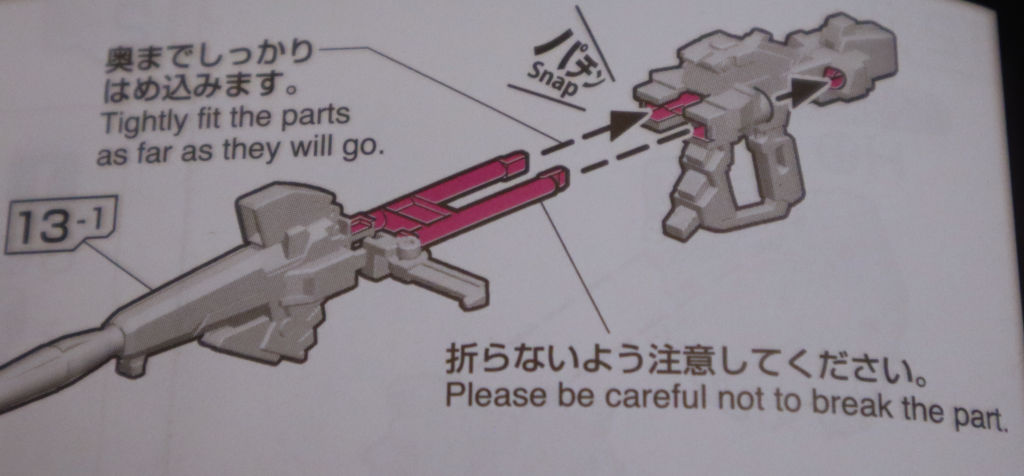
Three things you don’t want to read Luckily there were no issues and no parts were broken, so we’re already winning.
If I have one recommendation for anyone getting into building models like this, it’s to paint the weapons on these. It’s good practice to get a feel for how to paint on something that isn’t critical to the gundam’s appearance, but it’ll really enhance the overall look of the model.
Even if you don’t want to do any painting on the model itself, I would strongly suggest painting the weapons, since they are by far the weakest looking pieces. You can have a gundam model that looks fantastic out of the box, but the weapons themselves always look like cheesy plastic and really detract from the overall appearance of the model, so I always paint them no matter what.
You don’t even need to do any weathering or advanced techniques either — just a simple gunmetal coating is enough to enhance their appearance, but at the same time, weapons are the perfect way to practice those techniques if you decide to take a stab at it.
This particular model comes with a bazooka and rifle that have some movement to them. It’s a nice extra element for these weapons that can usually just be plain, static pieces, but one of my concerns is that these could easily wear with too many movements and pieces would no longer hold in place.
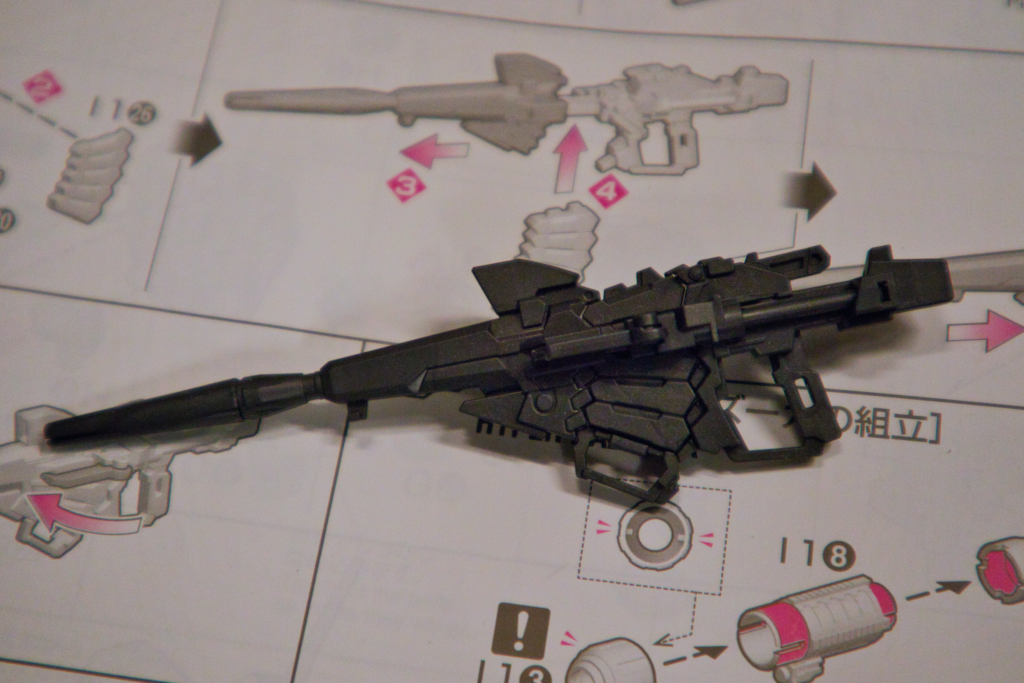
The Rifle 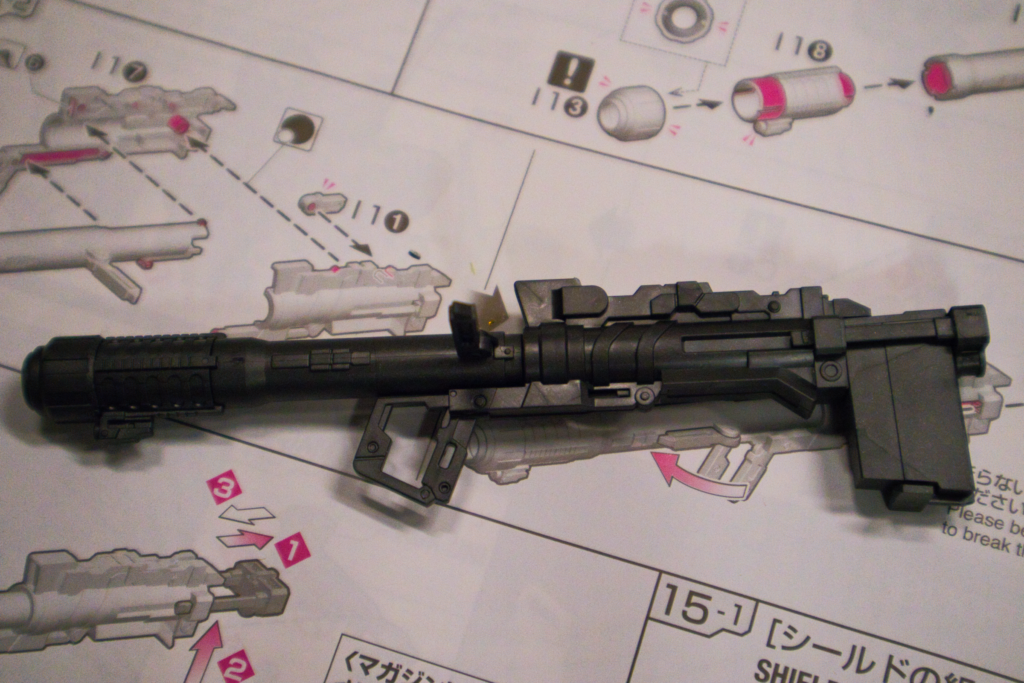
The Bazooka The shield itself also features a transformation mode to match the rest of the model, going from a compact shield to an extended shield with a star-pattern thing going on. It looks really cool when it’s extended like this and I think I’ll keep it that way no matter what.
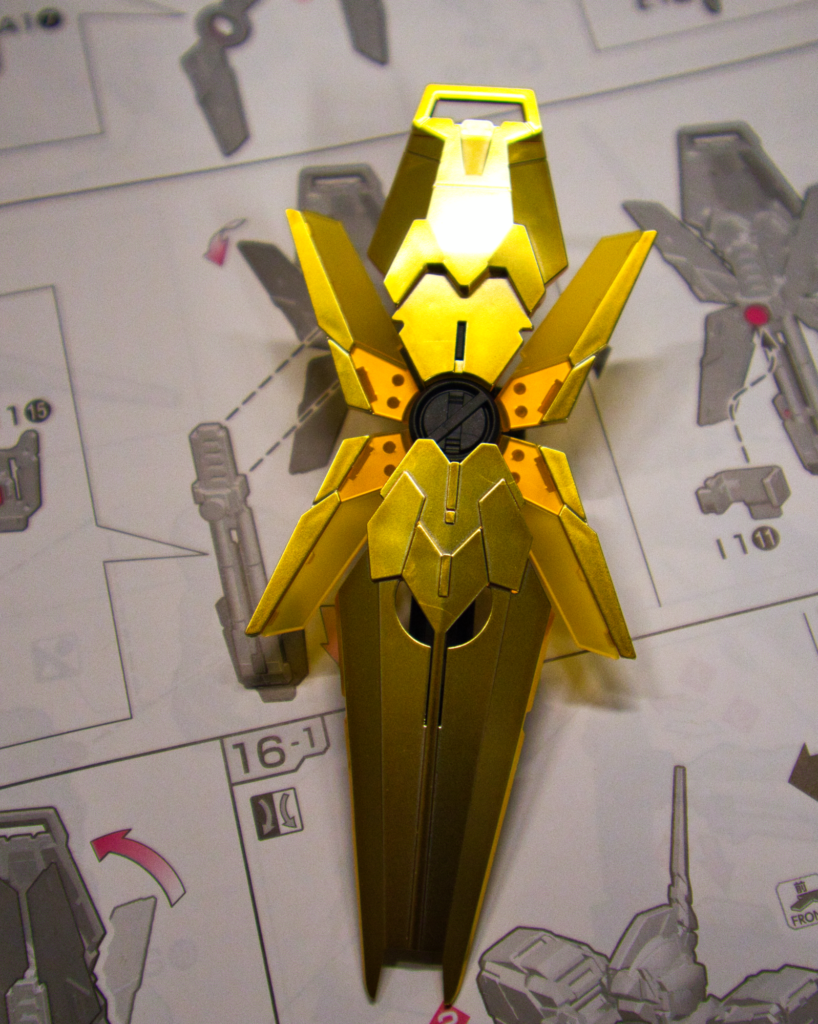
After completing the weapons and shield, it was time to transform this guy into his Destroy Mode, which involves removing some pieces to manipulate them
In true gundam fashion, nearly the entirety of the model came apart during this process and I nearly rebuilt it a second time while trying to get everything into the proper transformation mode, but the process was worth it.
The model looks a lot better this way and I think this will probably be it’s display style on the shelf.
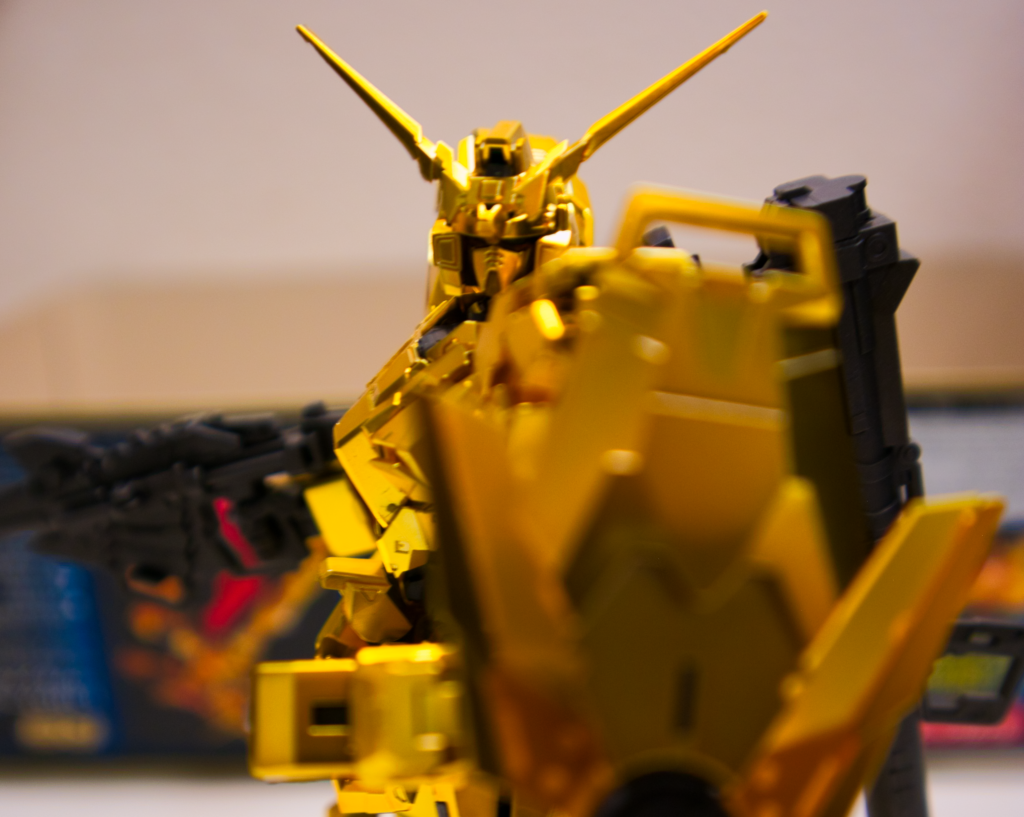
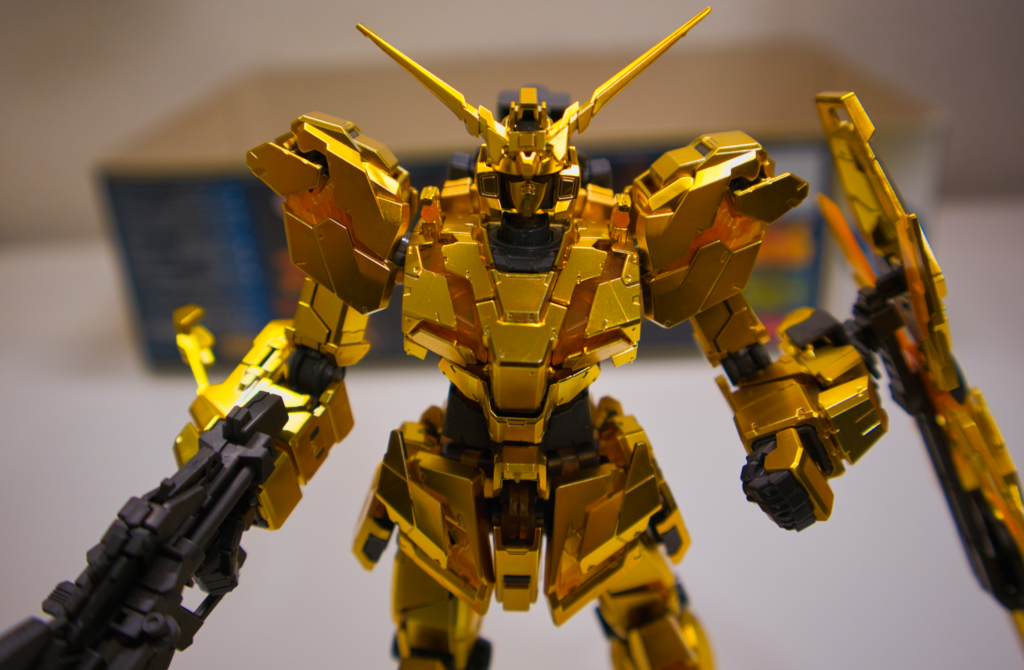
All that’s really left to do on this model are the decals, which I might stretch out over a couple of weeks as I start a new model build. While I love decals, I can only concentrate so much for so long before I start getting sloppy, so I’ve found it beneficial to always set a time limit and come back at a later date to ensure the best quality application.
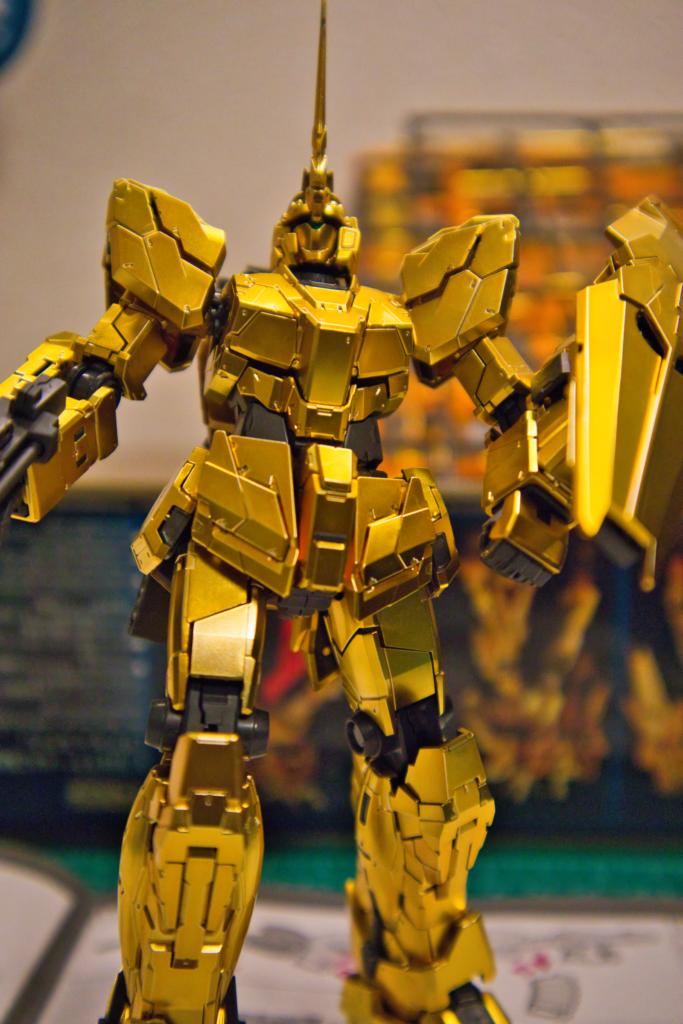
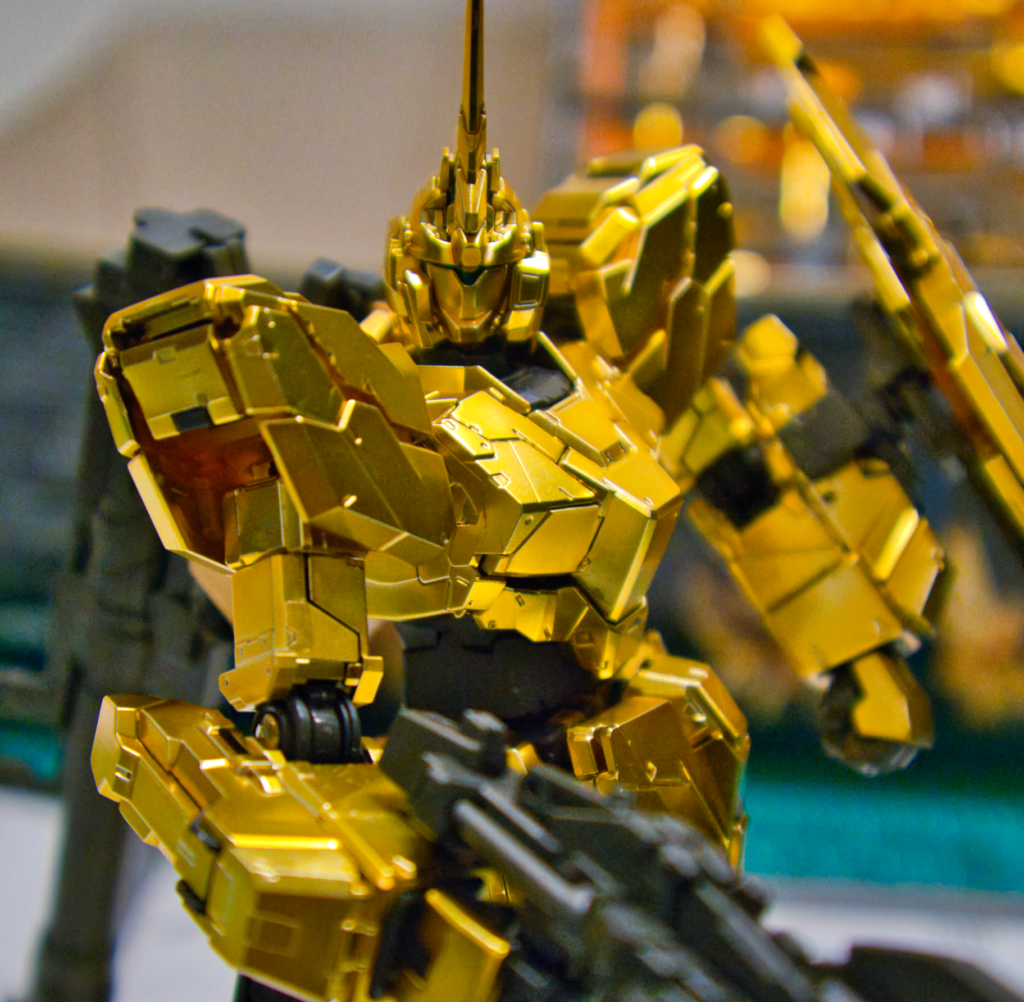
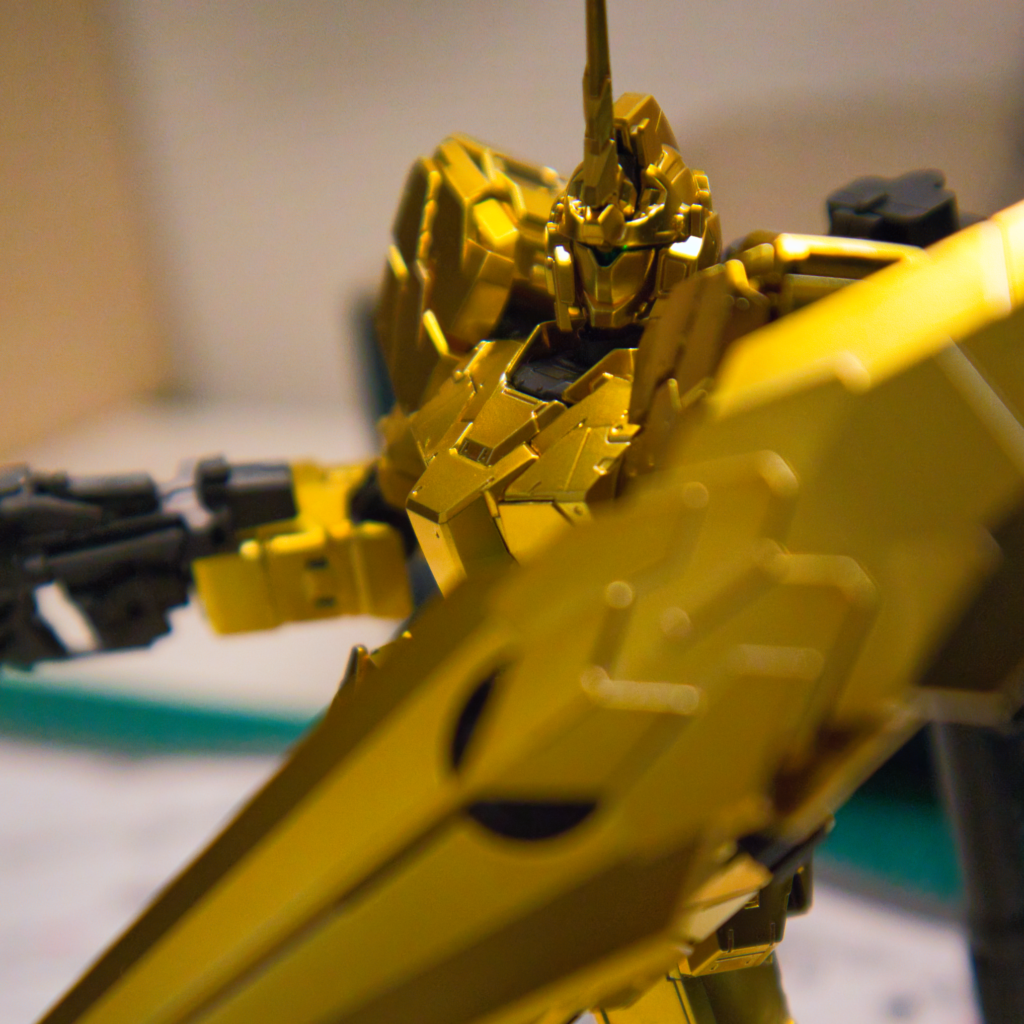
I’ll have pictures when that’s completed, but for now this is the effective end of the build. Absent a couple of hiccups here and there, I’ve really enjoyed putting this guy together. It’s definitely the best Real Grade I’ve assembled by far and Bandai really knocked the piece design out of the park with this one.
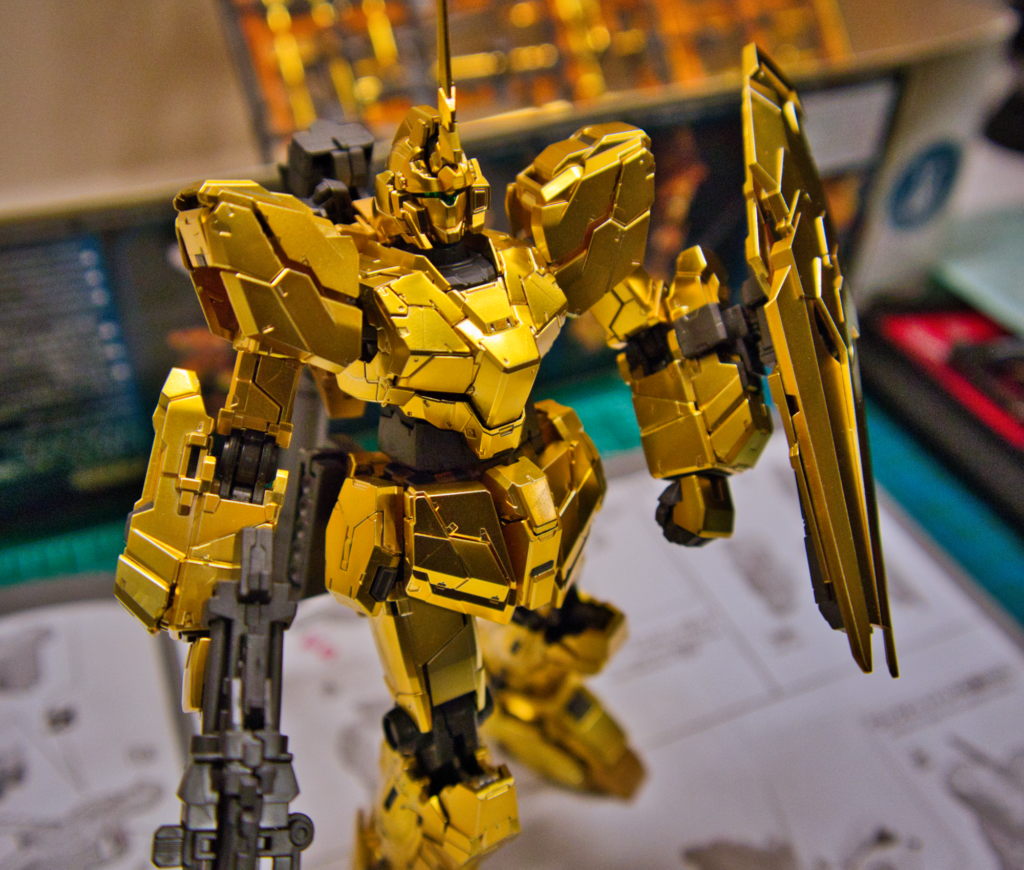
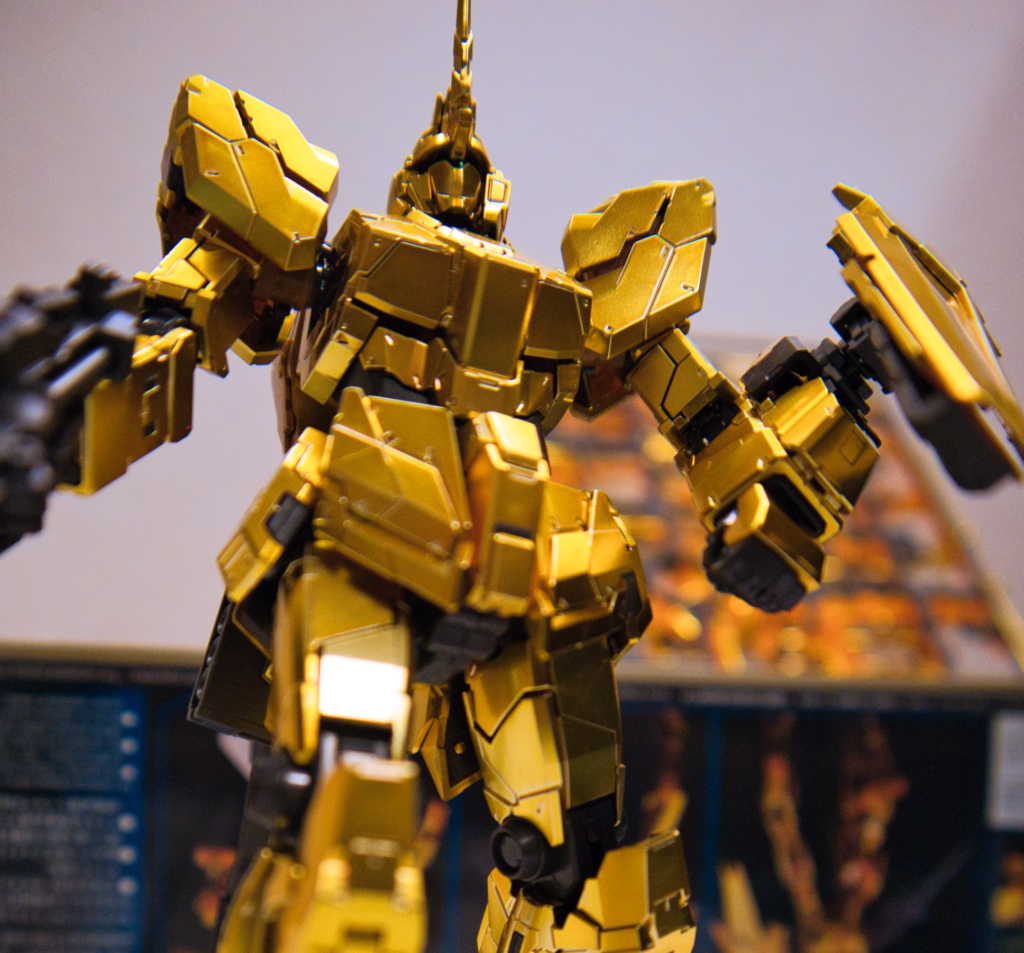
I’m not sure if you can find one of these anymore, and I’m not sure if it’s identical to the normal RG Unicorn Gundam, but if it is, I highly recommend this one to builders.
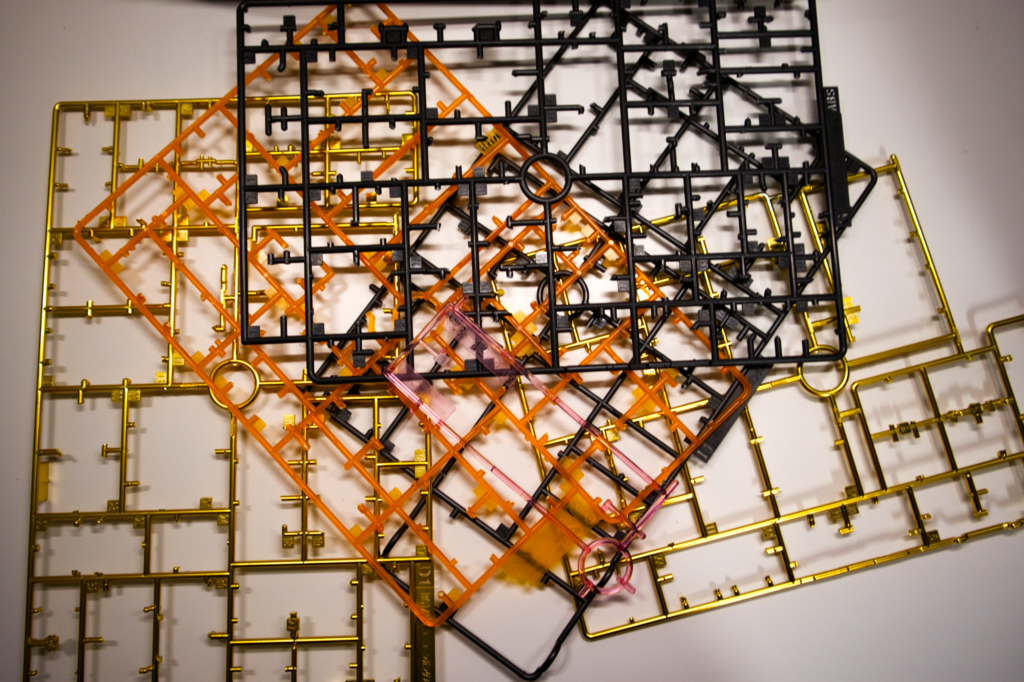
The Final Empty Sprues 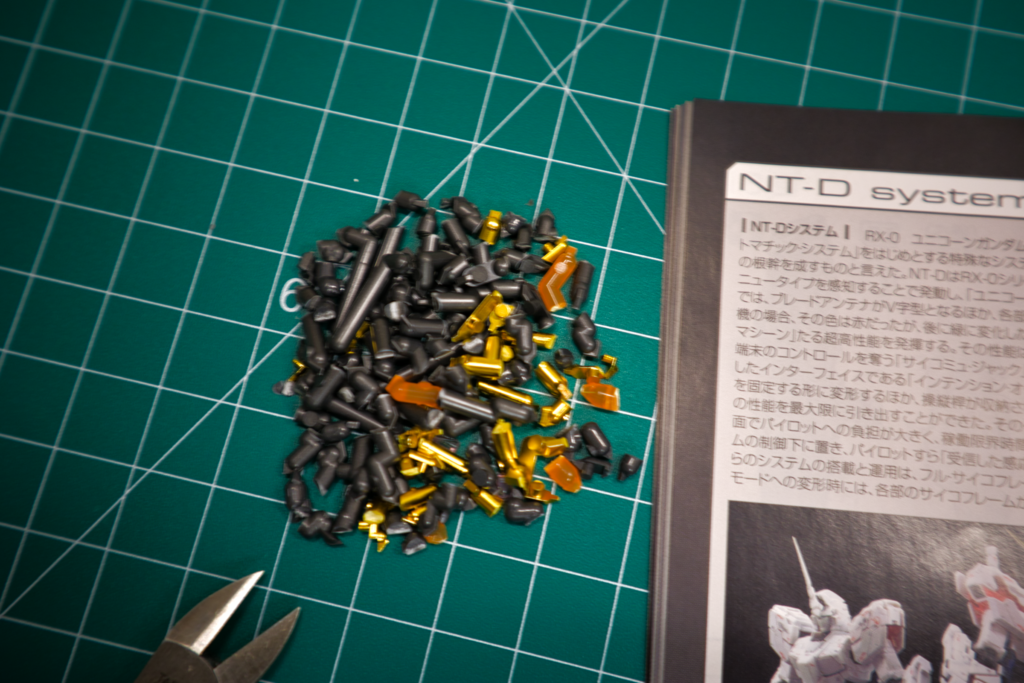
The Final Tailings Pile - A Good Head on Those Shouldersby pauliegon
In most forms of media involving robots, mechs, cyborgs, whatever — there’s typically a scene where an inert body comes to life as the head is slowly lowered and inserted.
We have reached that milestone in our own story.
When it comes to the head on gundam models, there’s always a couple of gotchas, no matter the grade. The spiky crown thing on the front of the head is infamous for never staying in place, and the Unicorn gundam doubles down by offering three different choices due to its transformation mode.
Saucy!
If I had any concerns about the Head Unit, they’d mostly stem from the small pieces and stickers. The pieces would be difficult to handle due to their size and the stickers even more so.
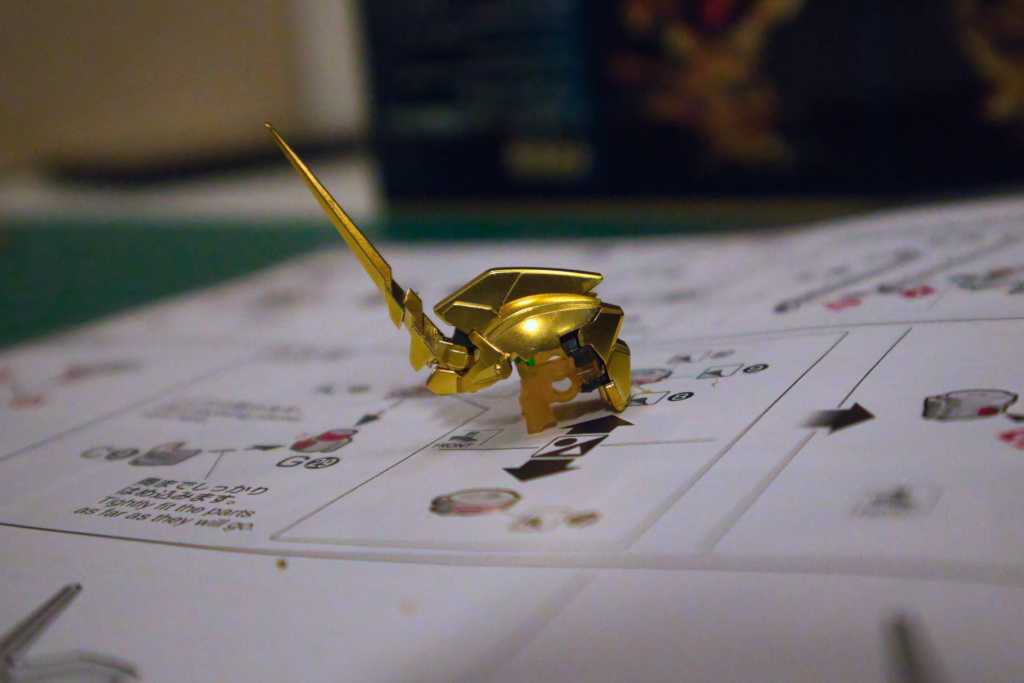
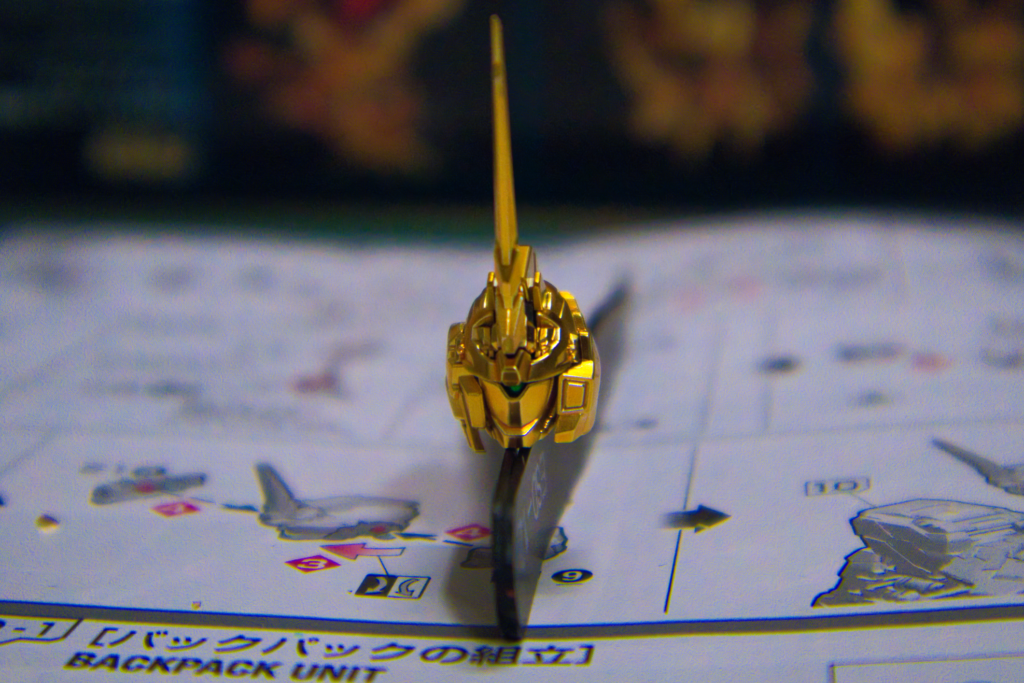
I also hate stickers.
I love decals.
But I hate stickers.
They never look right and even if you can remove them from the sticker sheet without damaging them, or apply them to the surface without picking them up and adjusting them a dozen times, then losing them and searching all over the place just to find that they were hiding out on the back of one of your fingers, but one tiny part got stuck on the other part of the sticker and now you have to try and get them apart and argh — fuck it, we’ll just leave it off!
I’m not a fan.
I also find out that I need new tweezers because the ones I had were damaged (this is the first model I’ve put together in a year and I may have used the tweezers for tasks beyond their purpose and tensile strength).
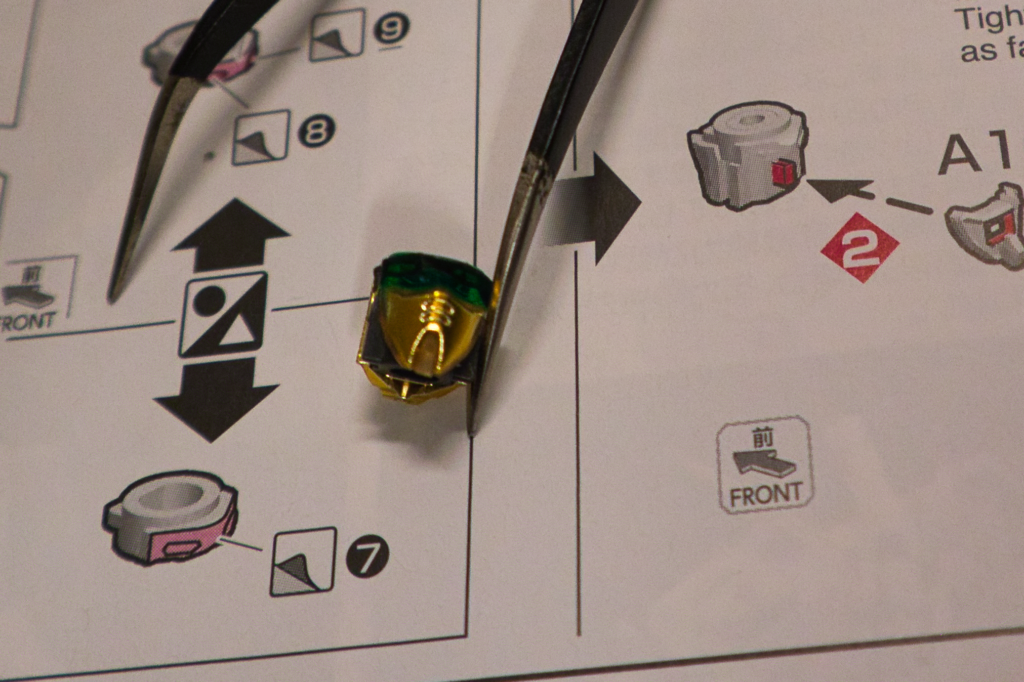
Still, I managed to get the stickers on the head pieces without too much fuss and —
Who am I kidding? That’s a blatant lie. I put two gold stickers on the wrong head spike things (this gundam has like four pieces just for the head spike thing, and three of them get stickers) and had to re-adhere them without making it too janky. Which is saying a lot.
See, a lot of gundam stickers are the shiny foil type, so they’re easy to wrinkle or crease, especially if you don’t place them just so on the piece and you have to make minor adjustments or tamp it down to make sure it sticks. Any bad move can cause a crease to appear and throw everything off. It just won’t look good.
Luckily, I made it out of this one unscathed, with only one long gold sticker slightly off center, but I’m not going to be using the piece in the long term anyway, so it’s all good in the neighborhood.
Other than the usual sticker follies, the head came together fairly fast and looked great.
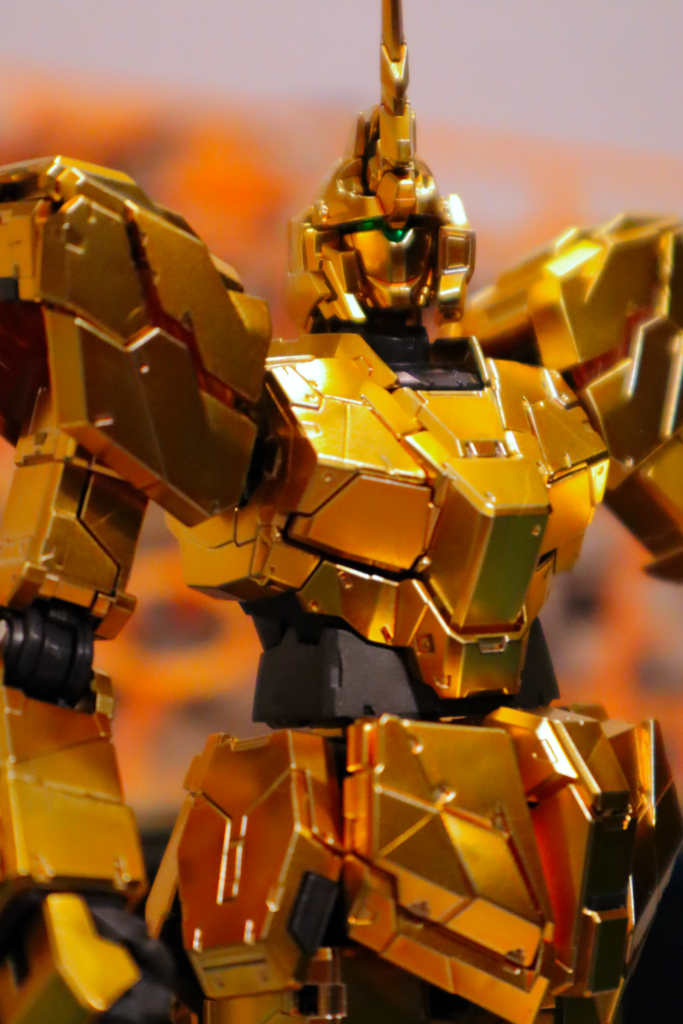
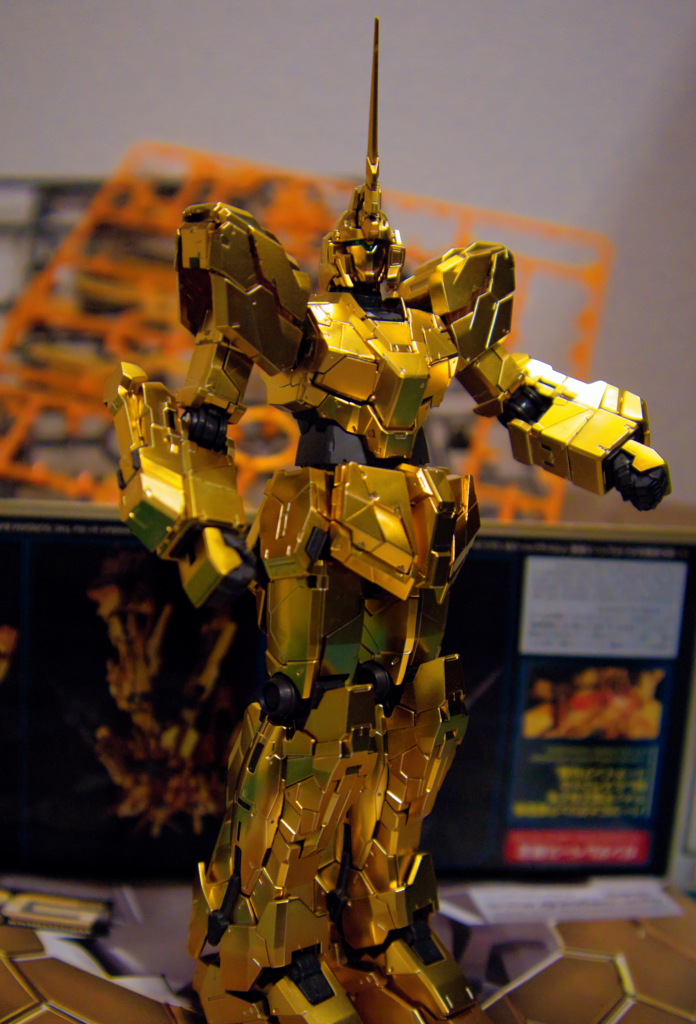
Next up is the backpack.
The backpack is a crucial component for a gundam, since not only does it serve as visual flare by looking like a jetpack, it’s also where you’re going to mount weapons and other items.
It’s also the last major component on this build. Other than weapons and decals, once the backpack is assembled and installed, the gundam will be complete.
It’s kind of a big deal.
I really liked the design and look of the one for the Unicorn Gundam model. They’re not just using the same gold plated pieces as all the other components; they’re also using bronze pieces, as well as the clear ABS orange plastic that we’ve been seeing elsewhere on the model for the transformation effect.
It makes for great color differentiation and visual appeal.
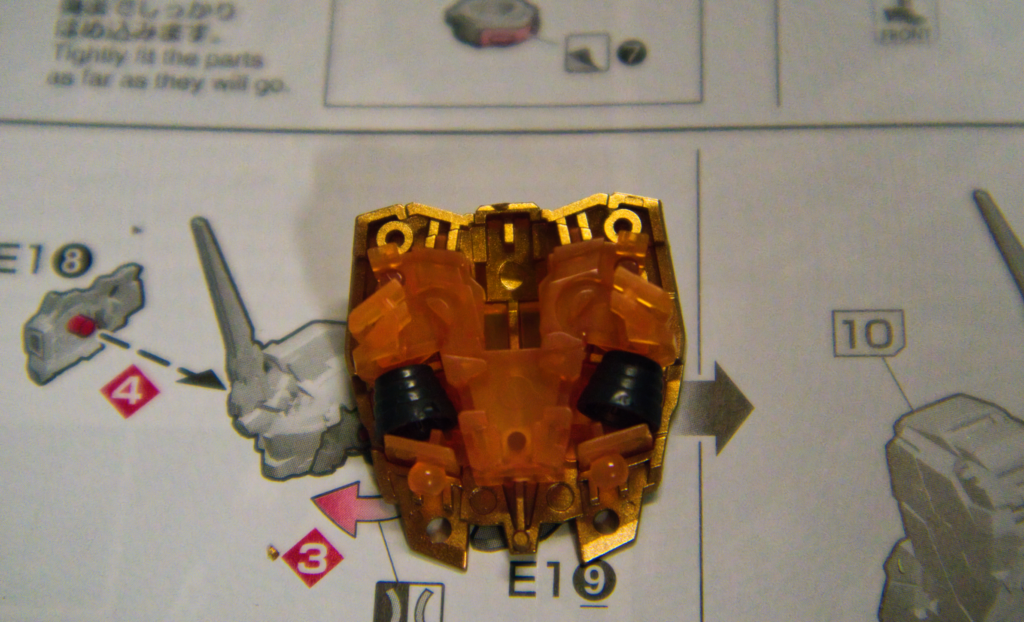
It’s also surprisingly easy to assemble. I kept stopping myself repeatedly during this part of the build to make sure I wasn’t trying to rush to get it finished, leading to sloppy snips off the sprue, but I wasn’t. It was just that easy.
The only issue I found was during construction of the lightsaber handles. Yes, I know what their supposed to be called, but they’re lightsabers. I’m not the Bandai corporation. I don’t have to worry about trademark infringement, so I can call them whatever I want.
The rest of the gold pieces in this model had undergates on any parts that would be plainly visible, and any other parts that might show a stress mark were hidden from view. The part design on this model was impeccable.
Except for the lightsaber handles. After finishing assembly and installing them into the backpack, the stress marks were front and center.
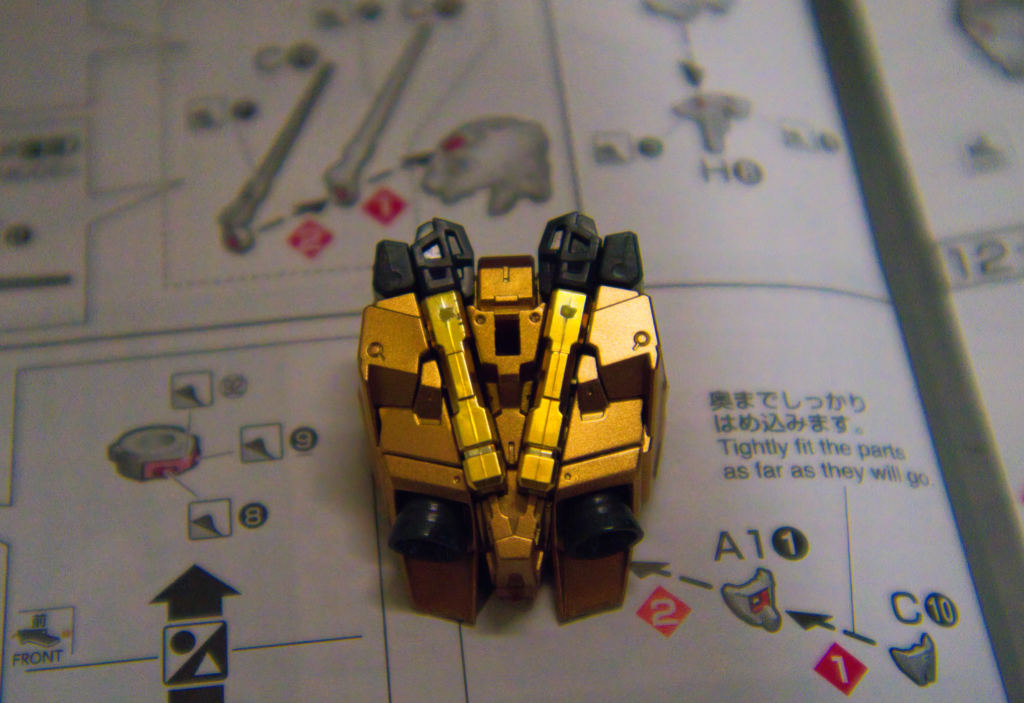
Since this type of plastic doesn’t lend itself to easily sanding & buffing out the marks, the only option is to airbrush them or use what’s called a “Gundam Marker” to basically paint over them and hope it color matches.
I’m going to leave them be for now, since I think they may be covered by a weapon or something that’ll be inserted at the end of all this.
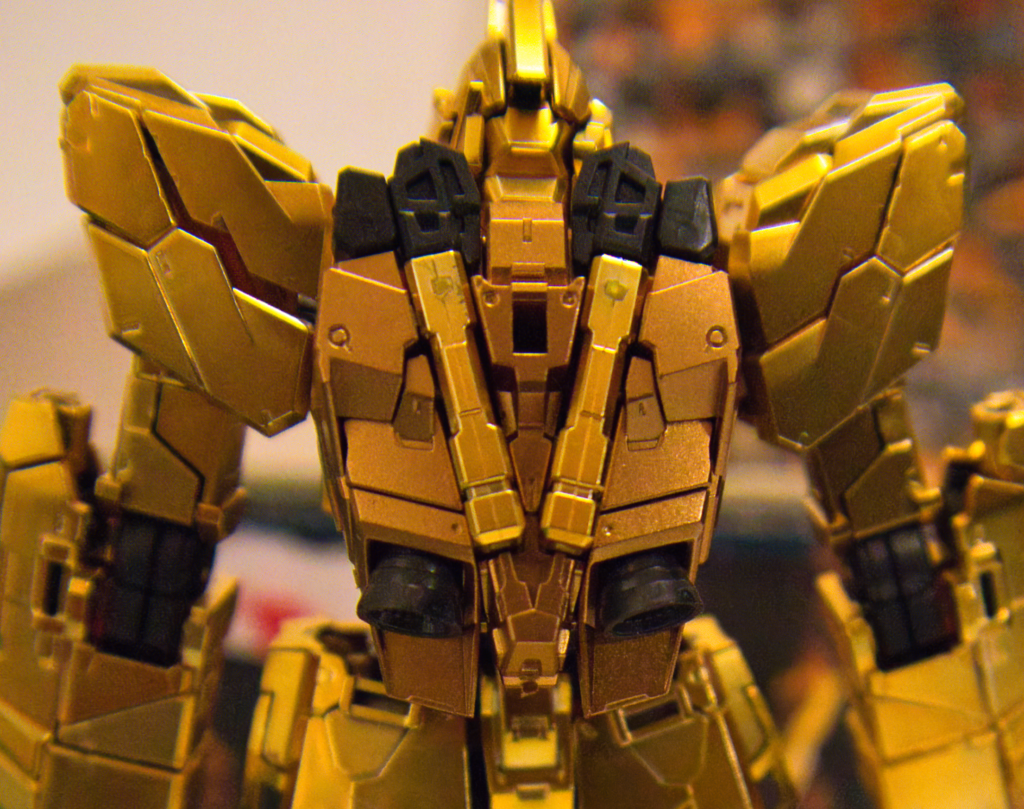
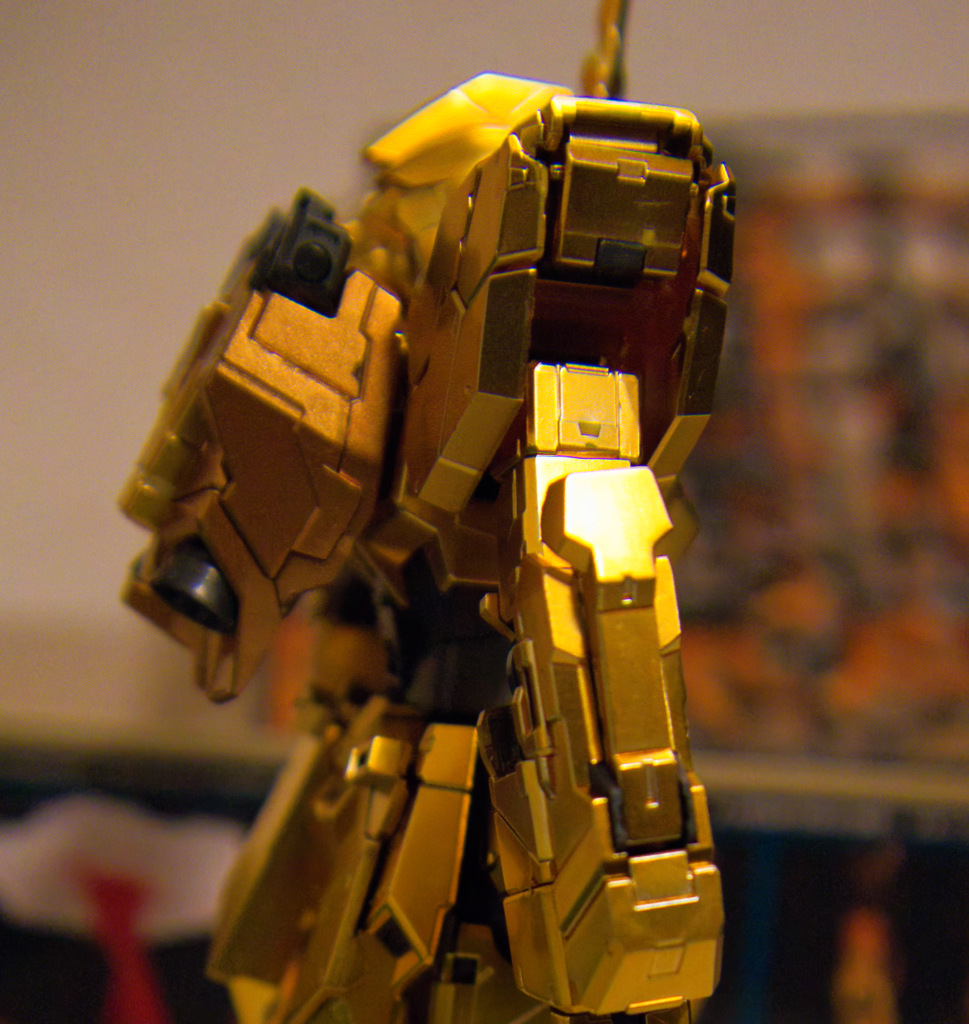
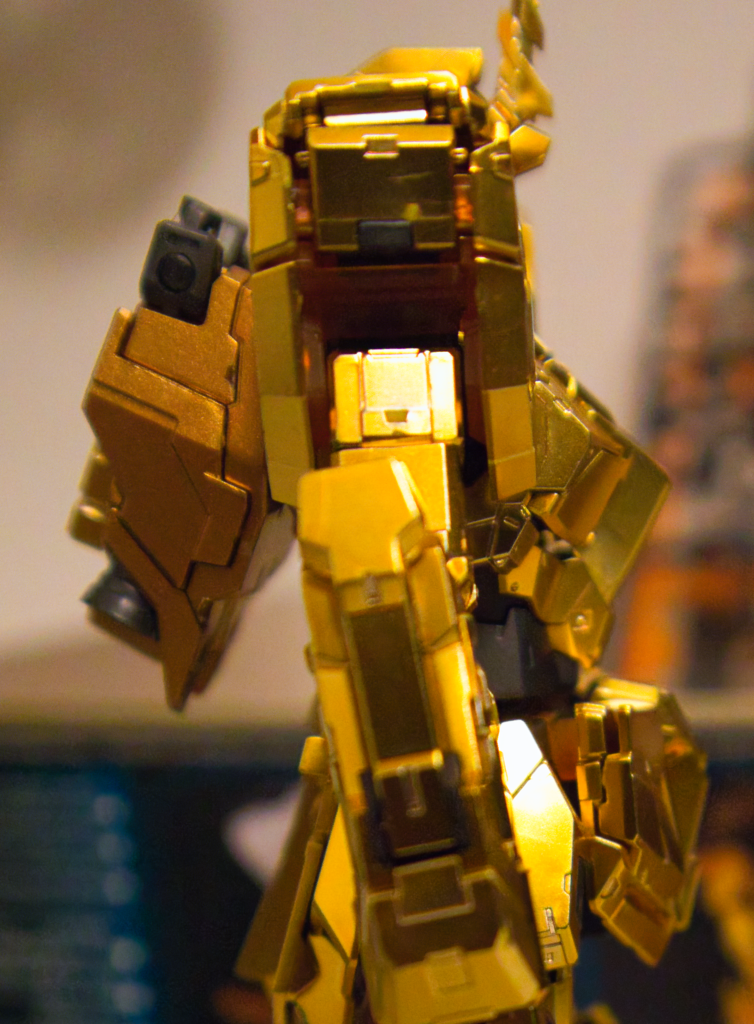
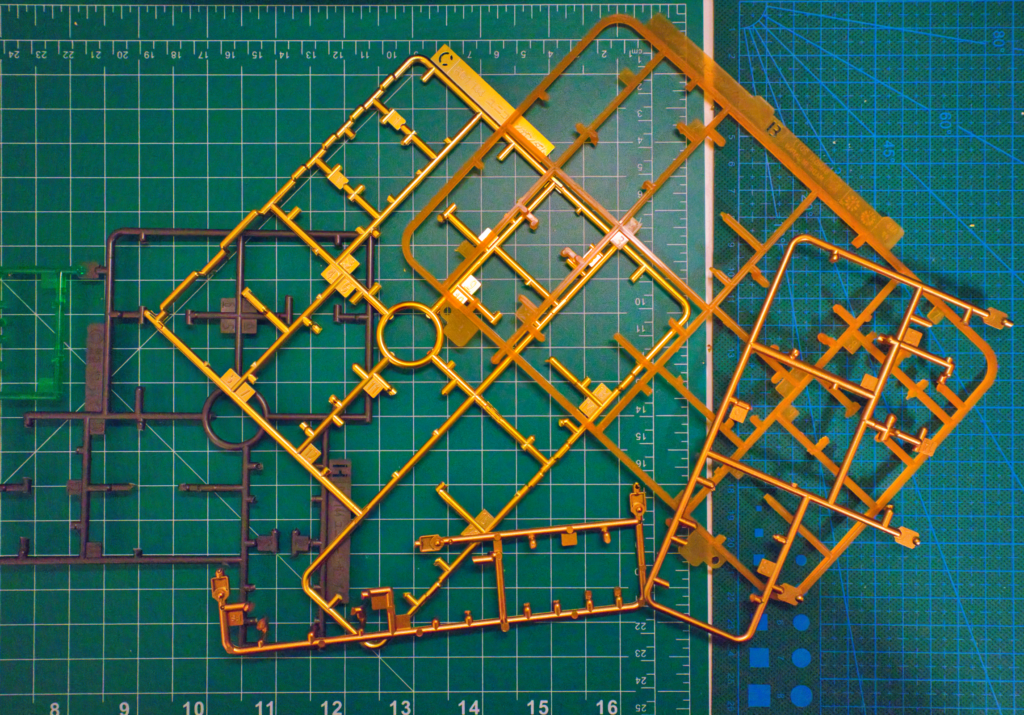
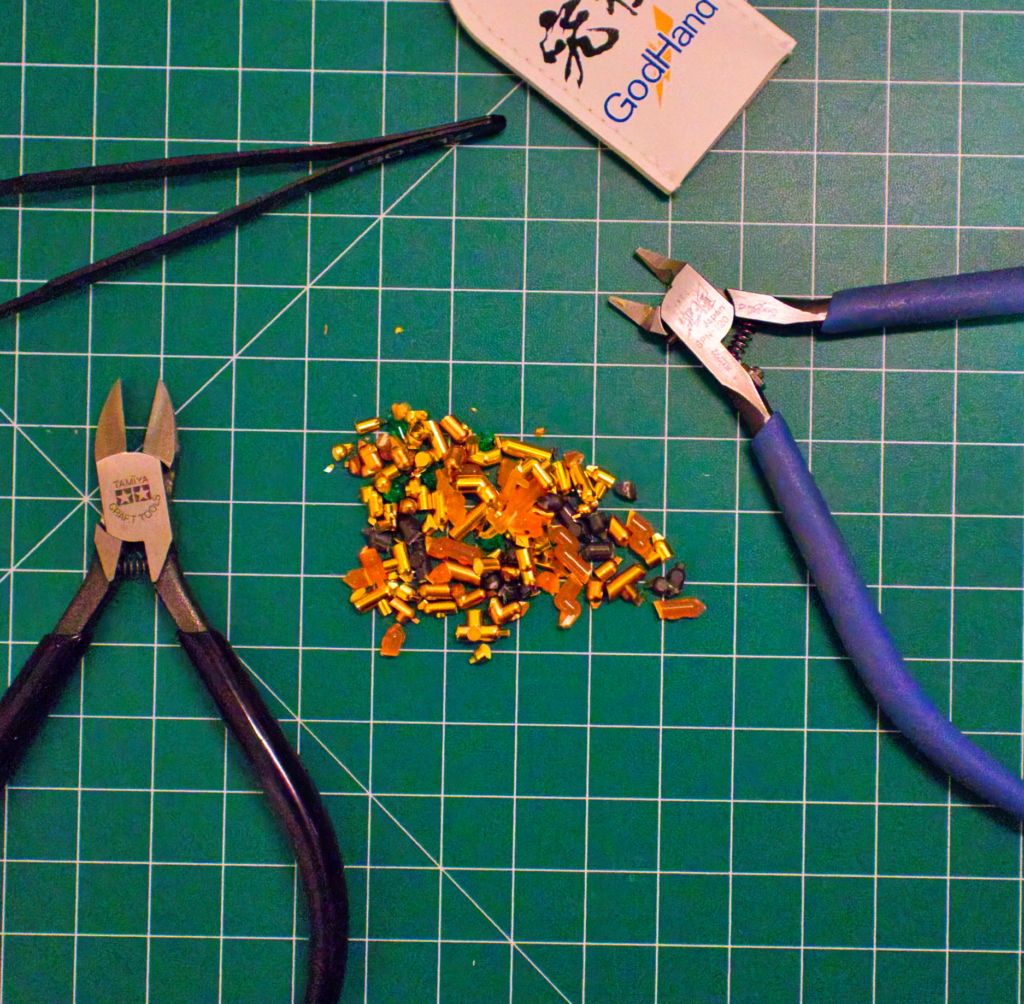
With the completion of the backpack, I also emptied out several more sprues and it looks like the only ones with parts left are for the weapons and shield, which I’ll hit next time.
- Two Arms! Two Arms!by pauliegon
After a couple of minor disappointments last time, I sat down wondering if the issues I experienced were a fluke, or if they would continue as I worked on completing the arms and shoulders of the model.
Since the internal frames were already complete, most of the work this time around involved a lot of gold-plated plastic with undergates to give this gundam his big, shiny limbs.
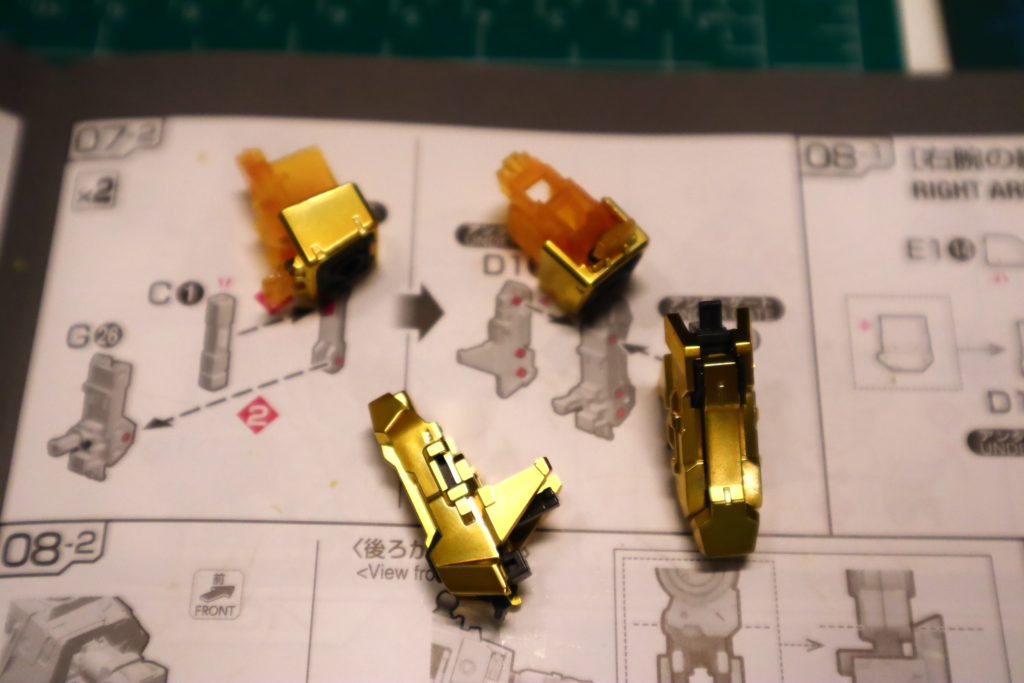
The right arm went off without a hitch and given the number of pieces and some of the more complex fits compared to the rest of the model, whatever tension I felt melted away and I was humming along once again.
The cool thing about this section of the model is that the instructions have you building both arms at the same time, so if you spent longer than normal on one section or piece to figure out orientation or fit, you’d get all the bugs worked out and build the duplicate part in a quarter of the time.
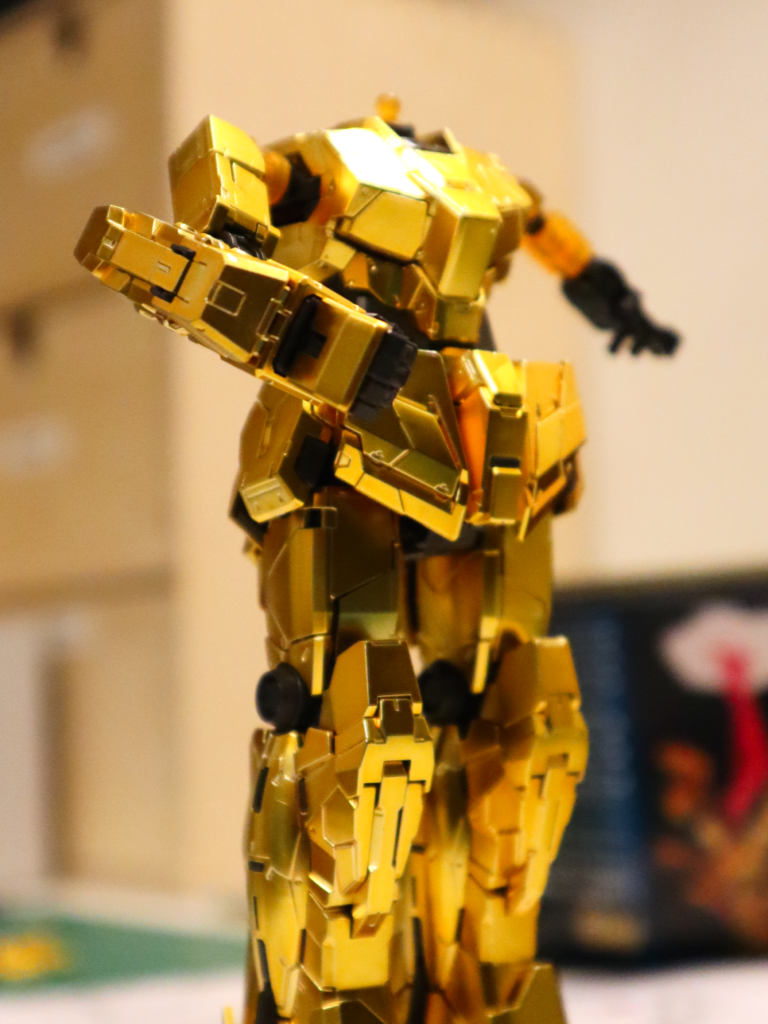
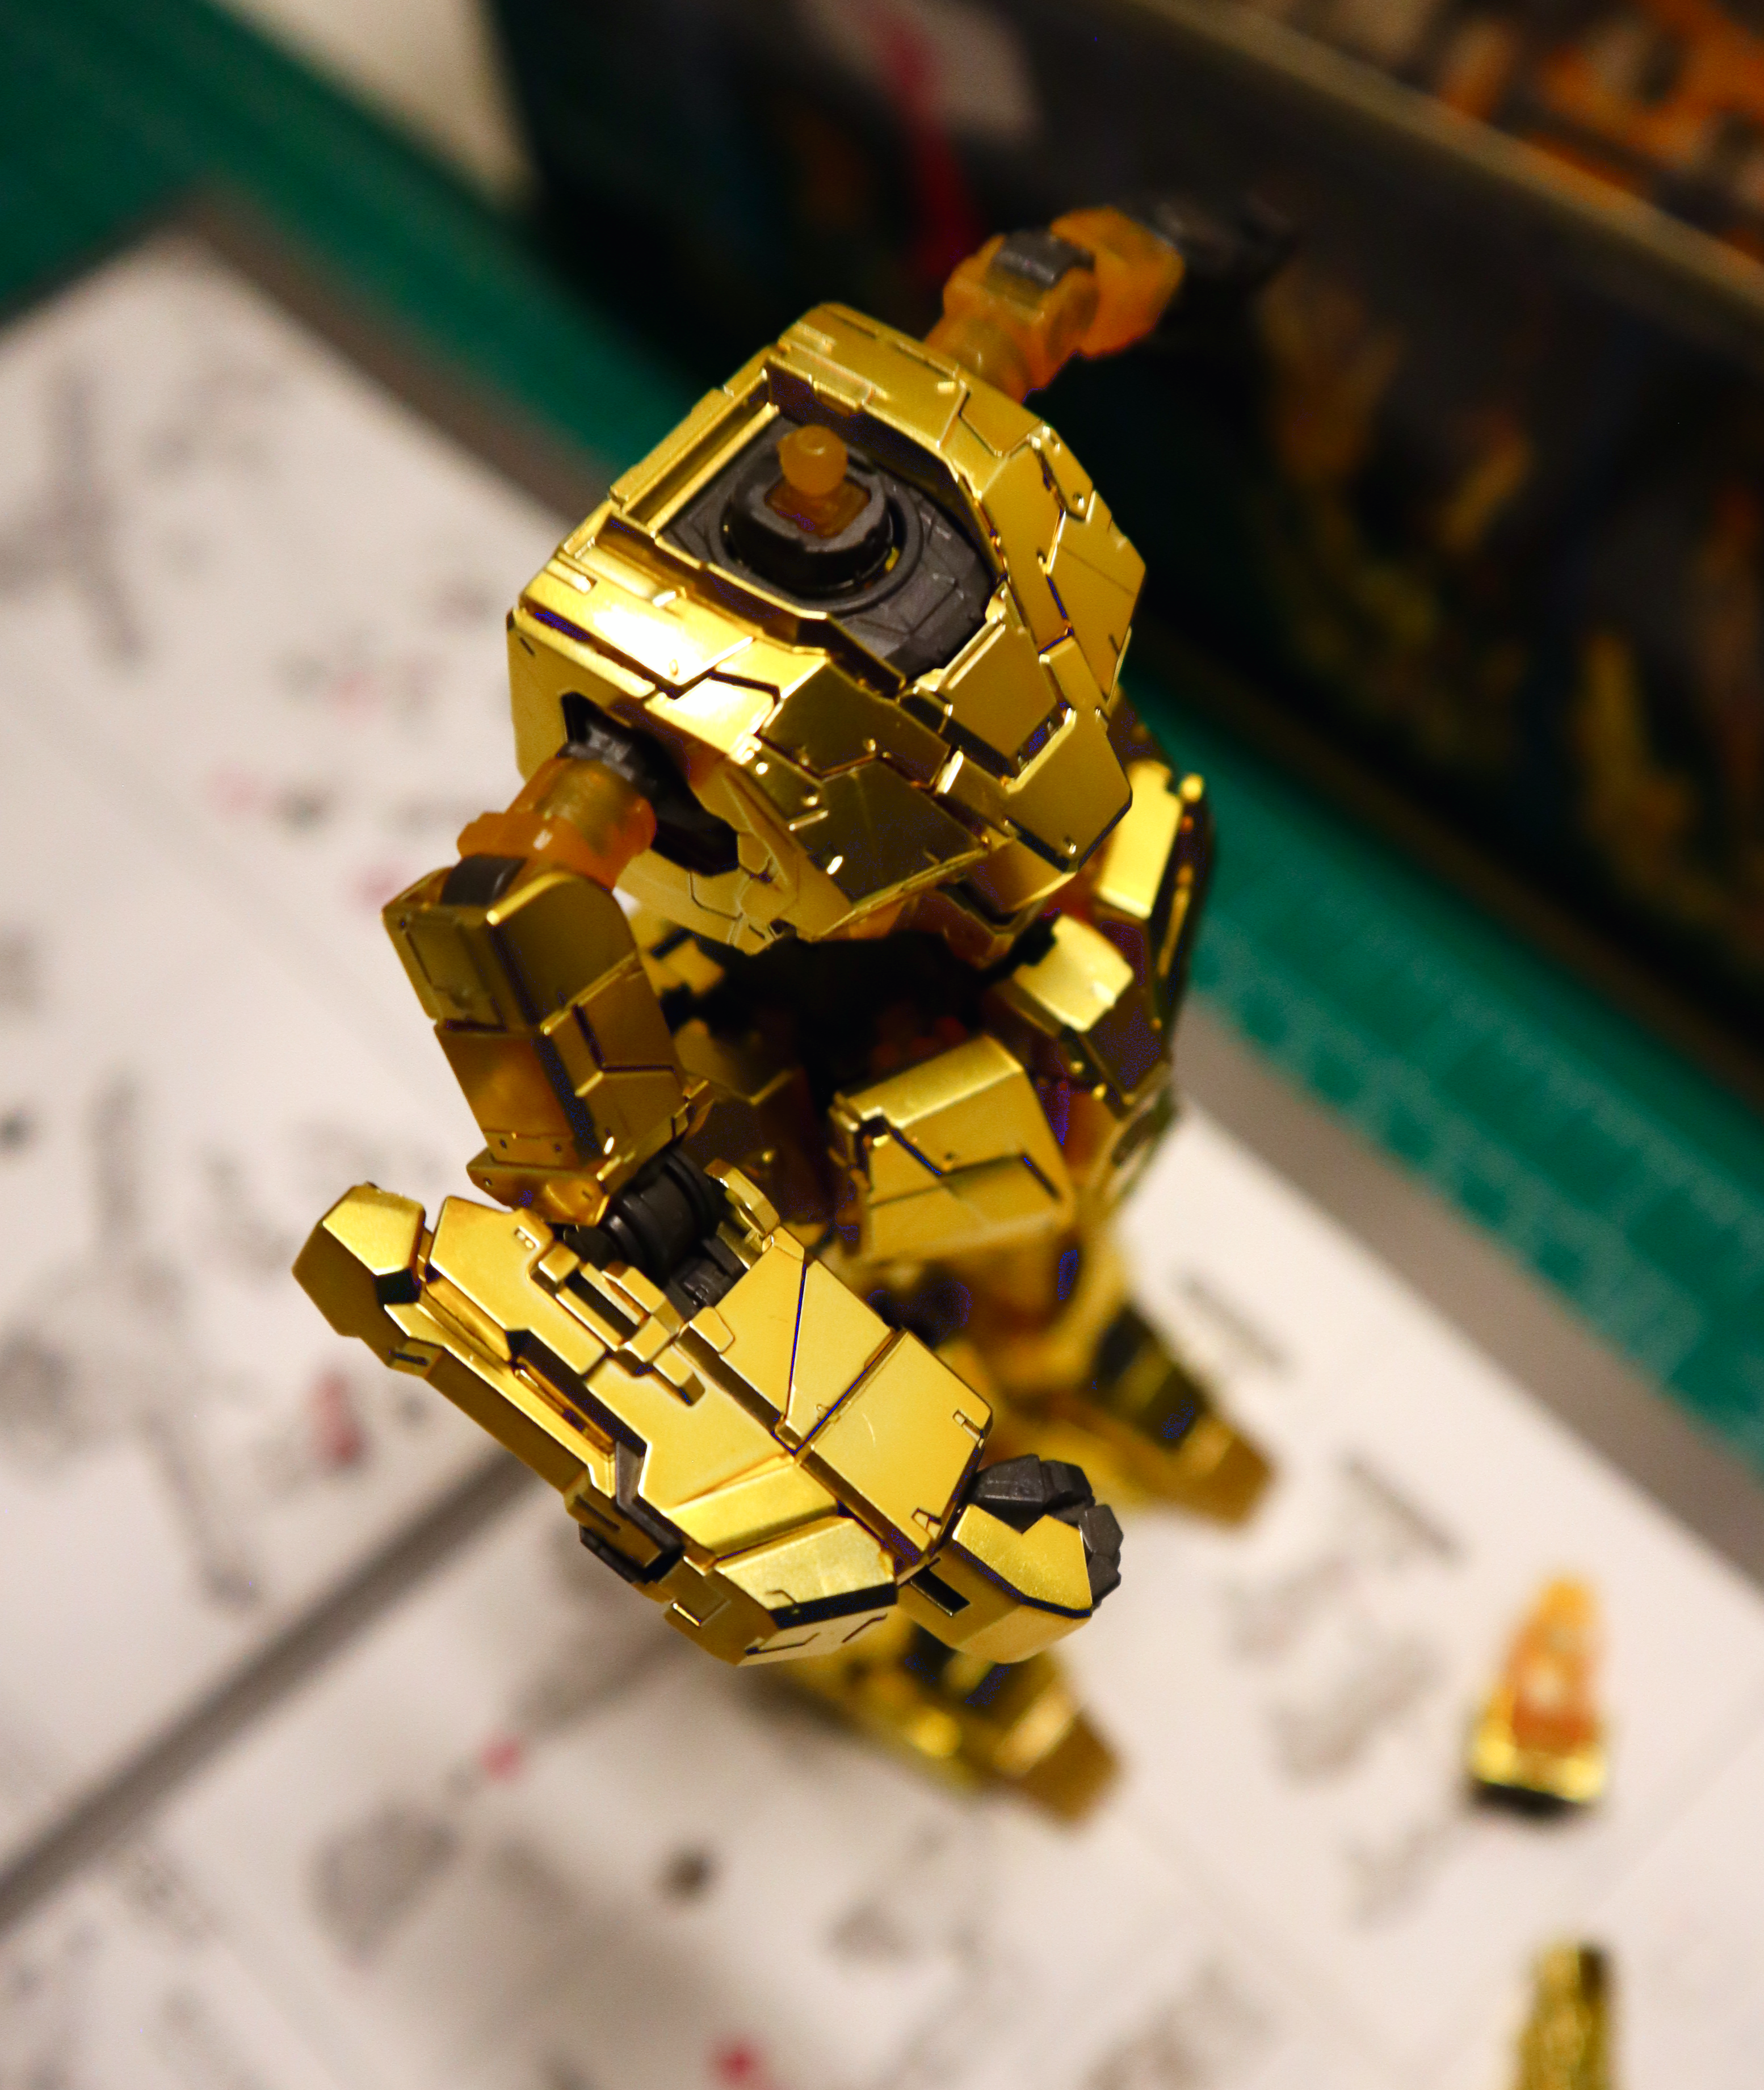
The only trepidation I felt was on the left arm, which is where I had the piece that kept backing out of its spot like a cat that doesn’t want to be held.
And sure enough, as I started putting the outer gold pieces on the arm, the process was made a bit more difficult since it didn’t stay where I needed it to stay so I could get the pieces on.
Thankfully, those same pieces went around the recalcitrant joint piece and it was forced to remain affixed to the elbow against its will.
I let out a grunt of satisfaction.
Always celebrate the small victories.
Next on the agenda were the shoulder pieces and if you know anything about gundams, these can be outrageously wacky or somewhat subdued, but they’re never shy and retreating.
Since this was a Unicorn model, it features a transformation mode and this proved to be my undoing on one of the shoulders.
The problems started almost immediately and were entirely of my own creation. Each shoulder is built around a core with a couple of pieces on hinges. On a normal gundam like an RX-78 or similar, the process is fairly simple and straightforward, but since this features a transformation, it was a bit more complex.
The problem I encountered wasn’t a stranger to me, but a well-known and unwelcome visitor — figuring out the proper orientation of pieces when fitting them together, especially when there’s a hinge and moving parts.
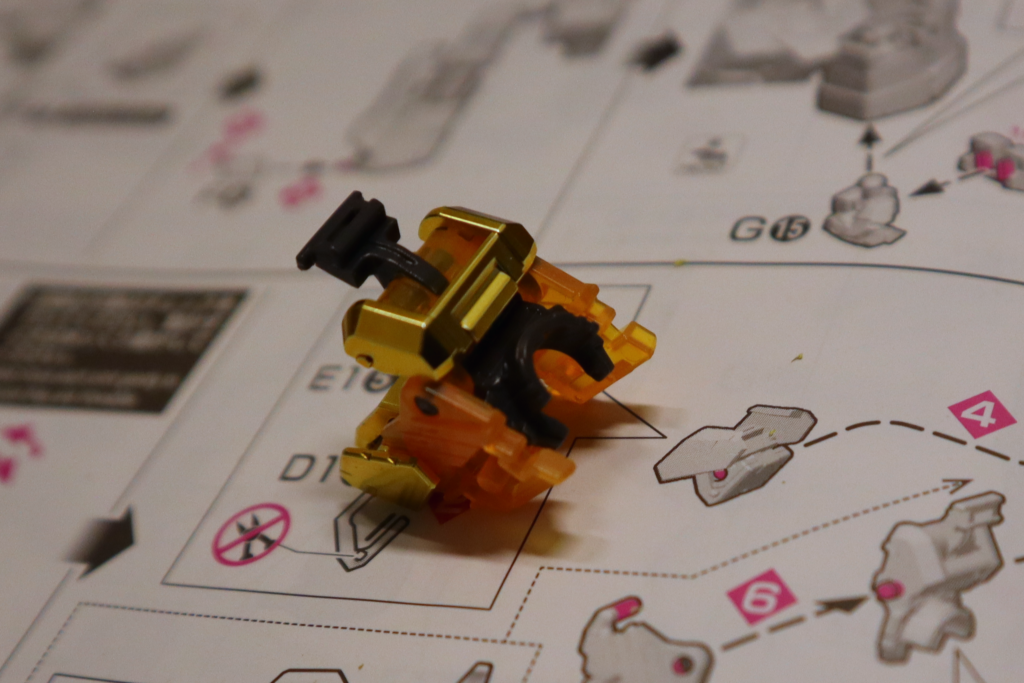
After I got the pieces together in what I thought was the correct configuration, the instructions say to rotate a couple of pieces to allow the placement of another piece, and I just could not figure out why nothing was rotating the way it was supposed to according to the manual.
Picture if you will a man seated at a small desk. His face a contorted mix of confusion and concentration as he peers intently at a small piece of gilded plastic. He turns it in his fingers and then stares at an instruction manual before returning his attention back to the piece. He repeats this minor ritual in the vain hope of completing the prescribed steps so he can finally move on from this place of banal torment.
Unbeknownst to him, but beknownst to us, he will remain firmly affixed in this limbo of his own design until such a time that fate, and perhaps inspiration from beyond, finally release him from this small corner of…The Twilight Zone.
Anyway.
At a certain point, I’d taken apart and reassembled the shoulder piece until parts that once fit snugly together started to loosen and eventually started falling off more easily than they should. Luckily, I cracked the code before things got too bad and I had to reach for the Tamiya cement.
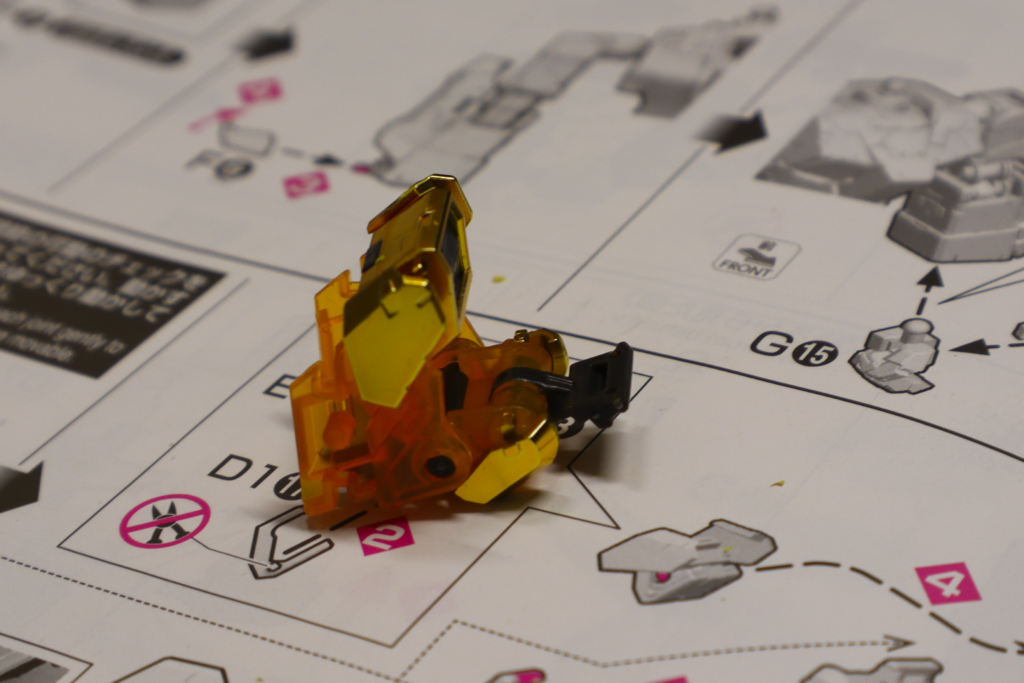
Like I mentioned earlier, the advantage of doing two duplicate pieces one right after the other is that the second shoulder went a lot faster than the first.
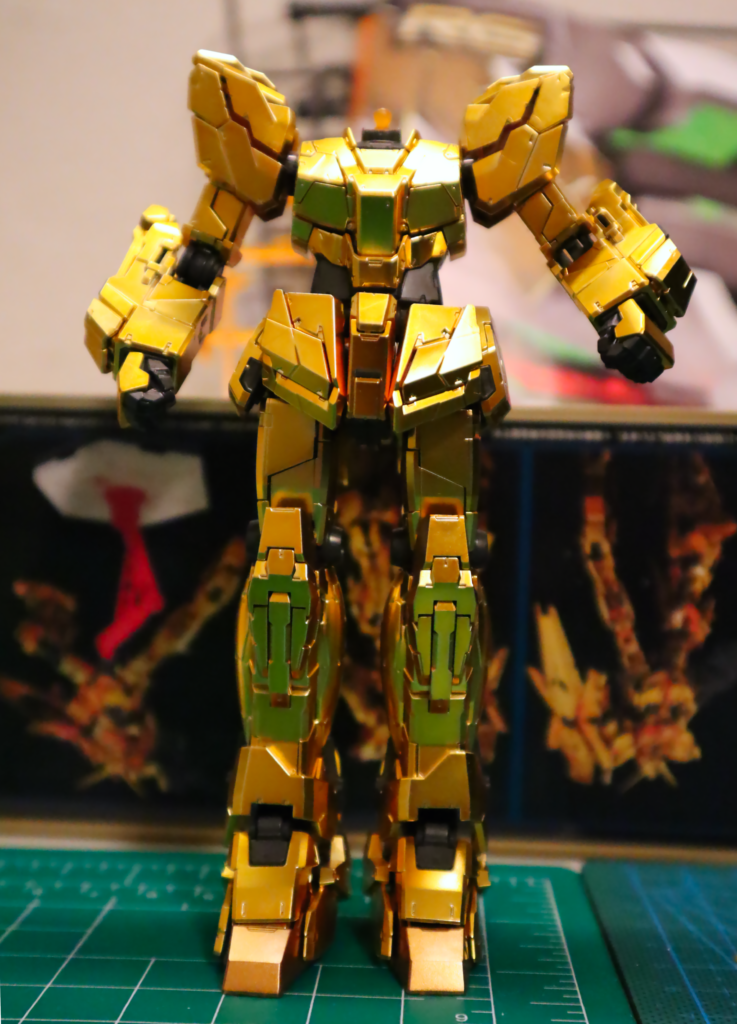
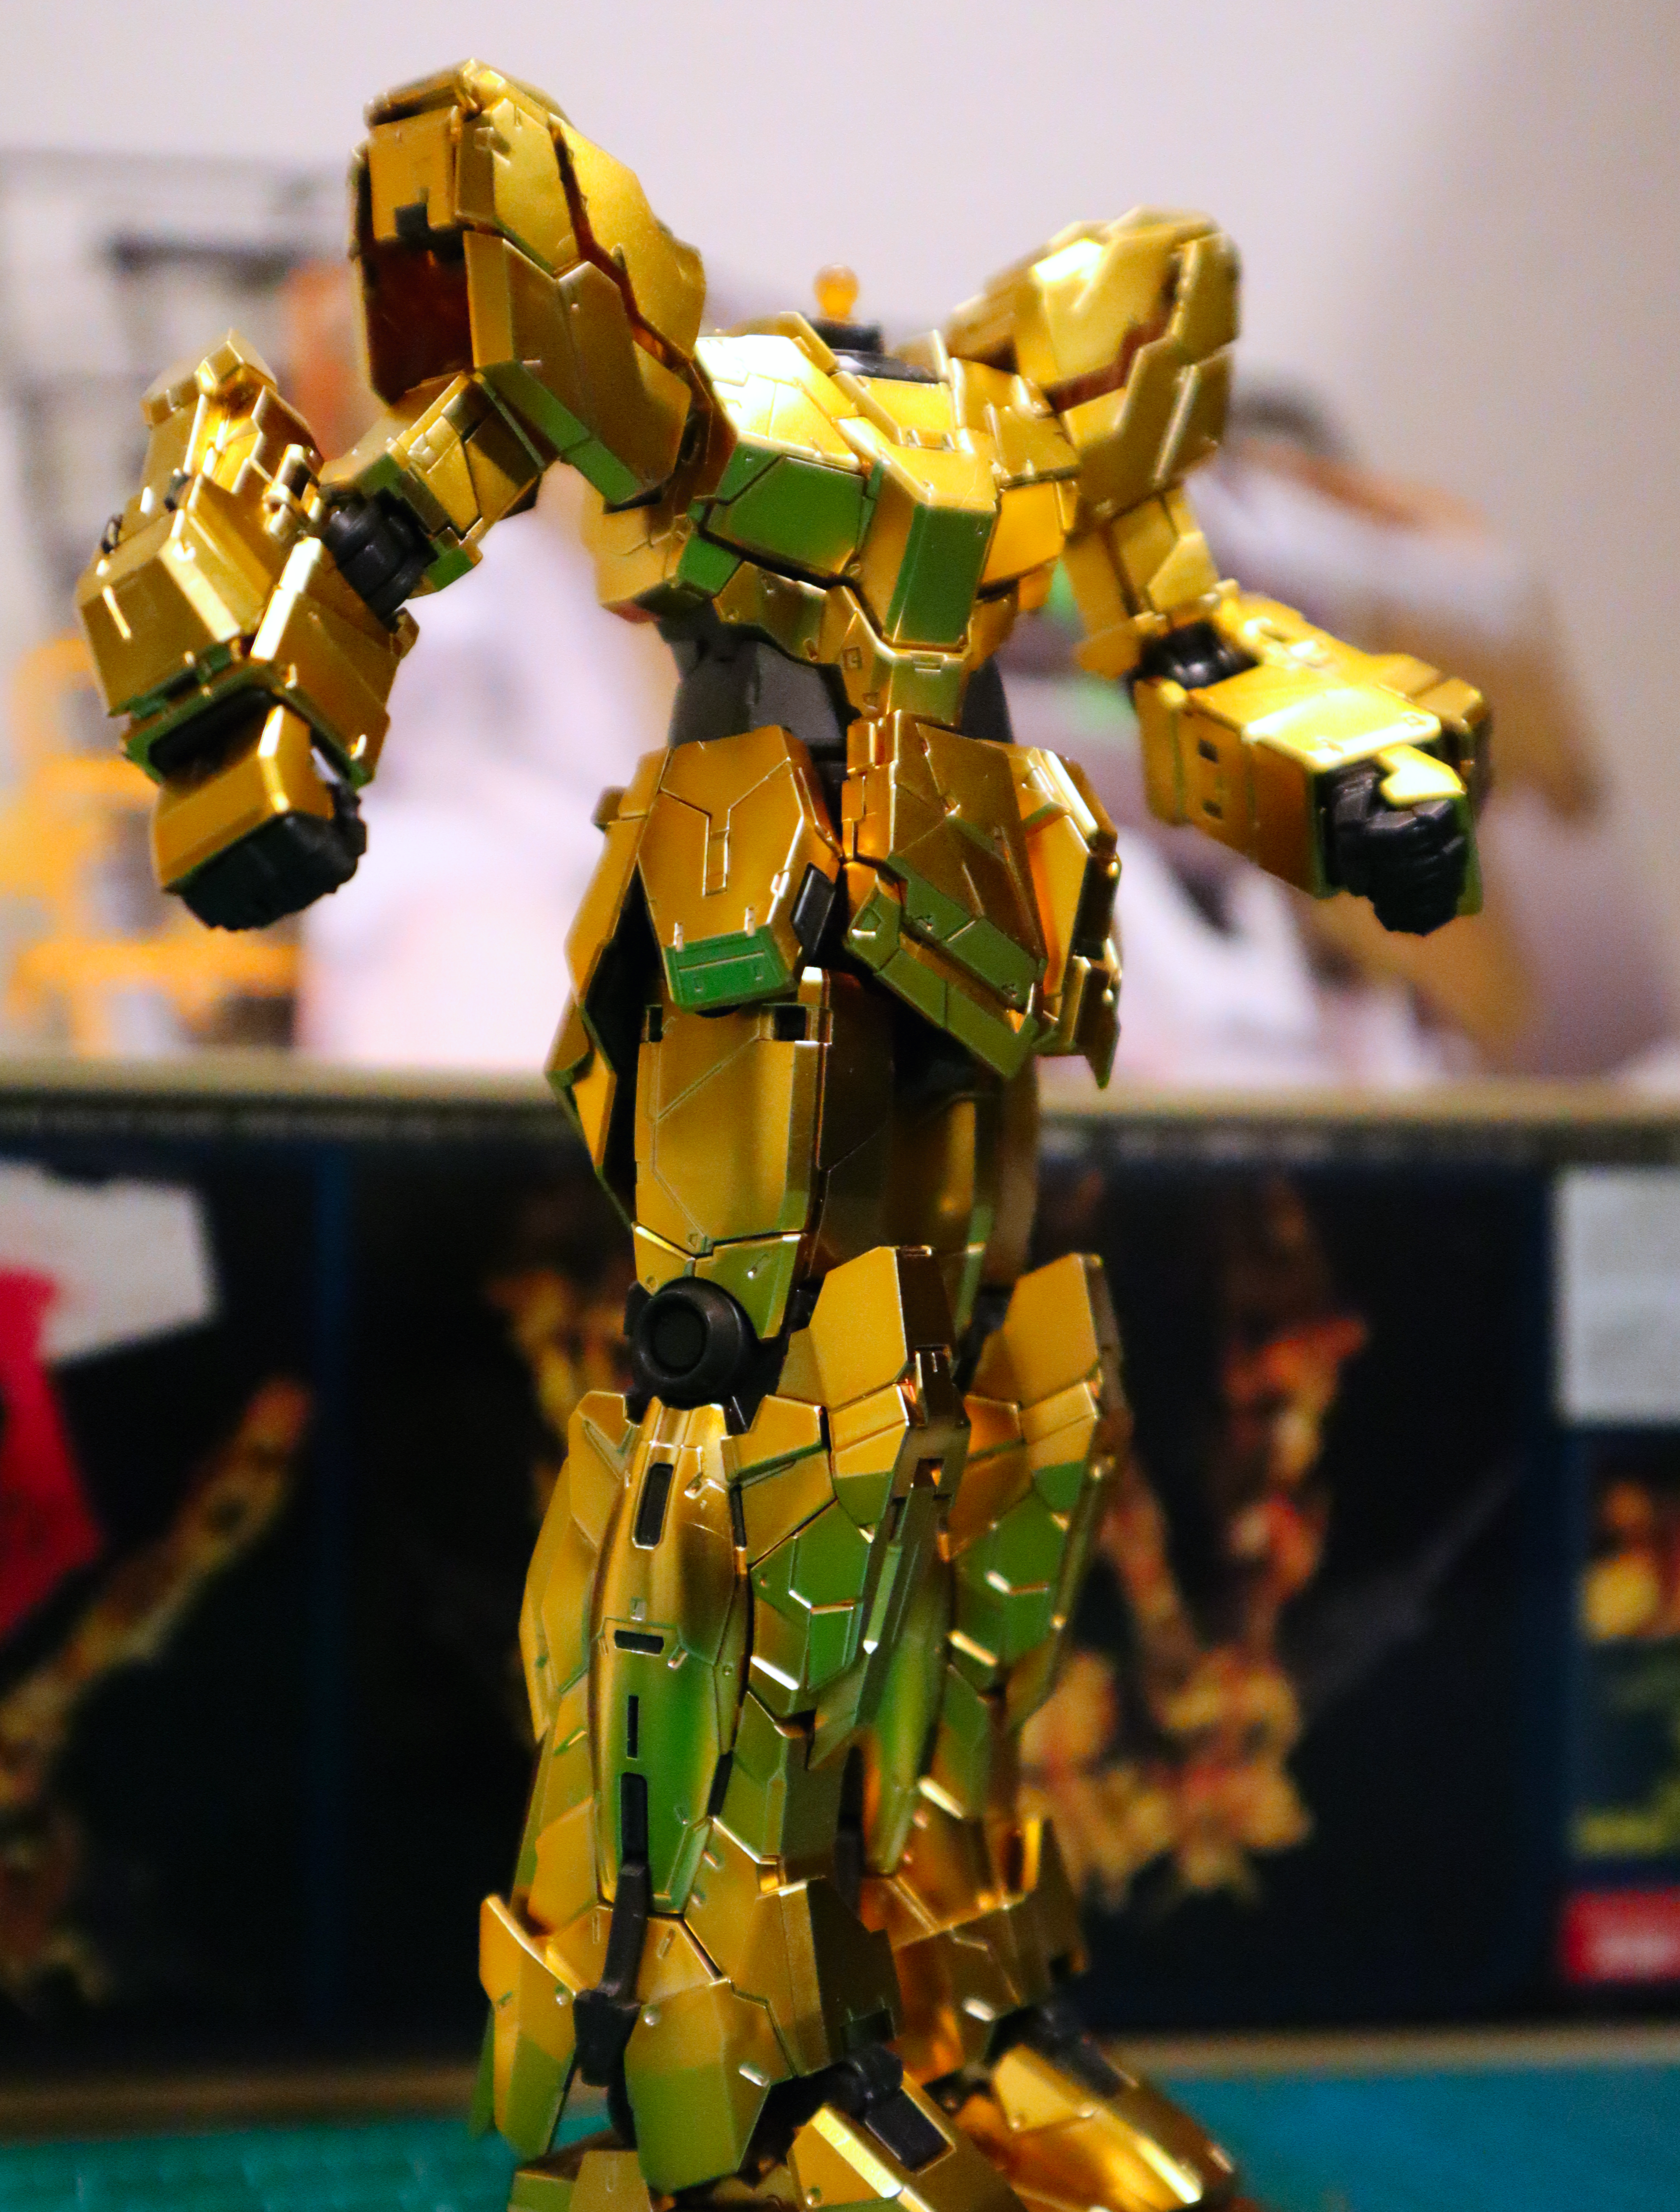
I also hit a major milestone as the last piece to complete the left shoulder meant that I’d emptied my first sprue.
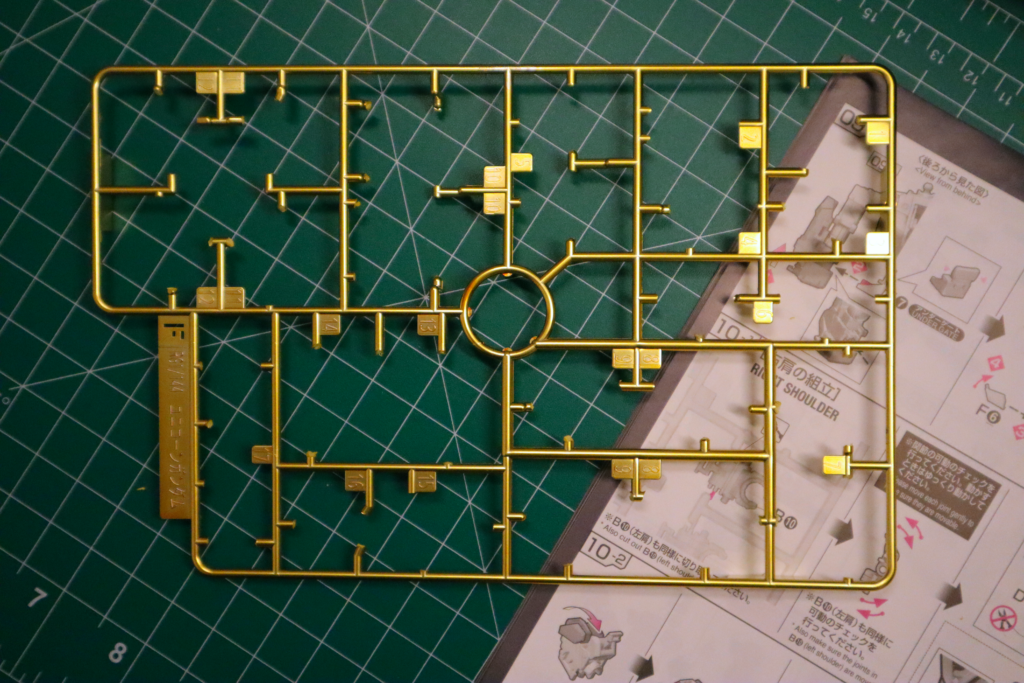
At this point, all that’s really left is to put a good head on these shoulders and build out the weapons, which I’ll get to in the next session.
- The Real Grade Flaws Finally Manifestby pauliegon
I got way too used to how smooth this model was going. I couldn’t believe it, a Real Grade model that didn’t want to fall apart if you looked at it wrong? Where the pieces actually stayed together?!
Alas, the dream is over. The Real Grade just couldn’t hold out any longer and finally revealed its weaknesses.
If there was any portion of the model where I thought I’d encounter any major issues, it was going to be the waist. After I completed it without too much trouble, I thought I was home free.
I started on the torso (or Chest Unit, as Bandai calls it) for the Unicorn Gundam, which also includes the internal frame pieces for both arms.
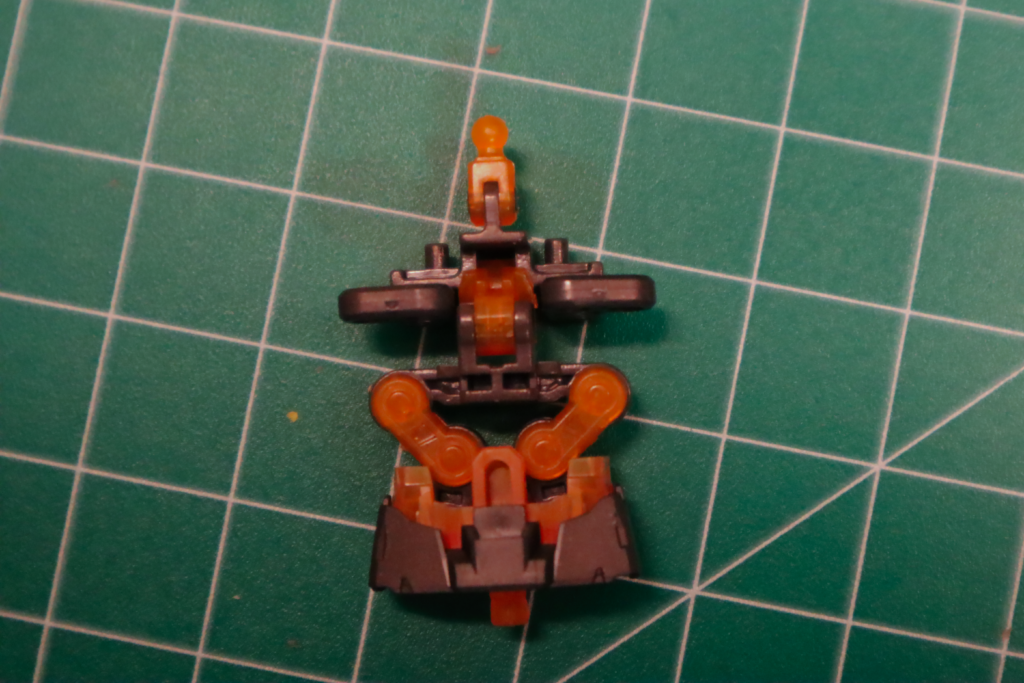
The internal frame for the chest 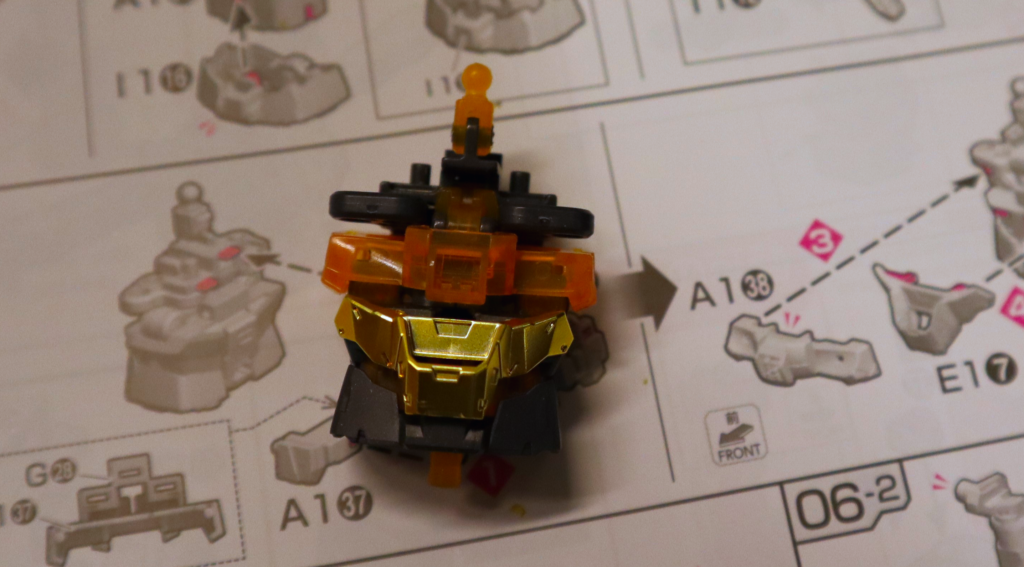
The first gold piece added I completed the first arm without incident and I was humming happily along and listening to something from Bach on KUSC when it finally happened: the other arm had an issue with two of the pieces staying together.
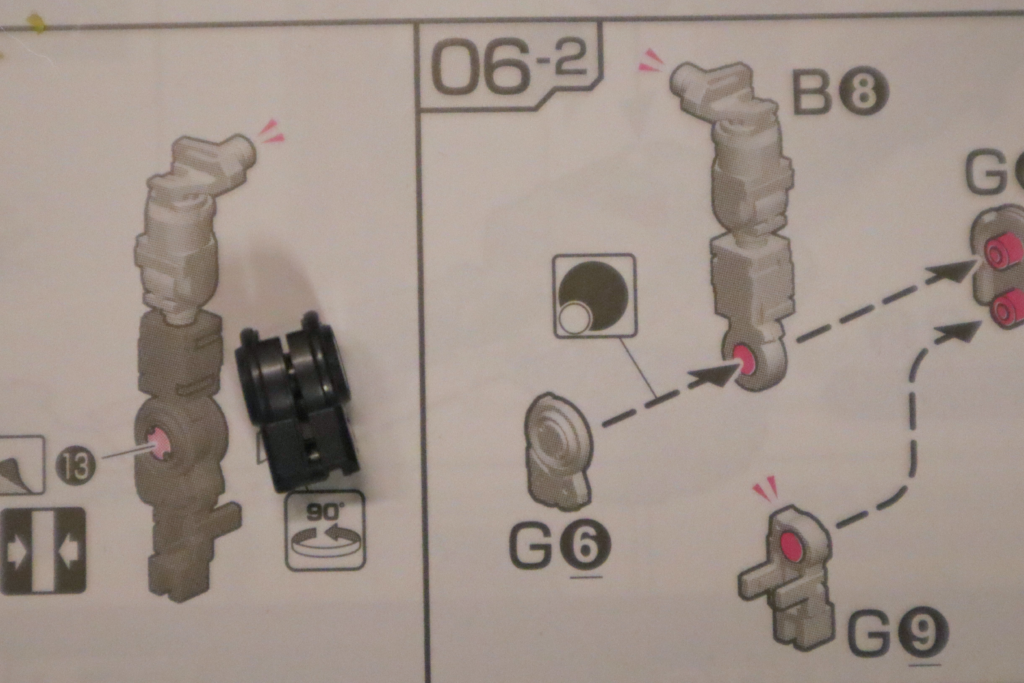
Mind the Gap 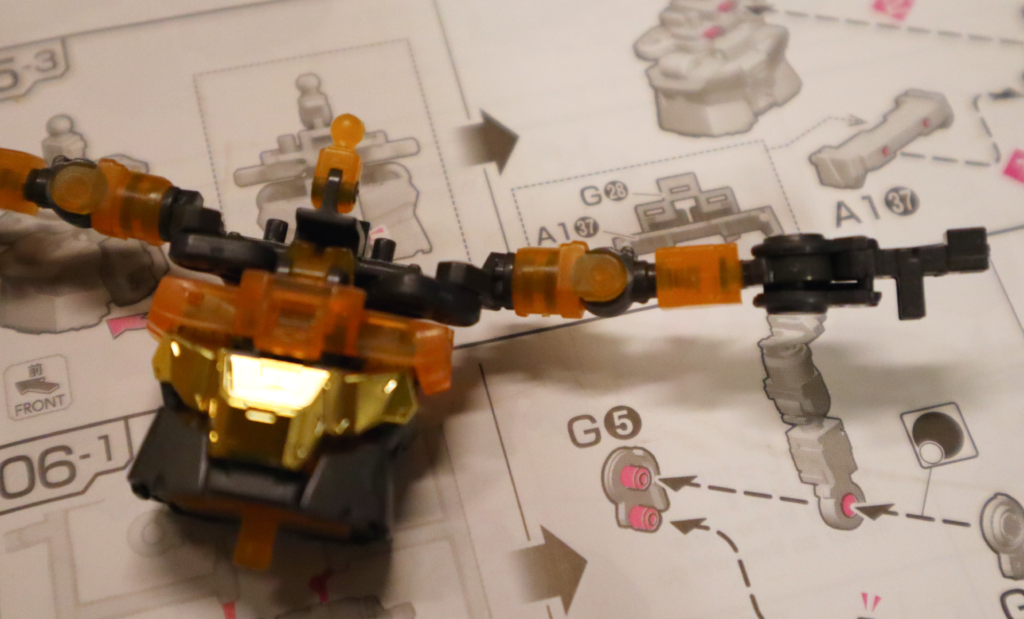
It’s almost pushing itself off Those two pieces you see in the picture, G6 & G7, would not stay together. At first I thought that maybe I’d left some excess sprue material on one or both, or on the piece they connect through, but I disassembled everything and didn’t see anything after inspecting them.
I decided to put those two pieces together on their own to see how they’d fit without the other pieces, but right after squeezing them together, they began pushing each other apart.
At last, the model couldn’t take it any longer and finally admitted it was a true Real Grade after all.
I shook my head, but any disappointment I may have felt immediately faded away as Howard Shore’s Concerning Hobbits came on the radio. It’s always a pleasant surprise when the classical station plays something from a movie score, and KUSC these days is especially fond of Howard Shore’s The Lord of the Rings music.
I’m not complaining.
It was quickly followed-up by Holst’s Mercury, The Winged Messenger, and I was in a great mood as I pressed on, hoping that the arm piece was the only flaw in what up to this point had been an exceptional model building experience.
Luckily, all the other pieces fit together fine and stayed together, but the moment I tried to manipulate that one arm, the affected piece fell out.
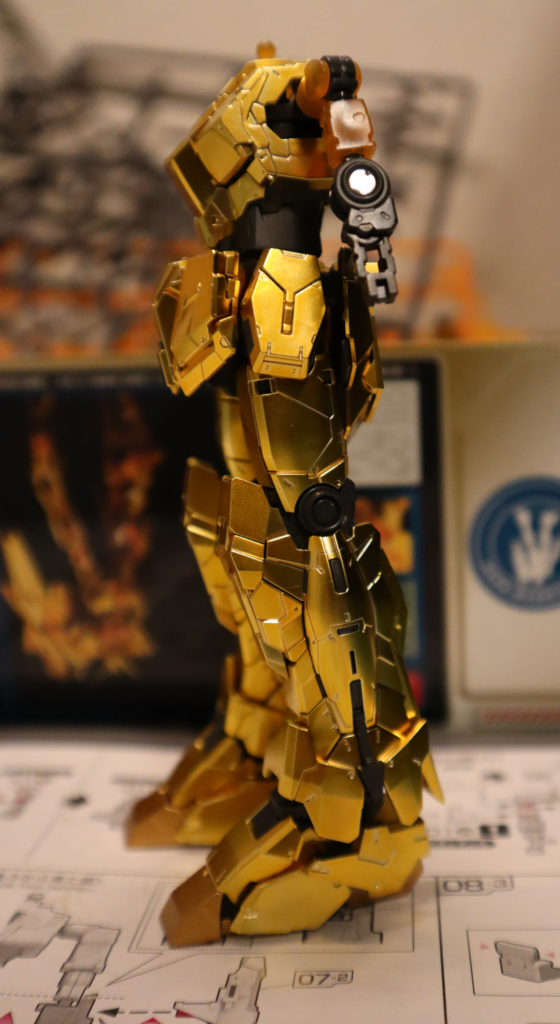
Side View 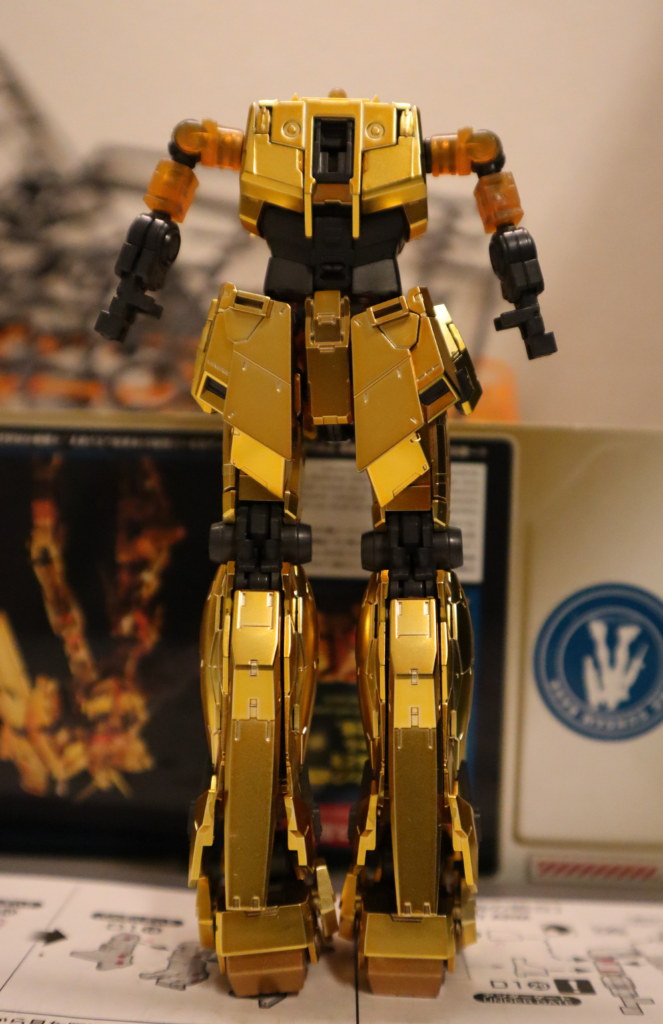
Rear View The rest of the torso went by without incident as KUSC played it’s “Saturday Morning Cartoons” program. This episode focused on the pipe organ and its versatility across all genres of music. It’s fantastic at establishing ominous moods, but just as easily occupies the opposite end of the spectrum as playful music at amusement parks and in cartoons. And of course, who can forget its inextricable link to baseball.
As I was wrapping up for the day, I attached the torso to the rest of the body and discovered that the Real Grade wasn’t finished coming into its own.
I was trying to get it to stand straight and take its picture, but I just could not get the waist piece to appear straight. It was tilted to the side. I made some minor adjustments to the legs and one of the gold pieces fell off.
I was putting that back on and straightening everything out when one of the skirt pieces on the waist fell off. It took forever to get that back on without anything else falling off, and now the model was even more off kilter than it was when I started.
I was 10 minutes into something that should’ve taken a few seconds and finally gave up. I got it into good enough shape, snapped the pics, and quickly put it back in its box.
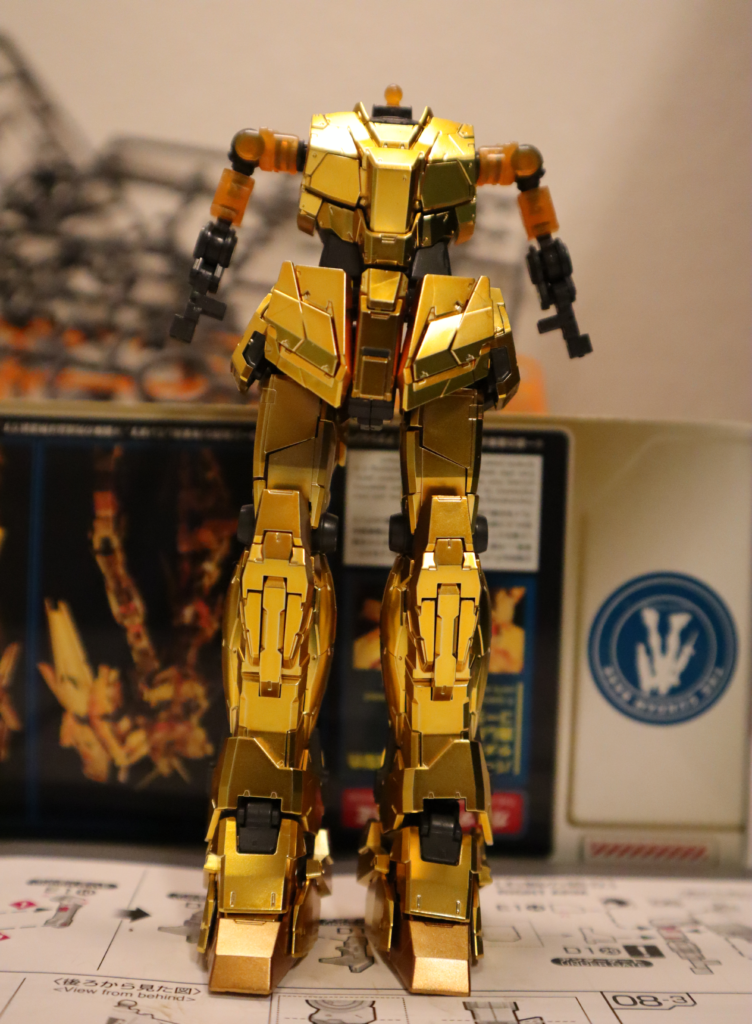
Front View, Askew It’s safe to say the seal has been broken on this one. I was walking on cloud nine, but I quickly fell back down to earth and realized that no matter what, a Real Grade is gonna Real Grade.
It’s a shame because I was always looking forward to my next session, but after today I’m wondering what other issues are going to arise and what compromises I’ll need to make with it when it’s finally completed.
I’ve all but given up on getting nice action poses with Real Grades and I don’t even buy stands for them anymore — it’s not worth the trouble, especially as pieces continually fall off as you try to move joints to get it to look just right. You kind of just get it to standup straight and maybe hold a weapon without it falling out of the hand and call it a success.
I had high hopes for this one, and maybe it will prove that its issues are minor, but I’m not holding out any great hopes.
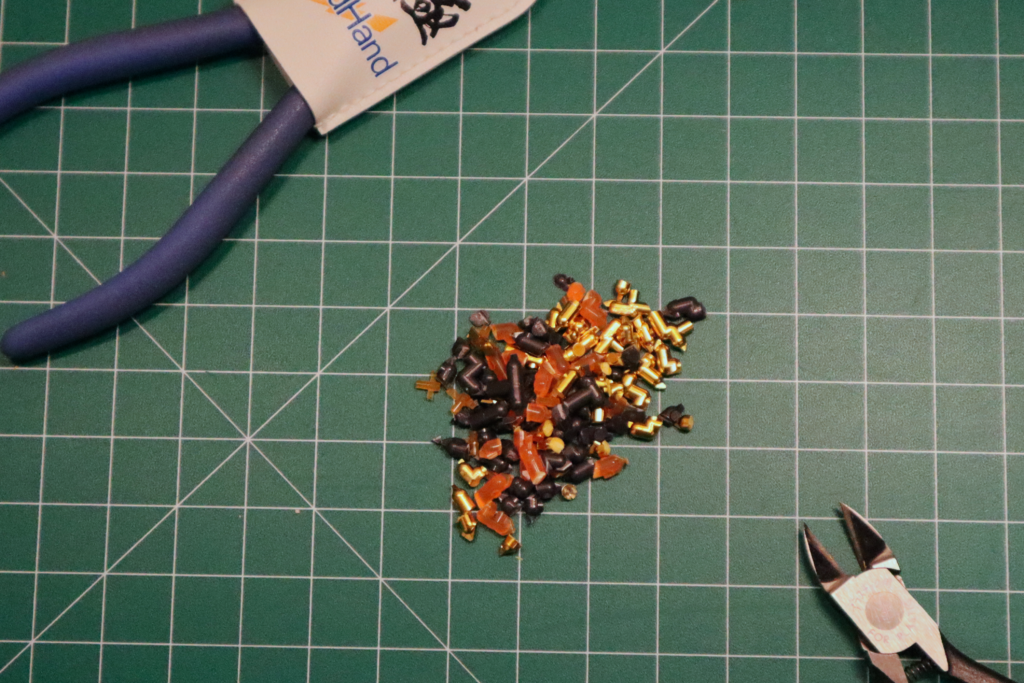
The tailings from this session - Time to Waistby pauliegon
I finally got back to the model this week with the intent of completing the other leg and the waist. It had been a couple of weeks since I had the chance to work on it, and I completely forgot all the stuff I learned on the other leg, so it didn’t got faster.
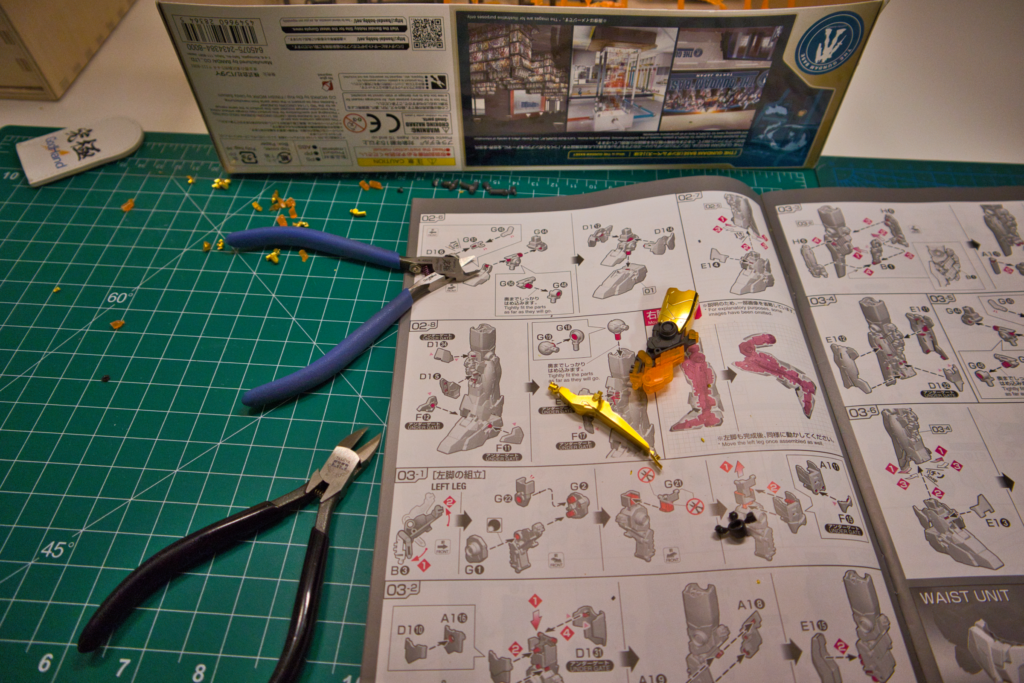
The Workspace 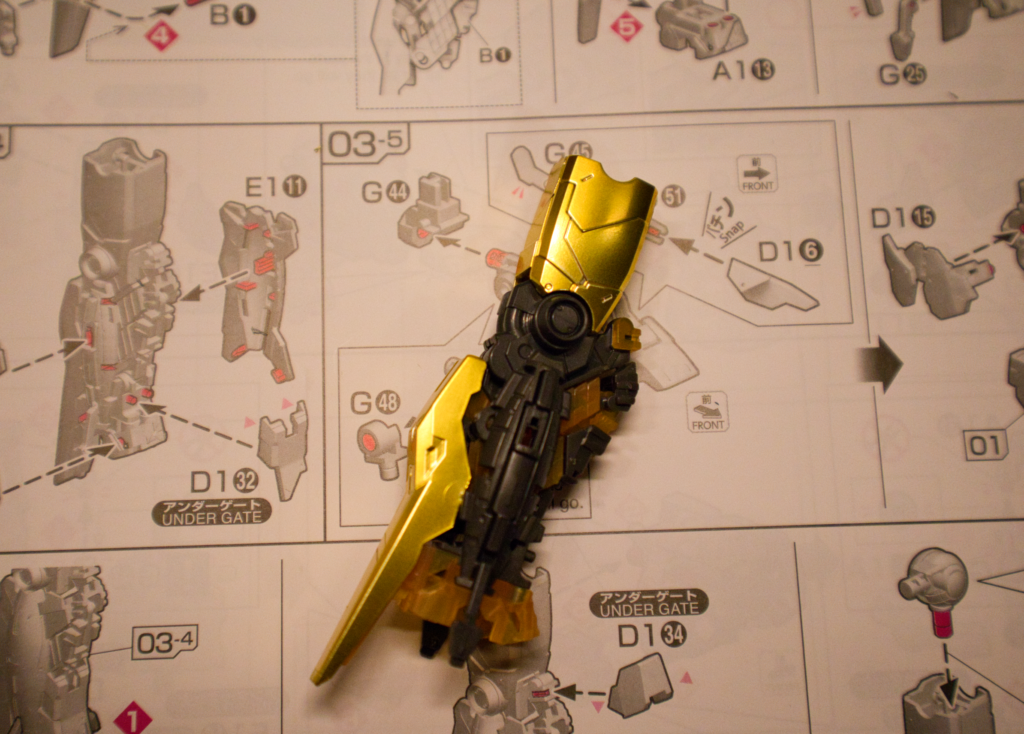
Getting There 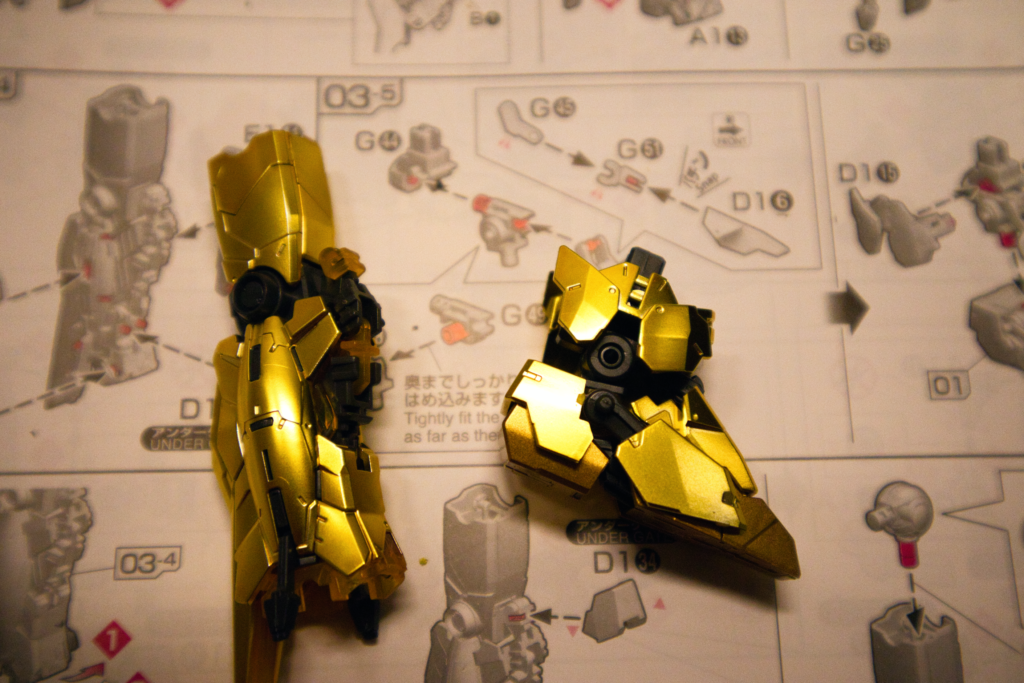
Ready to Complete Just as with the other leg, I was really vibing with this Real Grade kit, which is unusual for me, because me and Real Grades just do not get along without considerable friction.
Actually, friction is the wrong word — RG’s tend to never want to stay together for me and fall apart if you look at them the wrong way.
But the legs are solid and have a satisfying feel in hand. I’m not afraid pieces are going to fly off into the ether if I dare to manipulate the limbs as designed.
After the leg was done, I switched the radio from classical KUSC to AM 570 and Game 2 of the World Series. I was still riding the high off Freddie Freeman’s grand slam last night and I was really hoping the Dodgers could take Game 2 before going to New York for three games.
As Rick Monday provided his analysis of tonight’s pitchers, I started in on the Gundam waist (or “Waist Unit” as Bandai likes to call it in the manual).
When it comes to Bandai Gundam models, this is typically the part I hate the most, no matter the grade. The waists provide the main connection interface for the torso and legs, sure, but they have these skirt flaps that connect via a ball & socket connection that is always prone to issues.
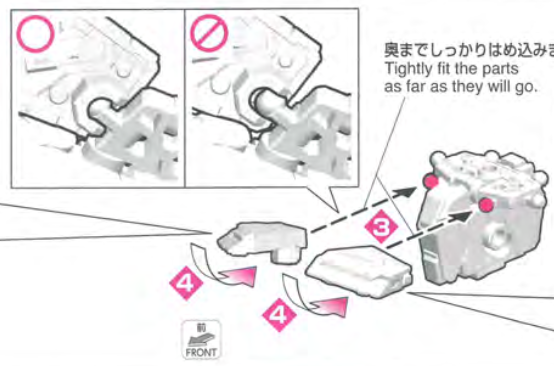
It’s never this easy
The main issue is that the ball parts are ABS plastic with very thin stems, so trying to connect them to the sockets on the flaps is a challenge, because if you try to force them on, the stem can break. But without forcing it, the connection isn’t set, so the flap can easily fall off (especially when you’re connecting four other flaps the exact same way, along with the legs themselves).
Oh, and the ball part of the connection is on a hinge and moves up and down while you’re trying to connect it. And you have to do this six times, all while trying not to pop-off any of the other pieces you’ve already connected while fighting to get the current one in place.
Again, not my favorite part of any Gundam build and this one was no exception.
The Waist Unit with Skirt Flap 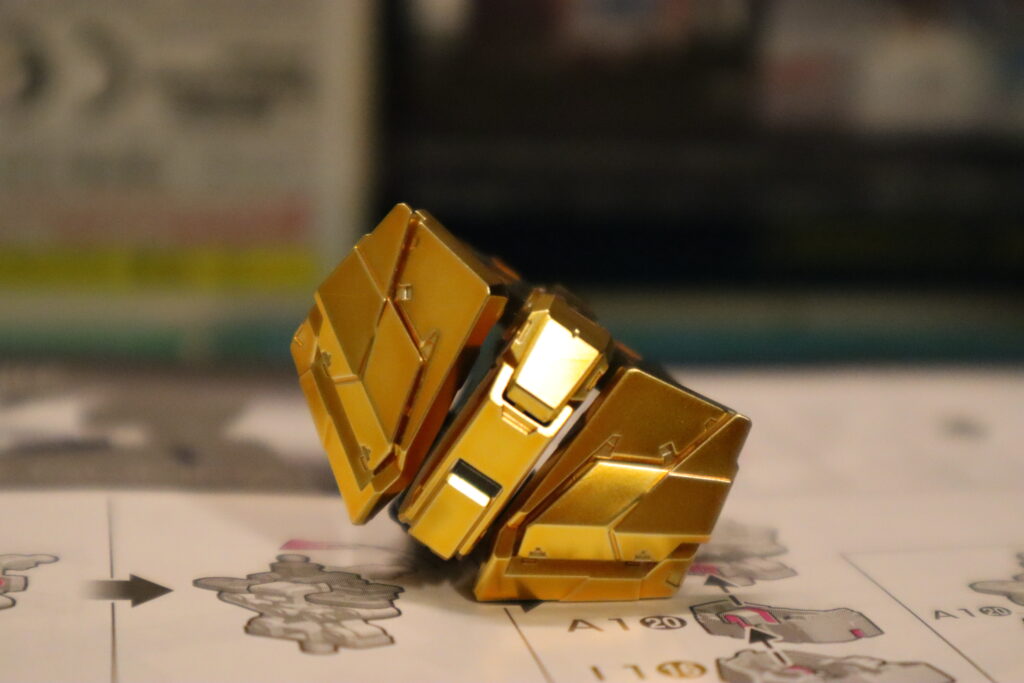
The Completed Waist The Dodgers were well into the 3rd inning and Tommy Edman had just hit a home run by the time I finished wrestling with the waist unit pieces to get it assembled without breaking anything.
This seemed like a natural stopping point, especially after the typical frustration of assembling the waist piece, so I connected the legs and called it a day.
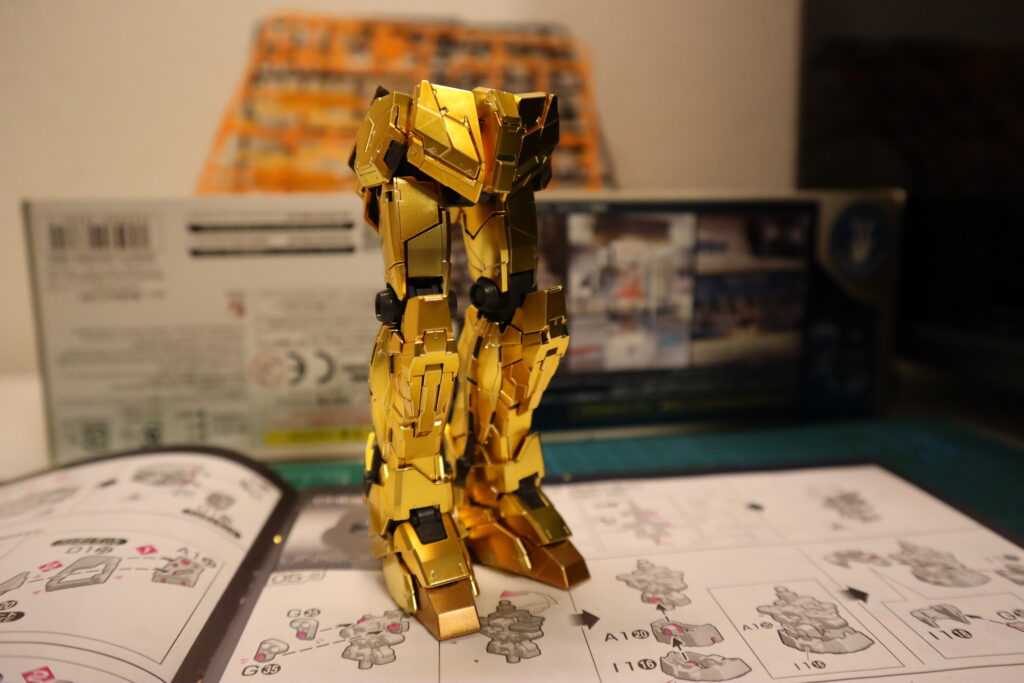
The Legs, Coy but Approachable 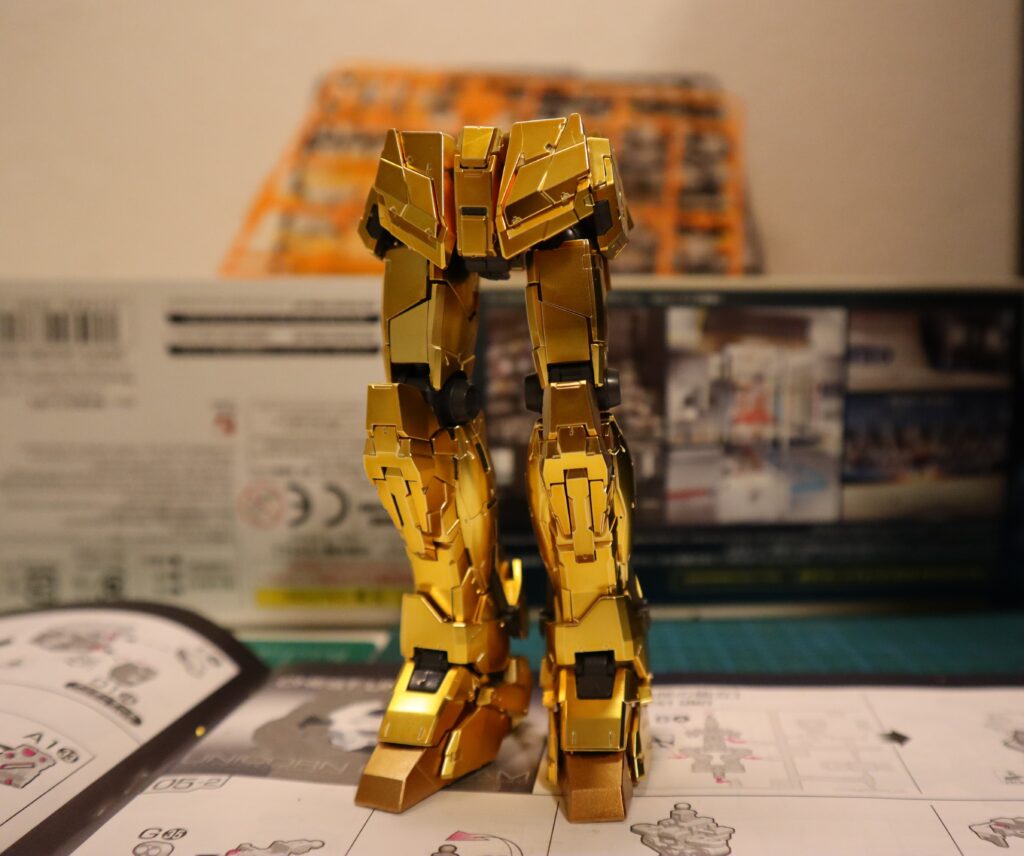
These Legs Say Confident yet Relaxed 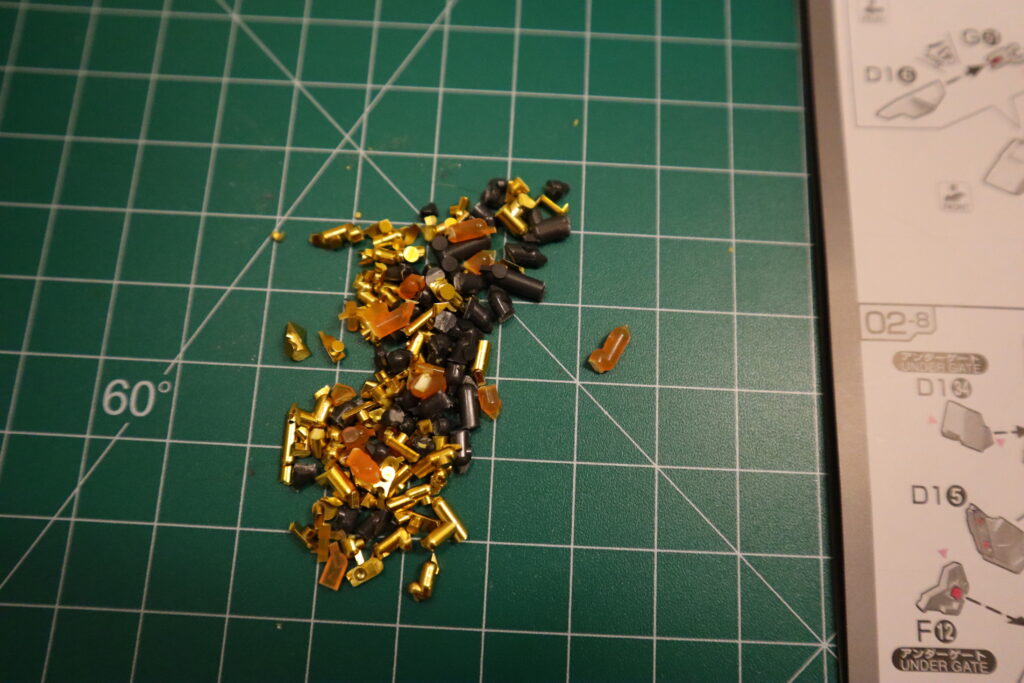
The Tailings Pile Next up will be the Chest piece, which will likely be a full session on its own. I’m looking forward to seeing if the great experiences assembling the legs continues with the chest.
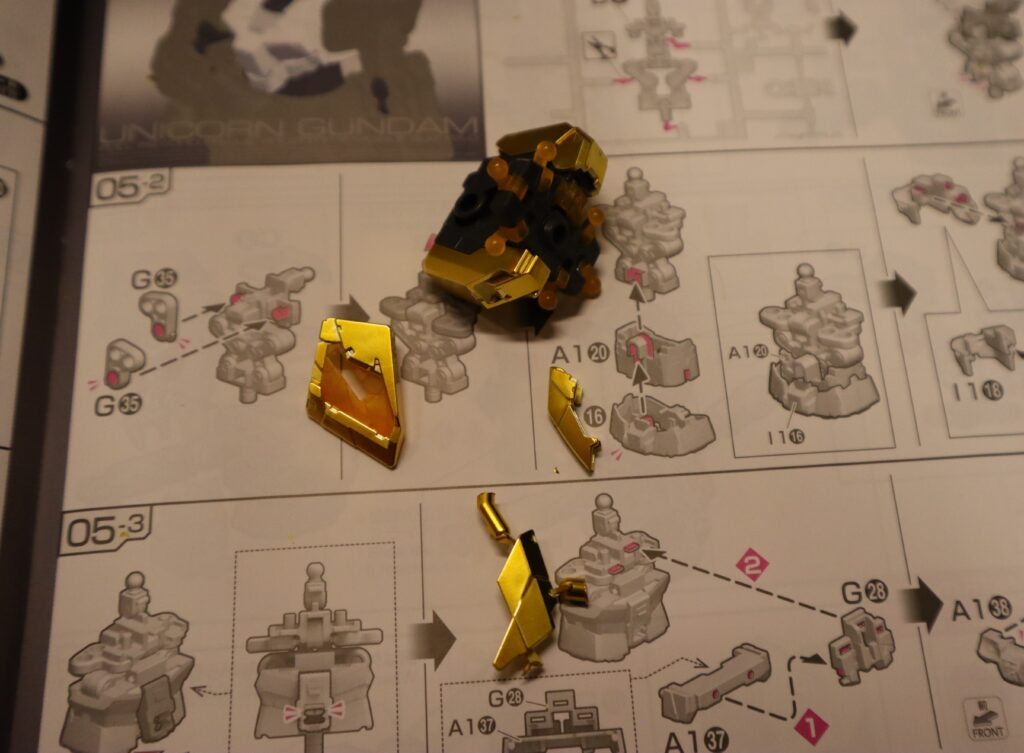
- He Got Legsby pauliegon
I was wary of this model at first for a couple reasons. First, the obvious: it’s gold plated and the danger of stress marks and other marks is really high with a model like this. Second, I’ve never really had a Real Grade that I enjoyed putting together.
I’ve just never had any real luck with the RG models. Either a few pieces never fit quite right and constantly fall off, or they’re just not fun to assemble.
So I’ve been putting this one off for awhile. I think I bought it during one of the Gundam Base’s online sales a couple years back, but after going through a couple other Real Grades, this one kept finding itself at the bottom of the stack.
I’d glance at it occasionally, knowing I’d have to get to it at some time, but another model would catch my eye instead and be placed atop this one. And then another. And another.
After completing my new hobby area, I figured it was time to bite the bullet and finally assemble this model. The gold plating gave me some pause, mostly because it was a Real Grade model. I’ve completed the Hyaku-Shiki and it’s one of my favorite builds, but that was a Master Grade, with larger pieces and a step-up in design and manufacturing. I was worried that the RG wouldn’t have the same attention to detail and would be more susceptible to visible mars that I’d have to correct.
I’m happy to report that after assembling one of the legs, this has been one of my favorite builds. The quality of this Real Grade is amazing and I haven’t run into any issues with the plating. The pieces are under gated where they need to be, and those that aren’t have their connection points positioned in a way that any visible marks are covered by other pieces.
The piece design and assembly have been a joy, and I had to stop myself to take a break. It became quickly apparent that this is one of those builds where you want to take your time and savor the process, instead of just getting through it.
The pieces fit together snugly and there aren’t any awkward connections or weird fits. The finished piece is solid and there isn’t a fear that parts will start falling off if I try to manipulate the joints on the leg.
I still have the other leg to finish, but like I said, I’m going to be taking my time with this one and I really hope the rest of the model remains as fun as the leg has been.
- RG Unicorn Gundam Is Go For Assemblyby pauliegon
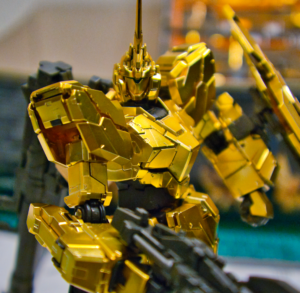
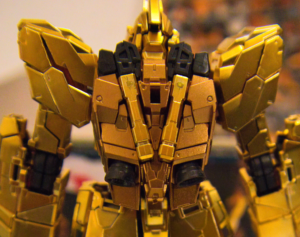
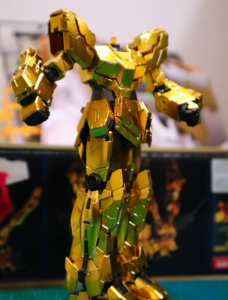
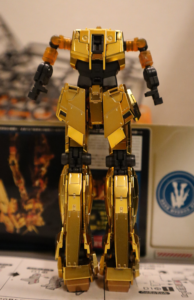
Now that I have my little hobby area in the garage, I have my first model teed up — a limited edition RG Unicorn Gundam with Gold Coating
