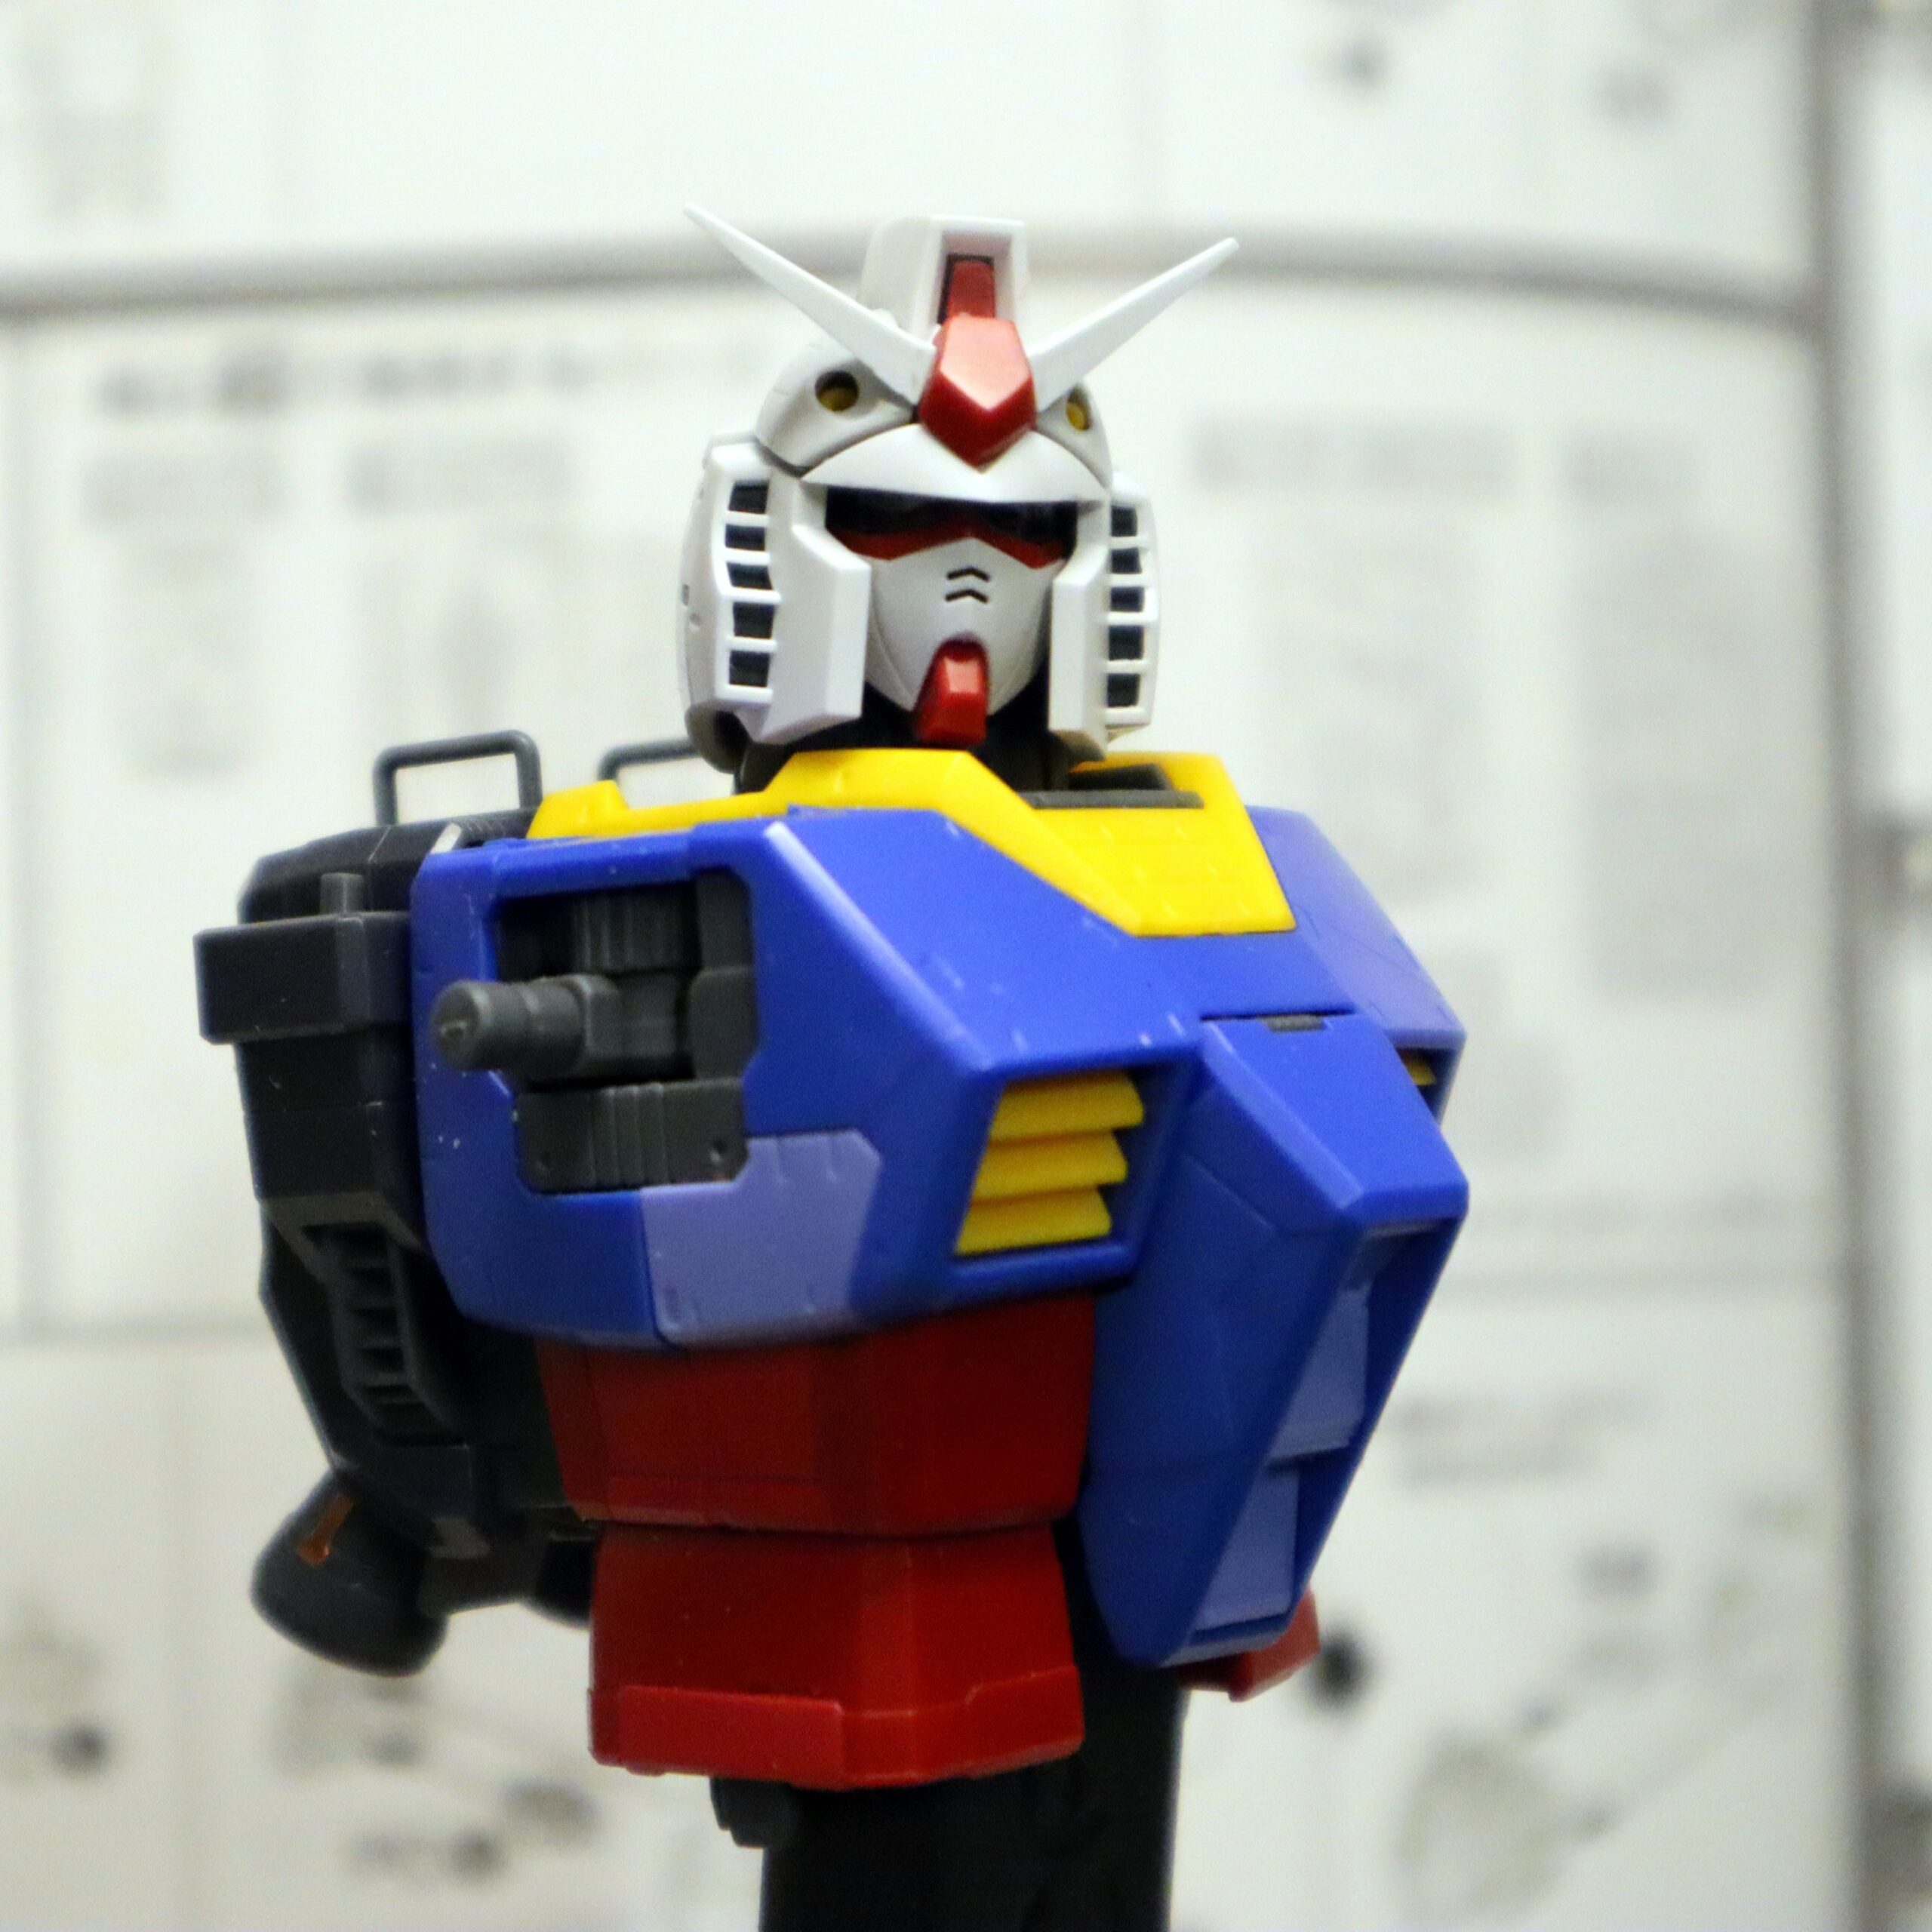
After completing the little fight jet thingy, I’m finally getting into the meat of the mech — the chest unit, backpack, and head.
One of my favorite things about Master Grades that continues in this particular model is the ease of assembly, but even with each design iteration some frustrating things remain.
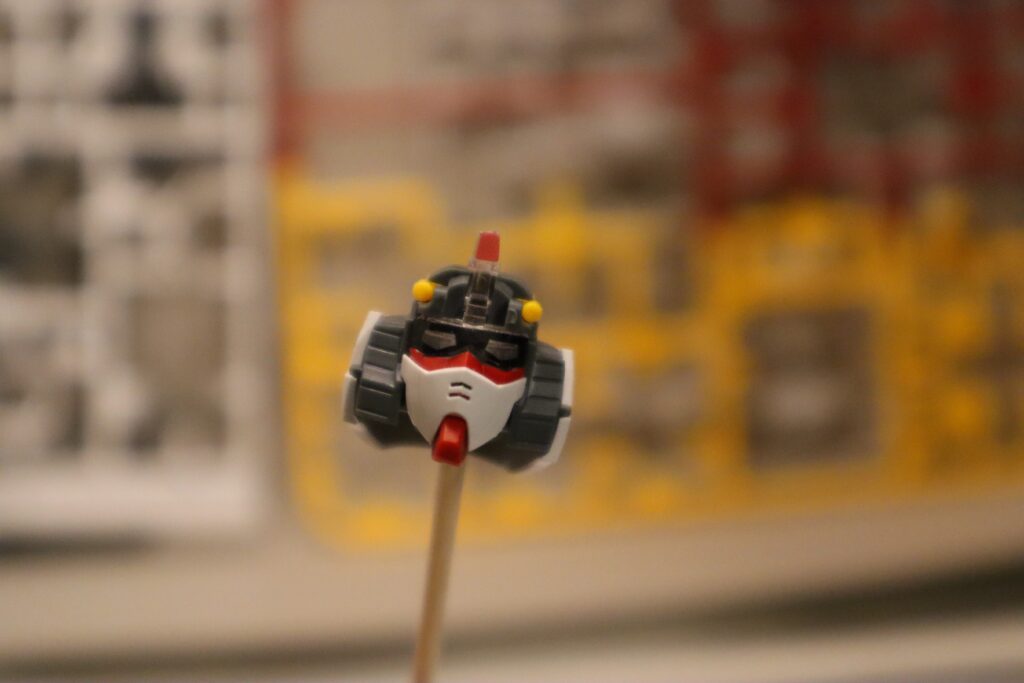
The RX-78 head came together fairly easily, but even after disassembling and reassembling it several times, I could not get the “cap” of the head to fit flush with the other pieces. There’s a noticeable gap and it doesn’t feel like it fits quite right.
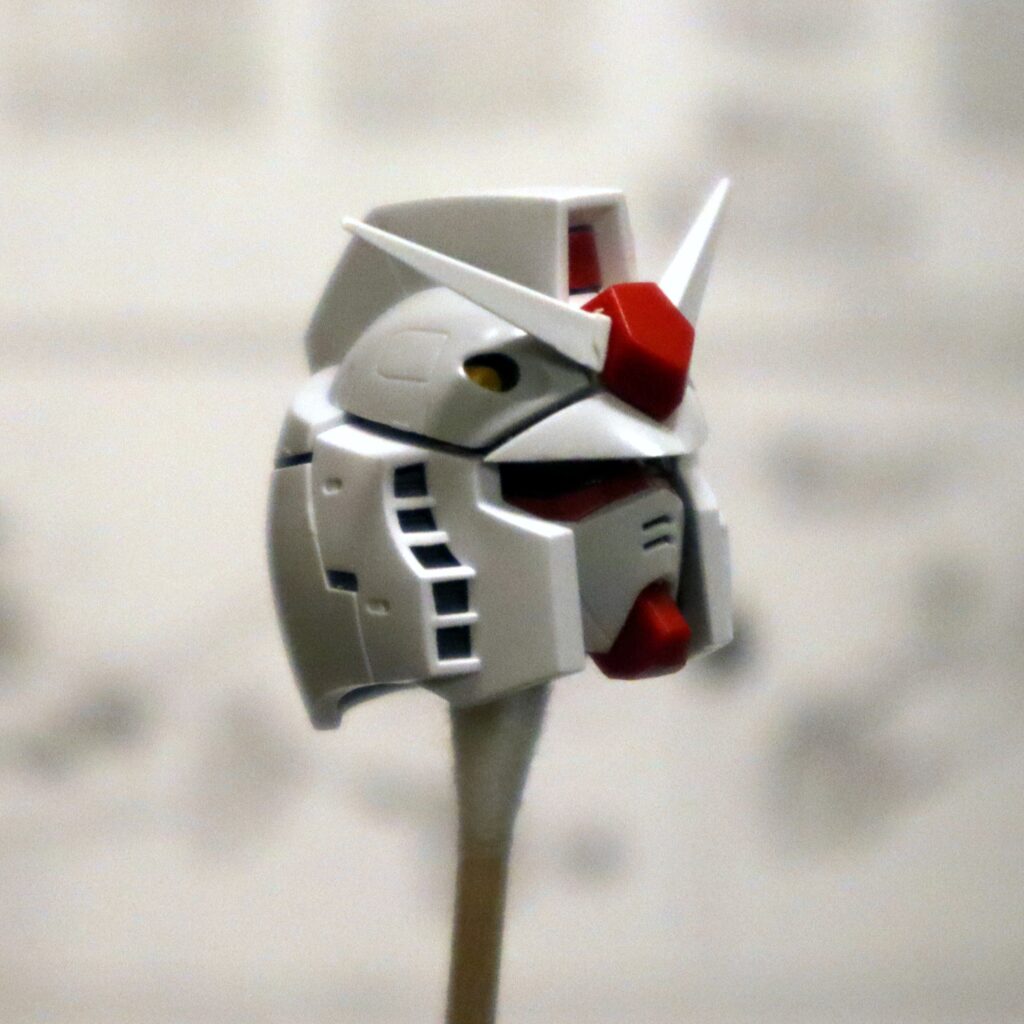
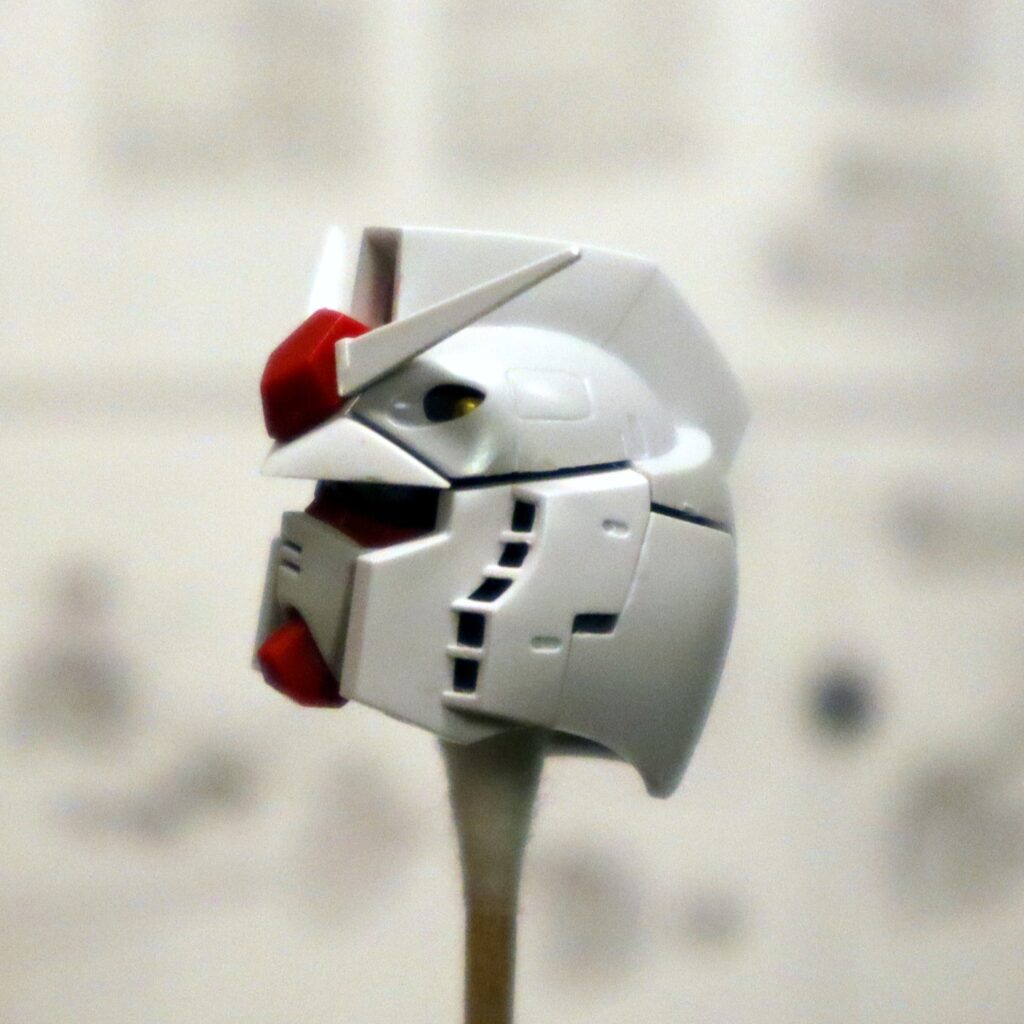
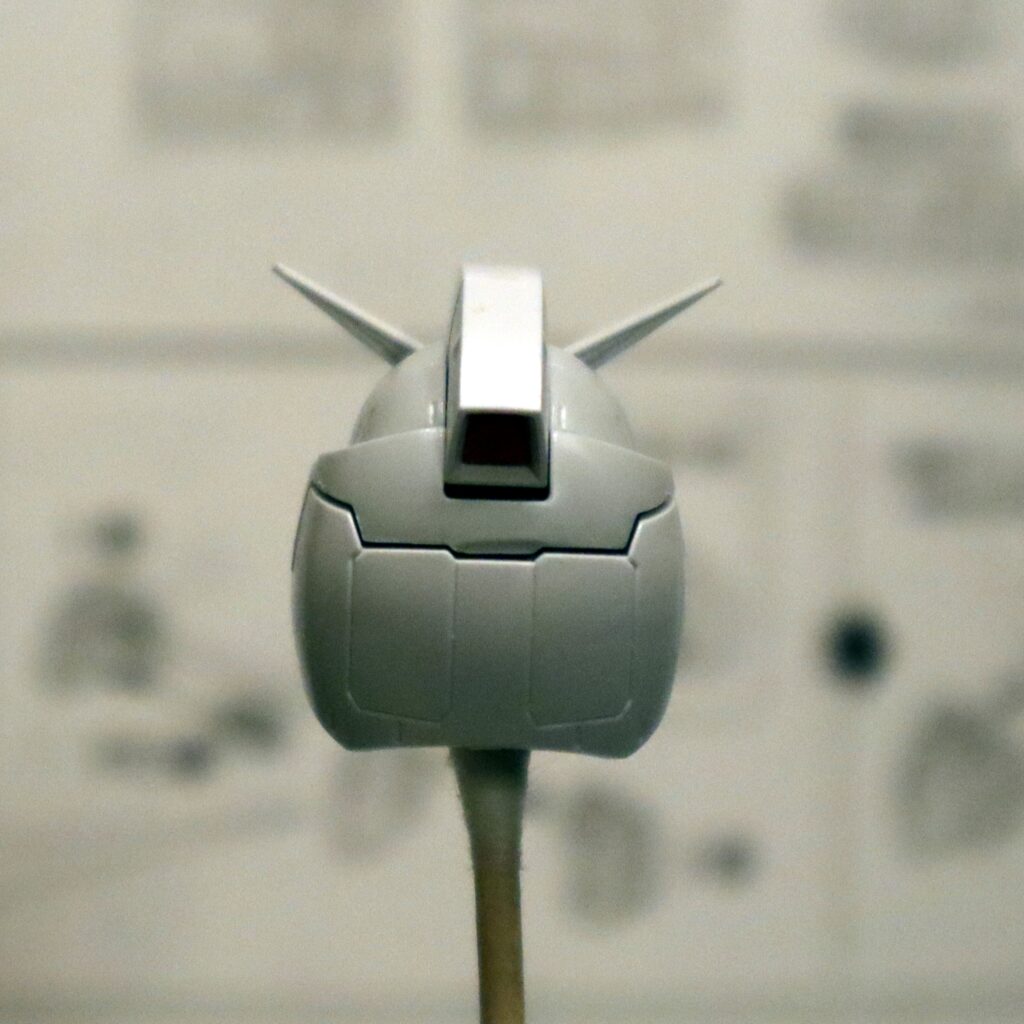
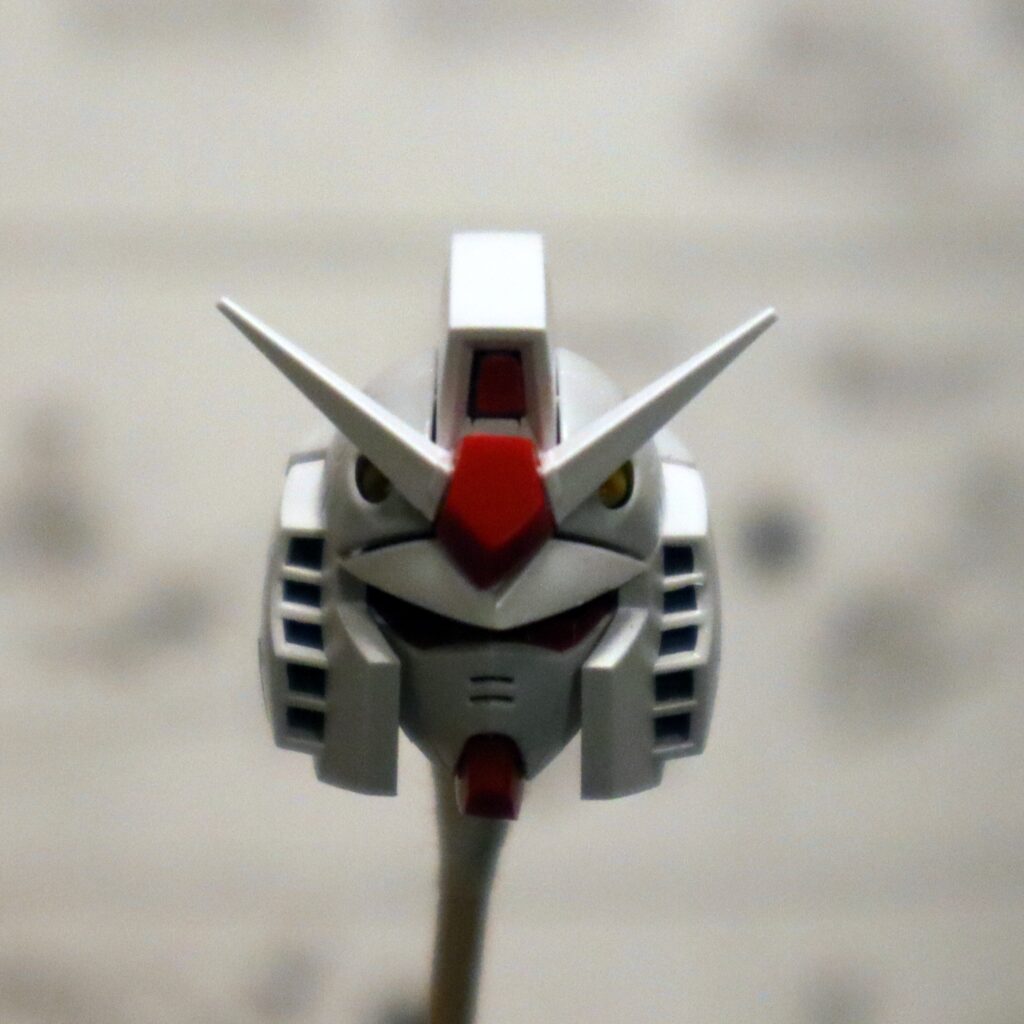
The good news is I got the eye sticker straight on the first try, and since we always celebrate the small victories, I will carry this rare achievement forward.
Even if the V crest falls off if you look at it wrong, but at this point it’s a tradition and why mess with that?
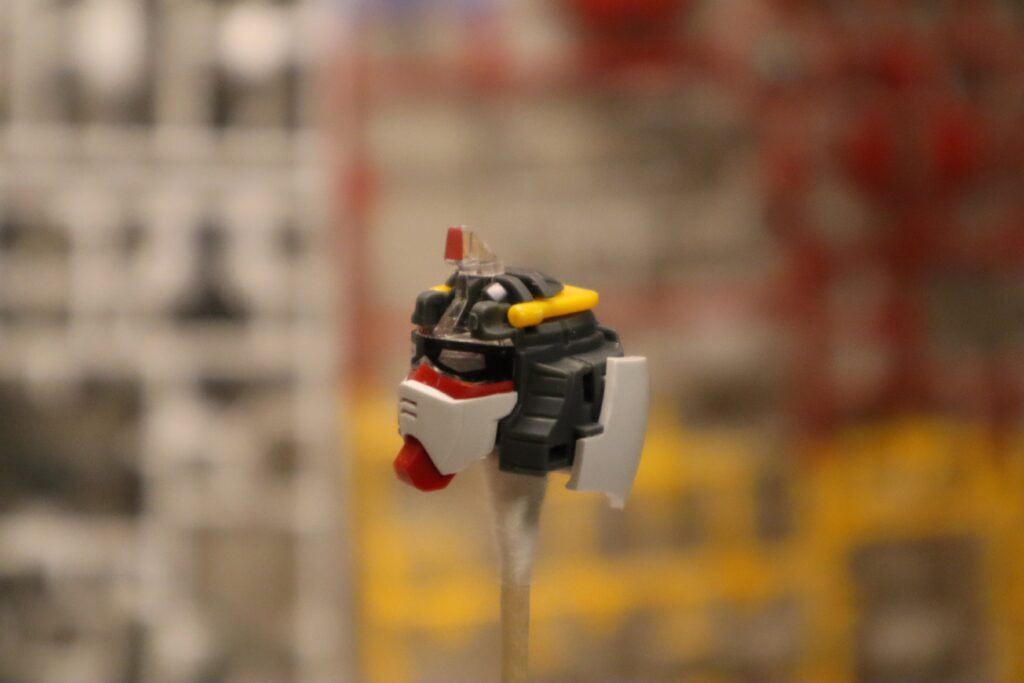

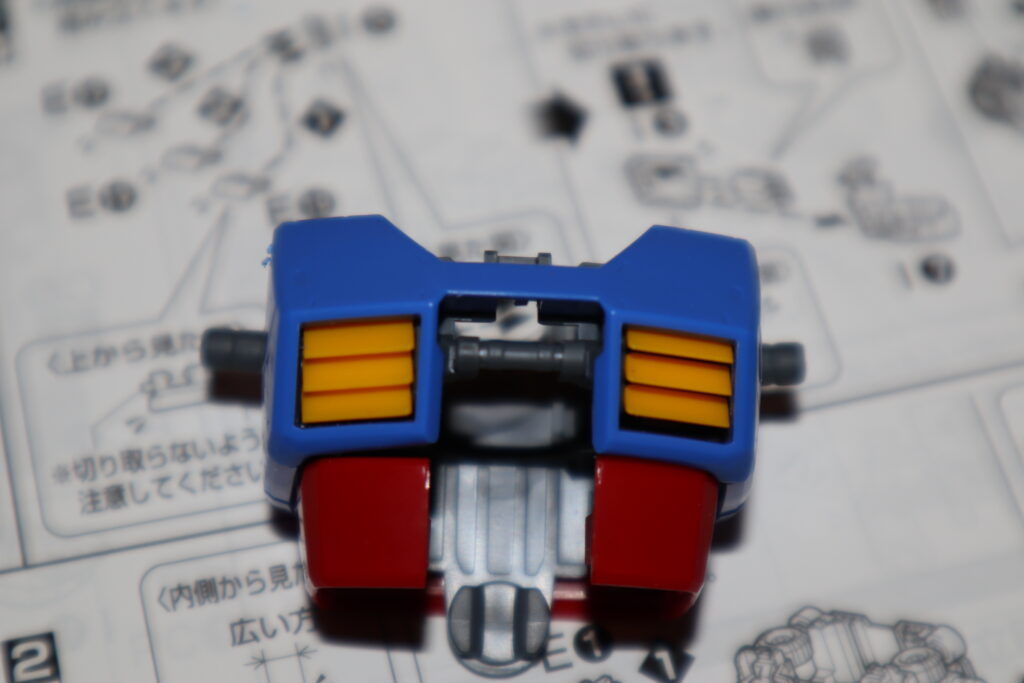
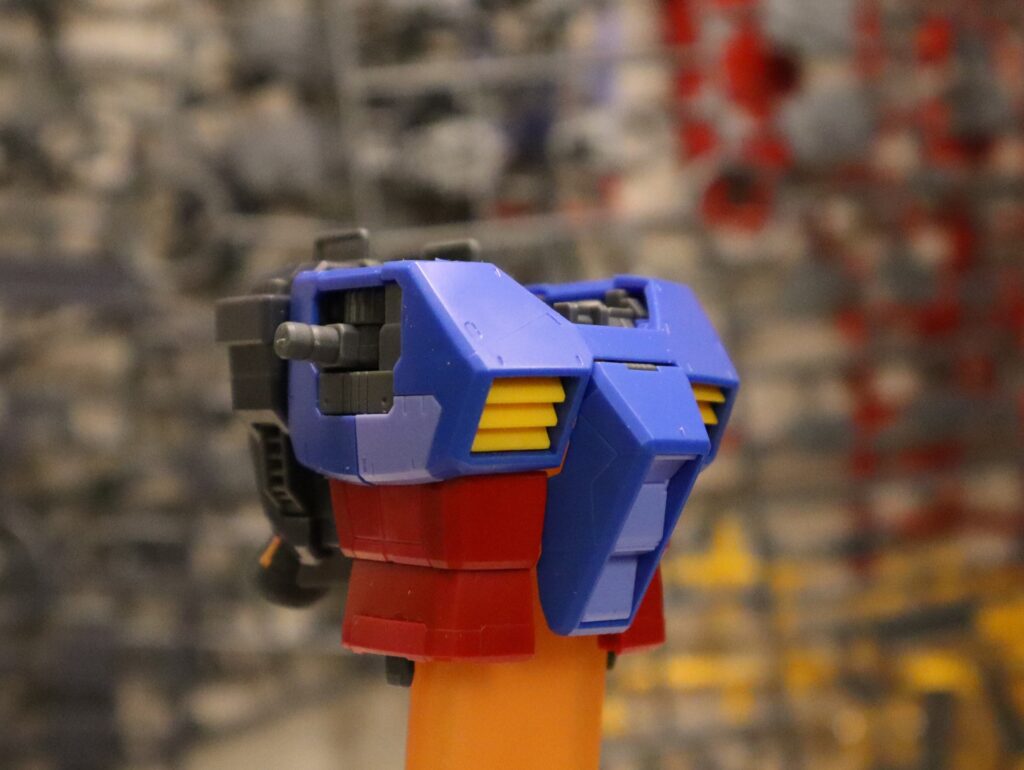
Next up was the chest unit, which was probably the fastest I’d ever put together an RX-78 chest, but I was pleasantly surprised that the yellow slats in the chest were actual moving slats. This is my first MG version of the model, so it was a first for me, but I got a kick out of actually being able to move those things after all these years.
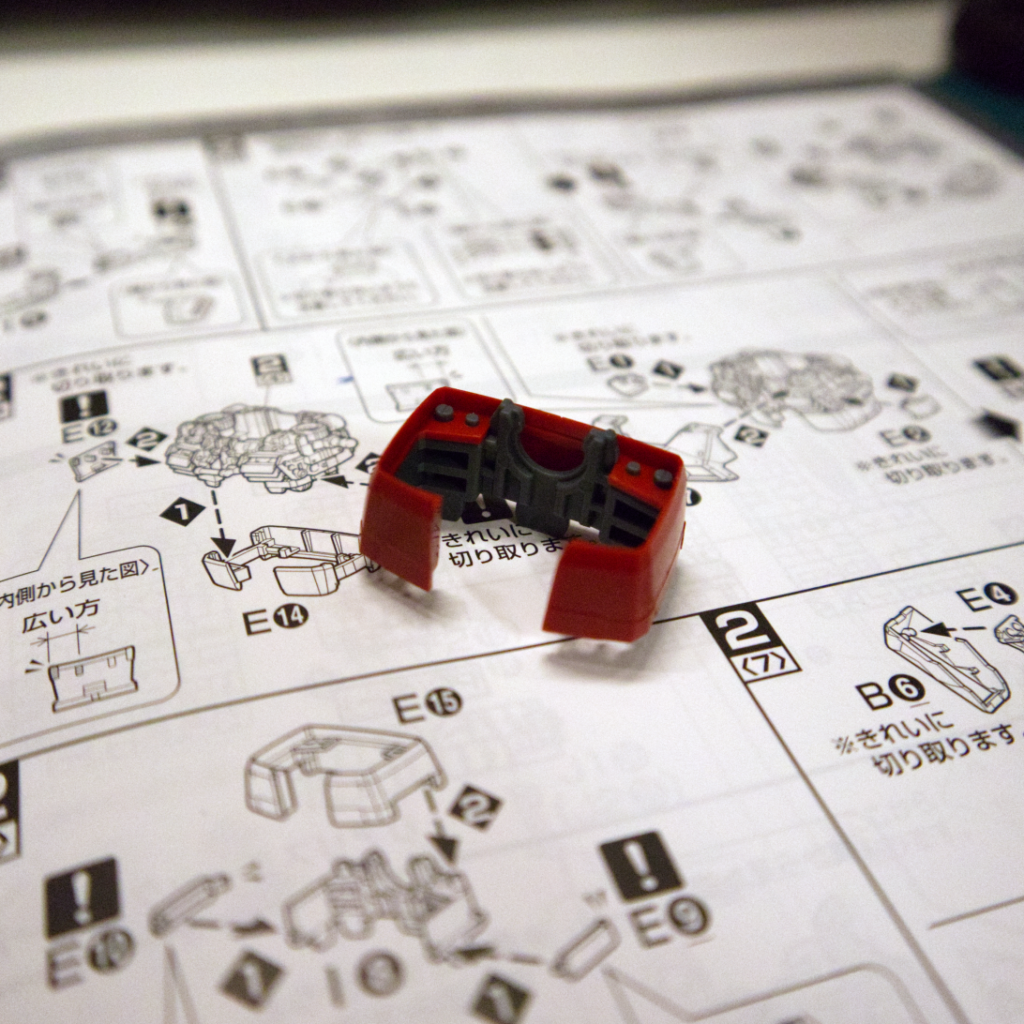
The one part that seems off for now is the yellow collar piece on the chest unit doesn’t seem to be very secure. It wasn’t so loose that it just fell off with gravity, but I found that it easily disengaged with only slight pressure, so it’s something I’ll have to keep in mind when attached other pieces to the chest unit and posing it.

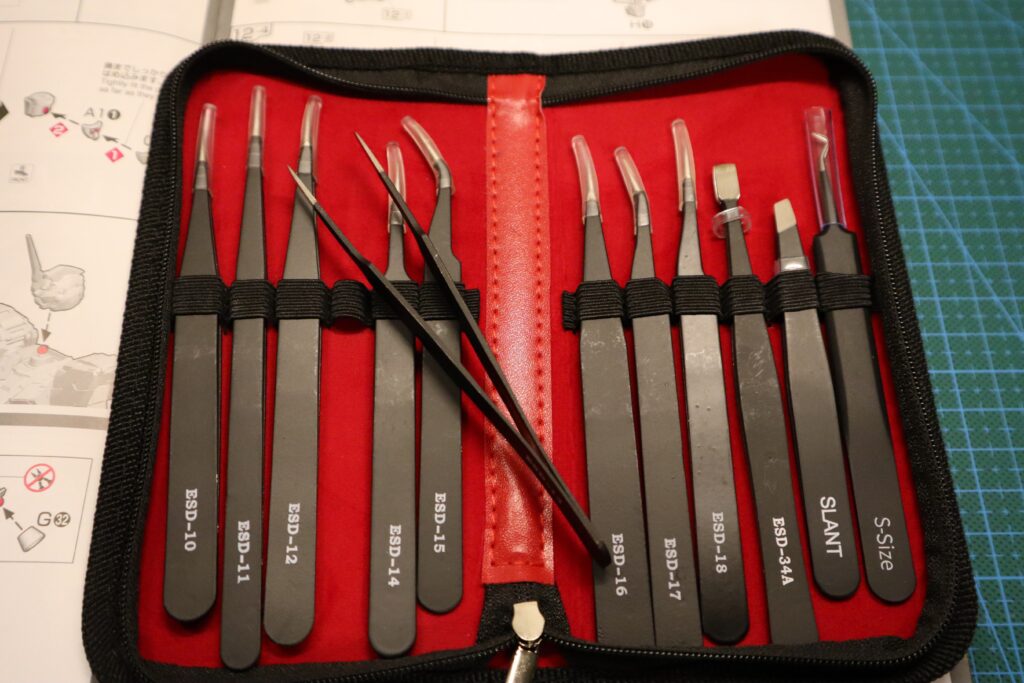
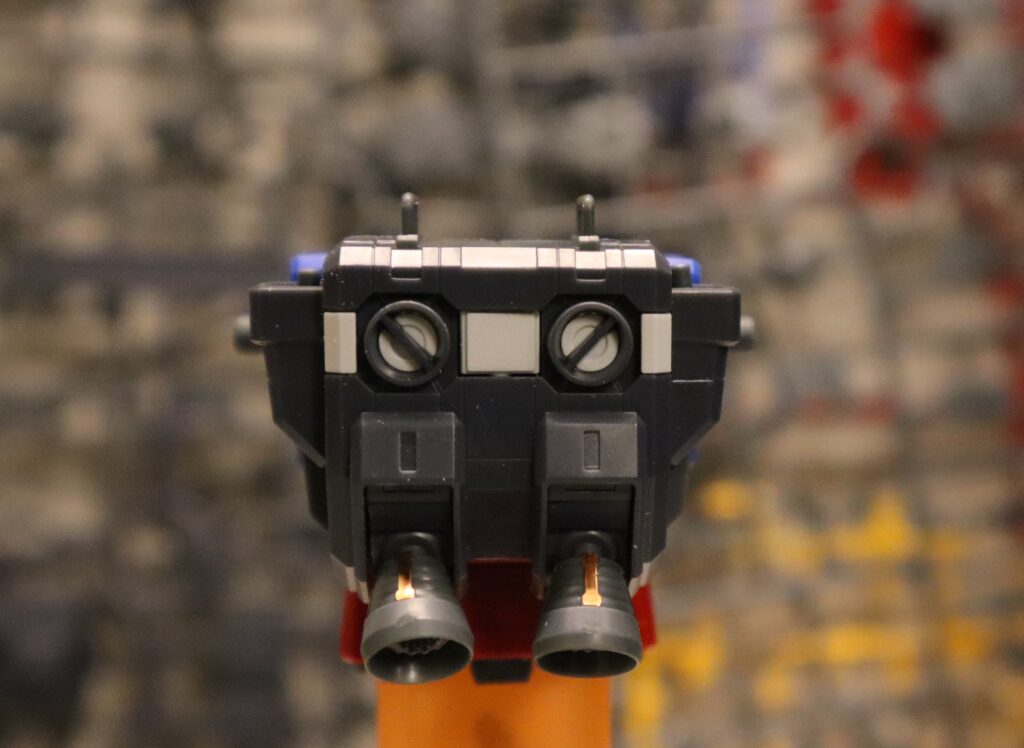
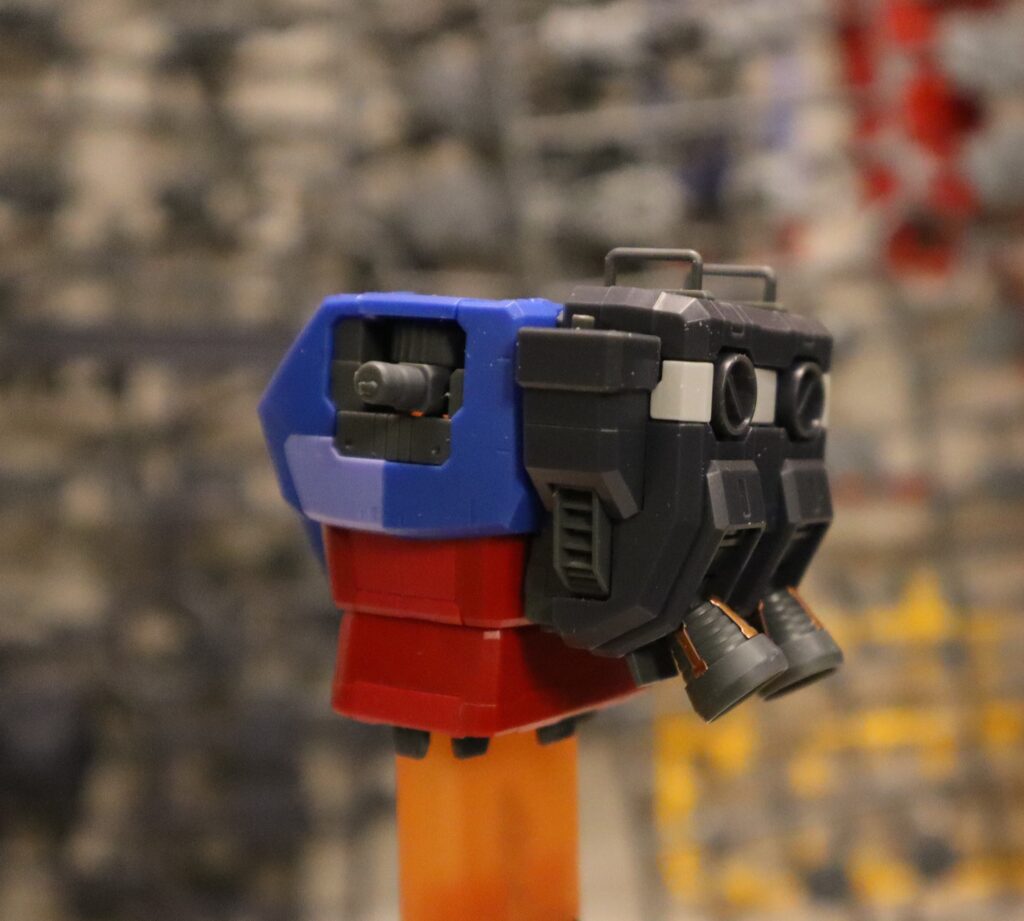
The last big thing from this session was the backpack, which had a lot of extremely thin stickers that I needed to apply to the nozzles. You know I hate stickers, but I got some new tweezers and I managed to get all eight stickers applied without too many issues.
As an added bonus, they were all straight with no wrinkles! Another rare sticker achievement on my part. But I still hate stickers. #decals4lyfe
The backpack also has transparent pieces inside the rocket nozzles, which is a nice touch, but I think from an aesthetic standpoint they’d look better if they’d been tinted an orange or an orange-red color. If I’m feeling froggy, I might paint these later on down the road.
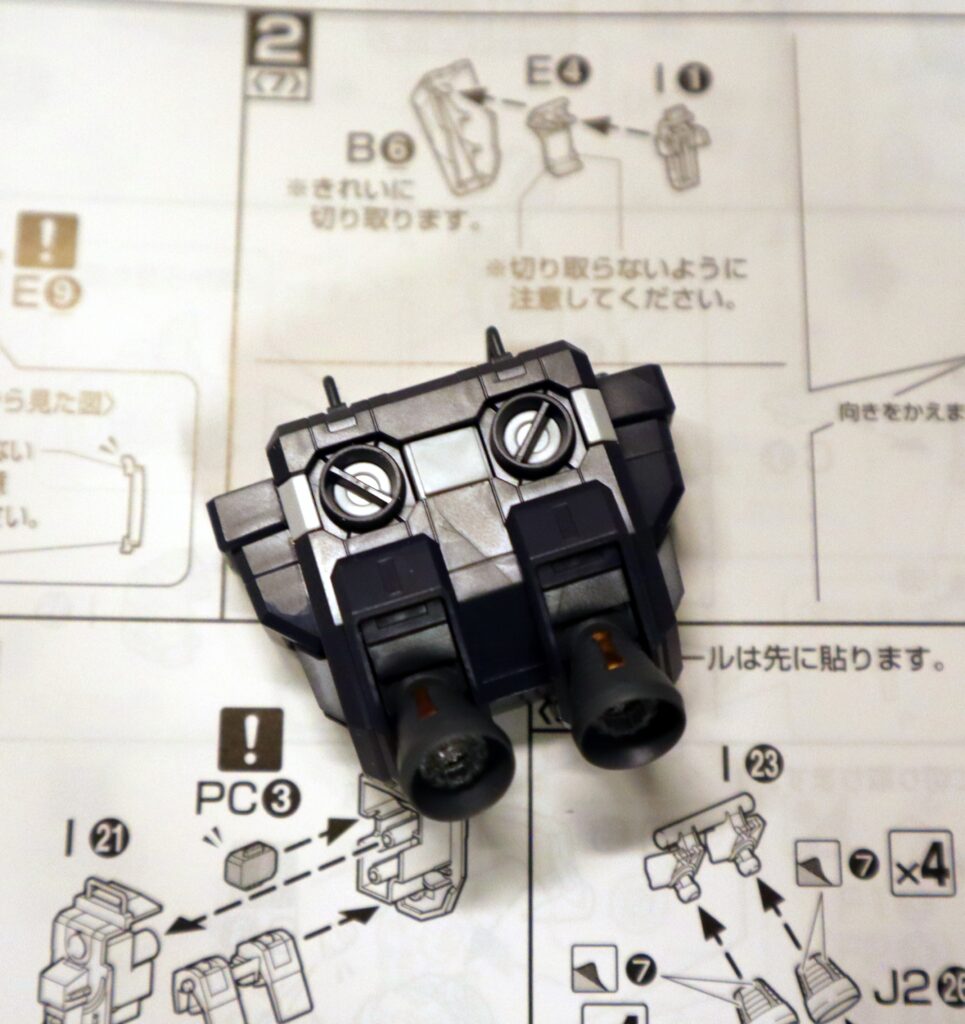
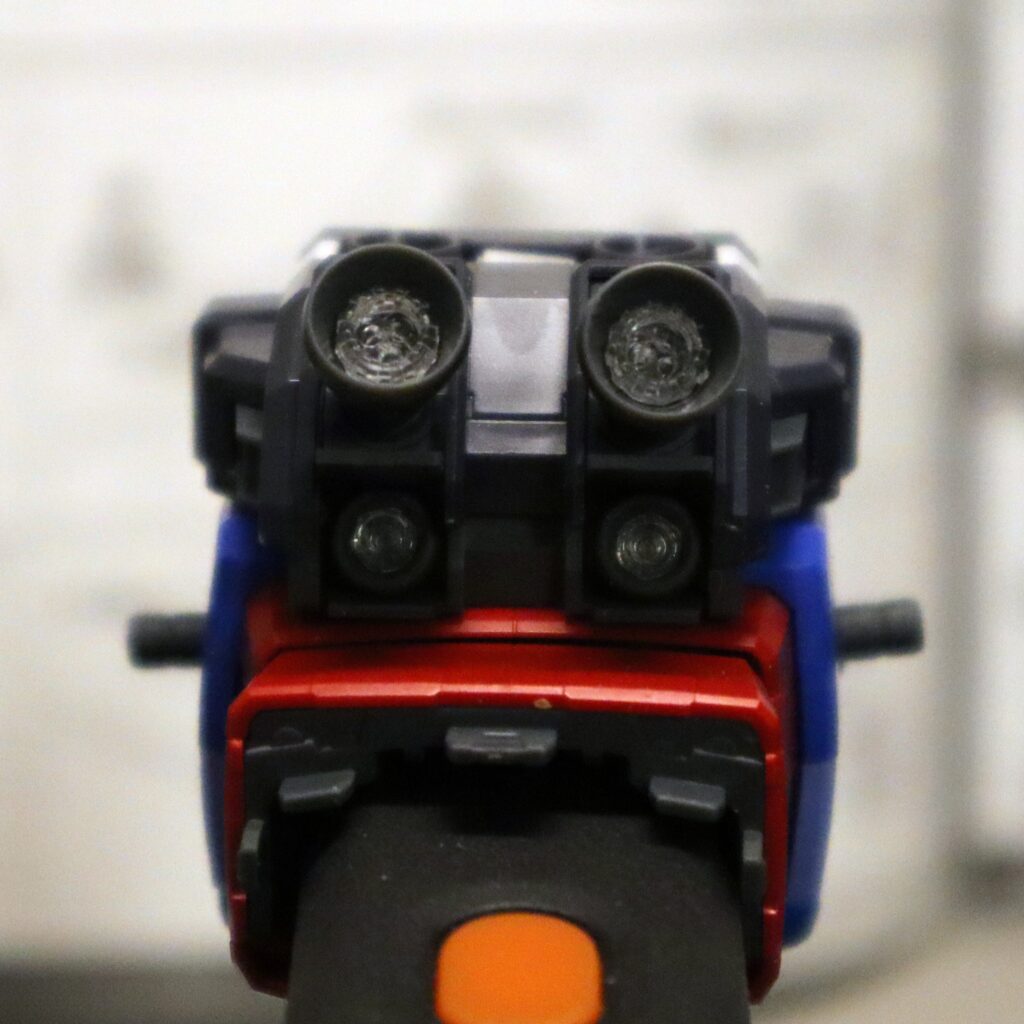
Once I got all these pieces assembled together, I could finally see the size and detail that this MG model will have and I’m happy with what I have so far. It’s a nice, clean model of an old standby. They’ve had 40 some odd years to learn lessons and get things right, and I’m liking what I’m seeing.

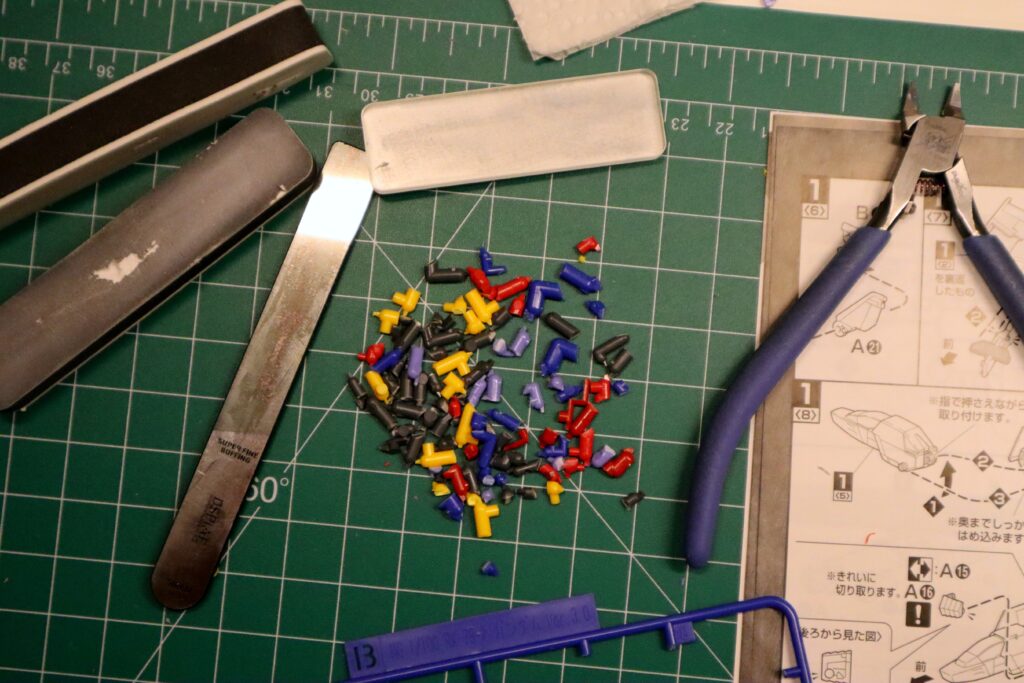
Here are the tools and discard piles from this section. We also emptied out another sprue:
