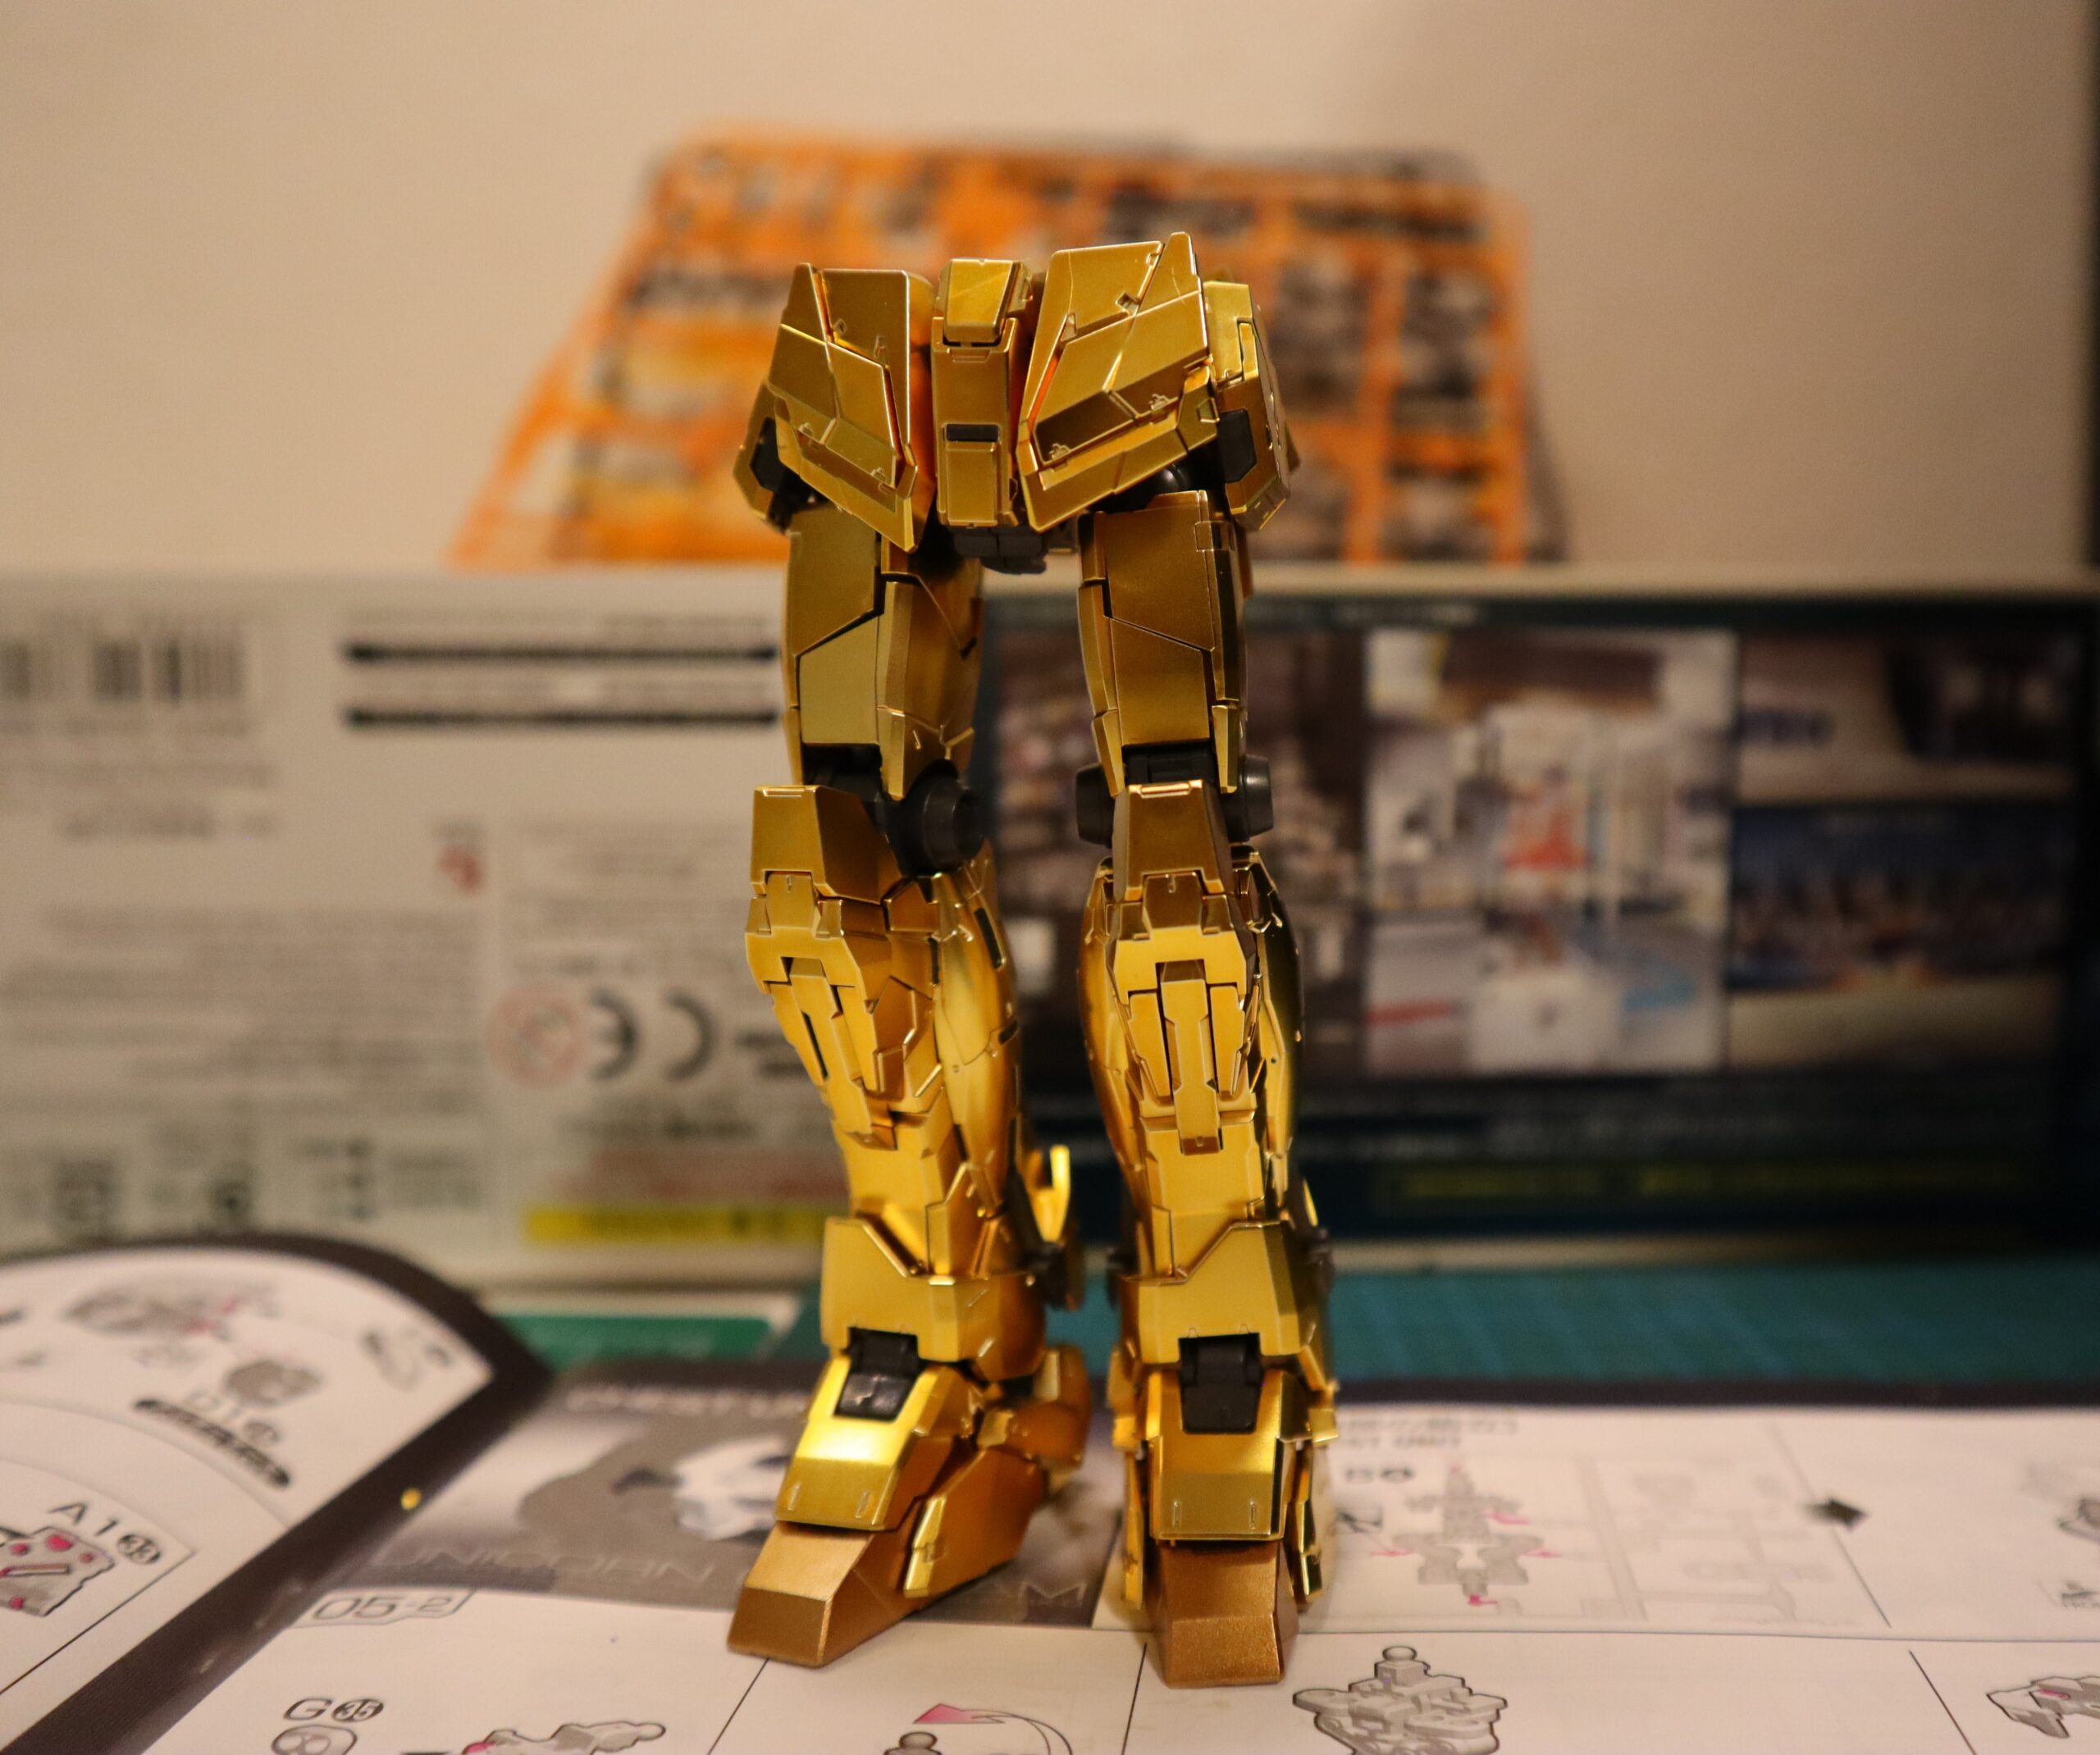
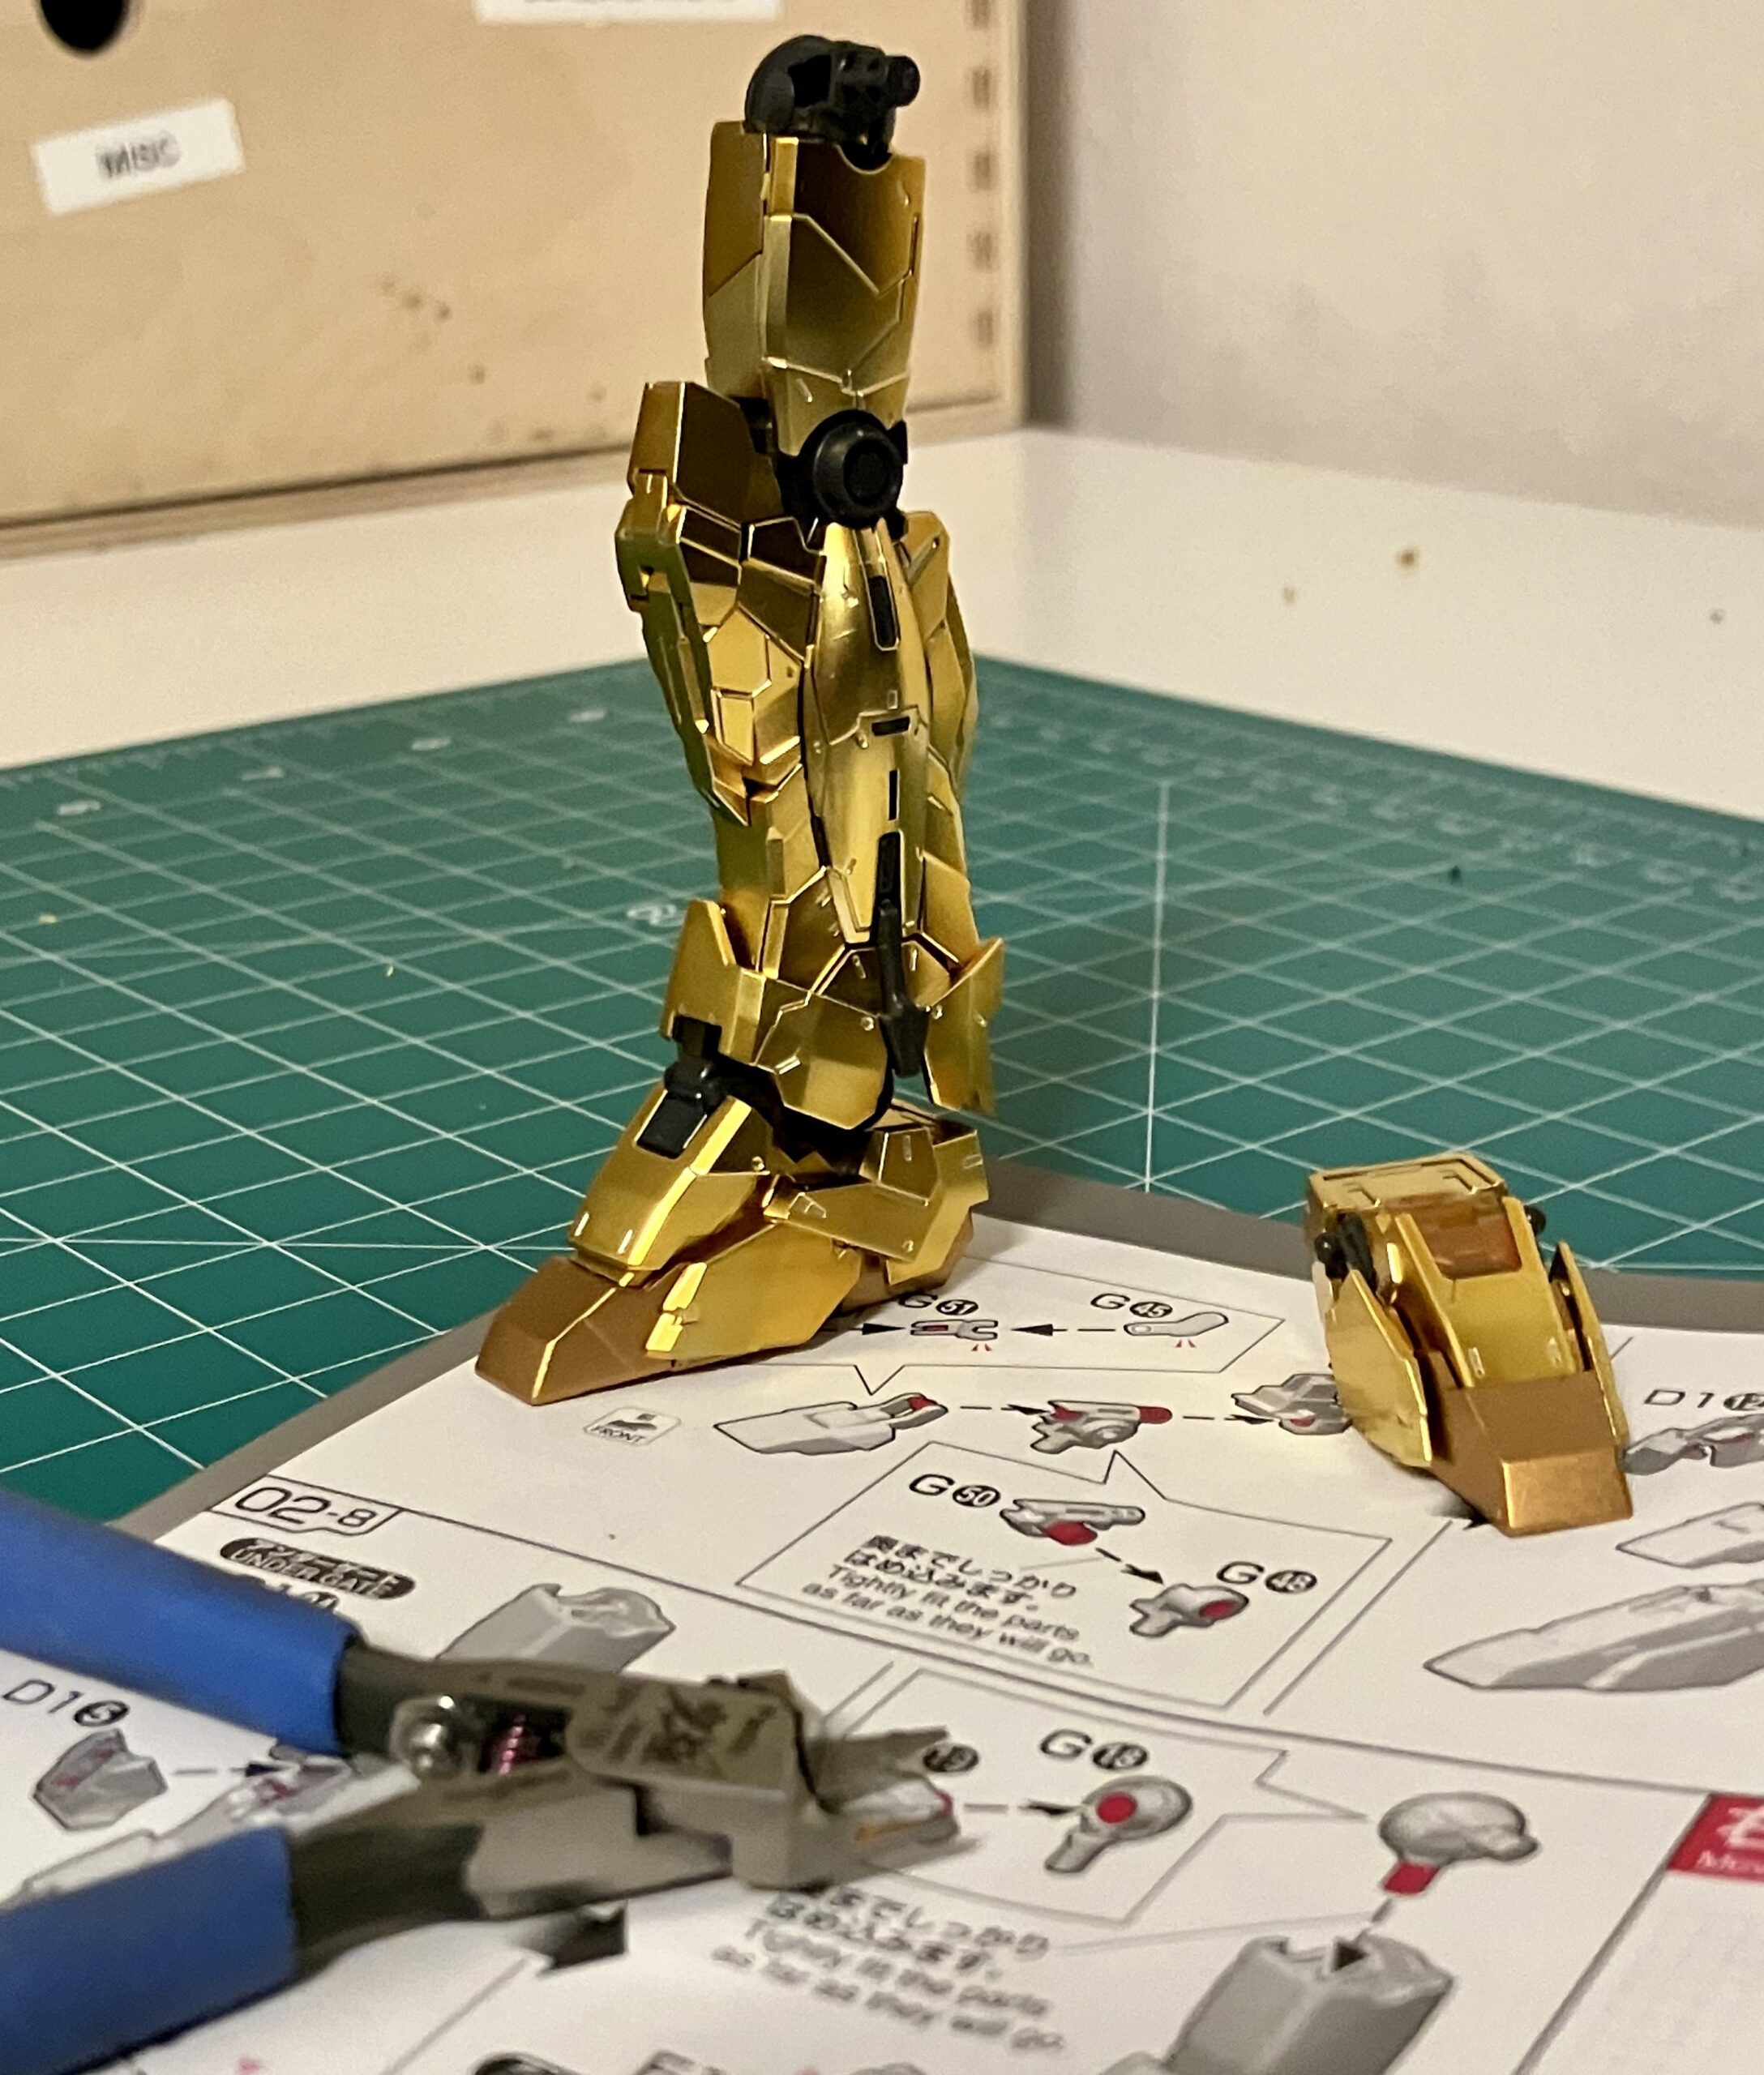
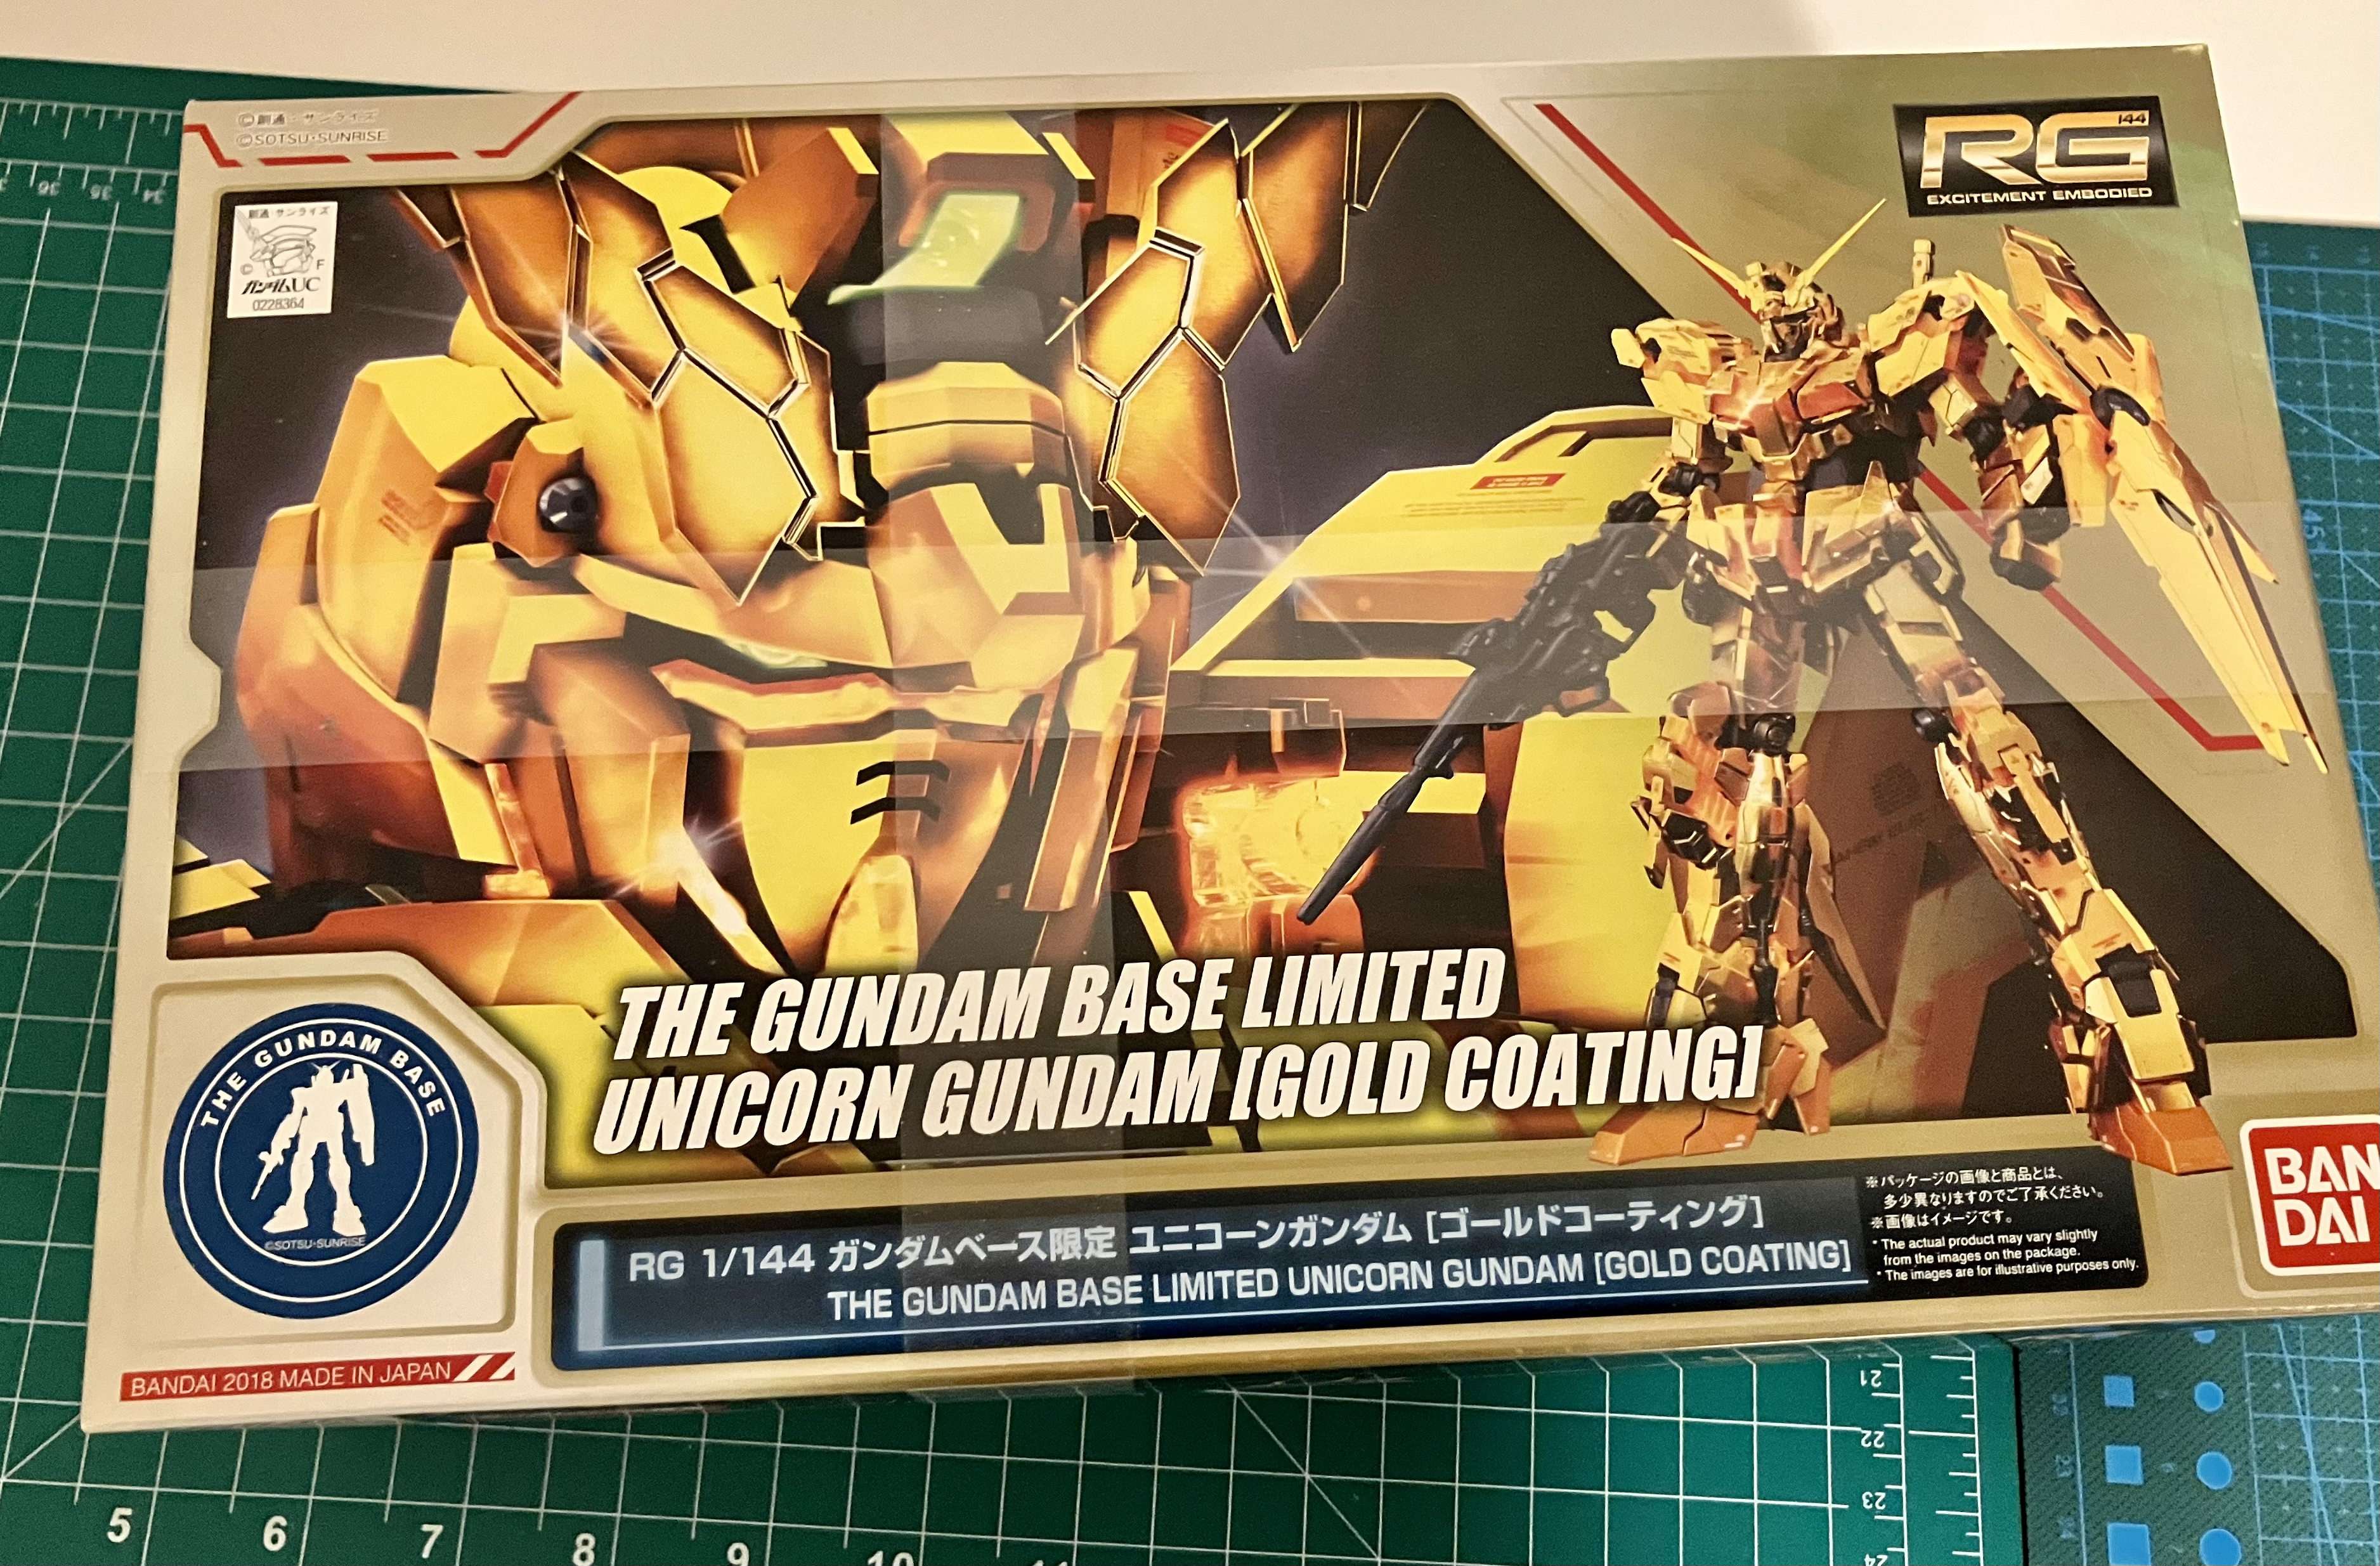
I finally got back to the model this week with the intent of completing the other leg and the waist. It had been a couple of weeks since I had the chance to work on it, and I completely forgot all the stuff I learned on the other leg, so it didn’t got faster.
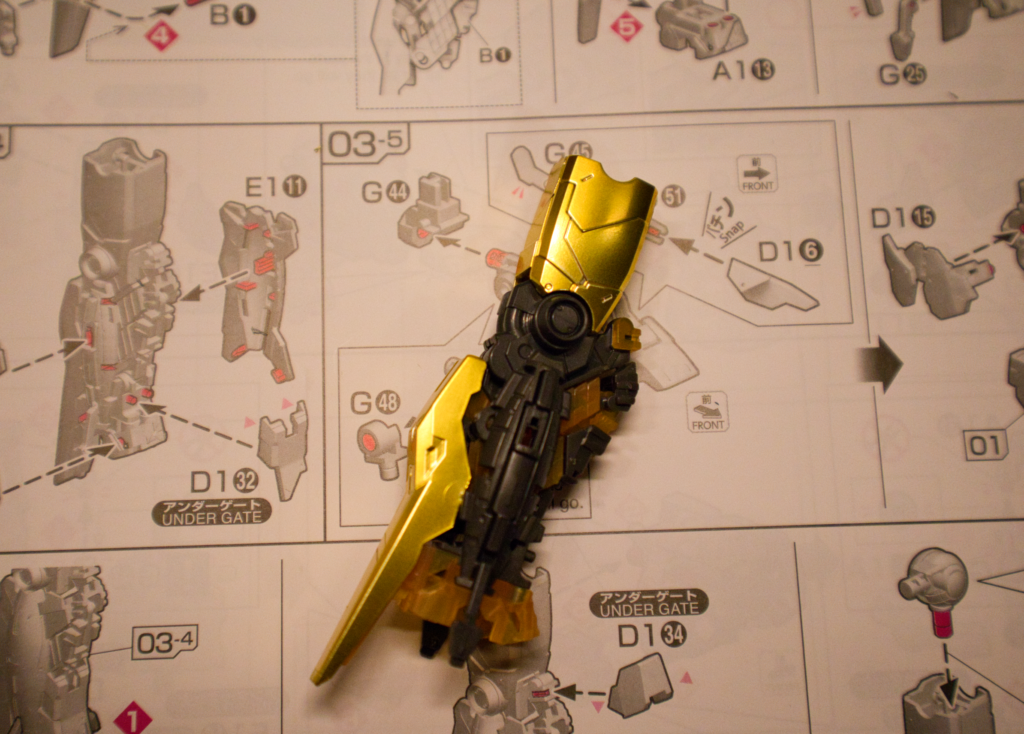
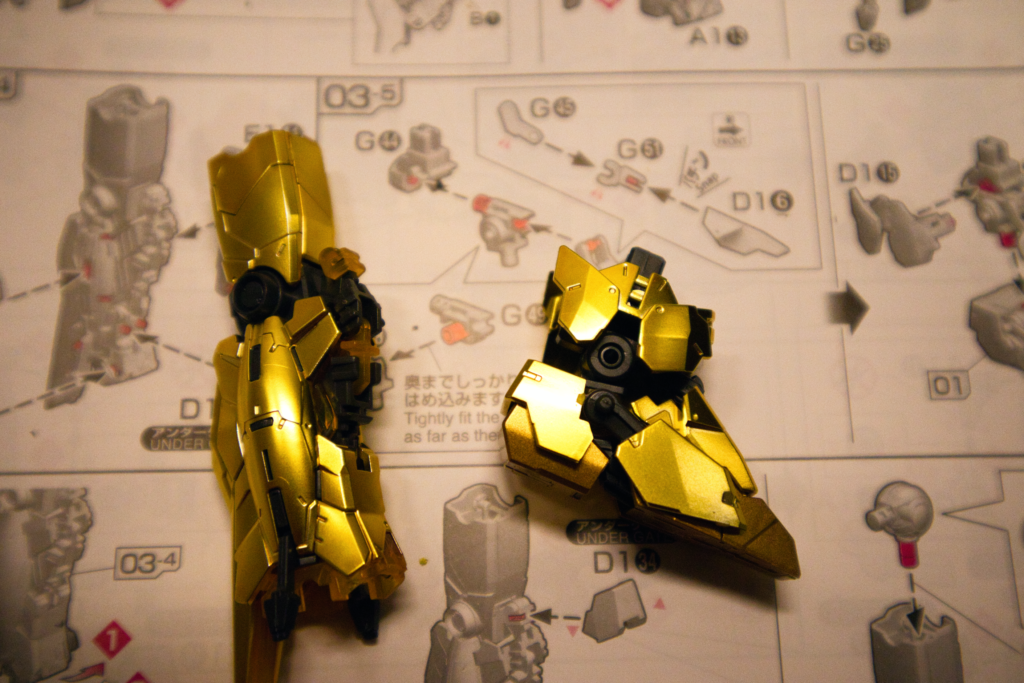
Just as with the other leg, I was really vibing with this Real Grade kit, which is unusual for me, because me and Real Grades just do not get along without considerable friction.
Actually, friction is the wrong word — RG’s tend to never want to stay together for me and fall apart if you look at them the wrong way.
But the legs are solid and have a satisfying feel in hand. I’m not afraid pieces are going to fly off into the ether if I dare to manipulate the limbs as designed.
After the leg was done, I switched the radio from classical KUSC to AM 570 and Game 2 of the World Series. I was still riding the high off Freddie Freeman’s grand slam last night and I was really hoping the Dodgers could take Game 2 before going to New York for three games.
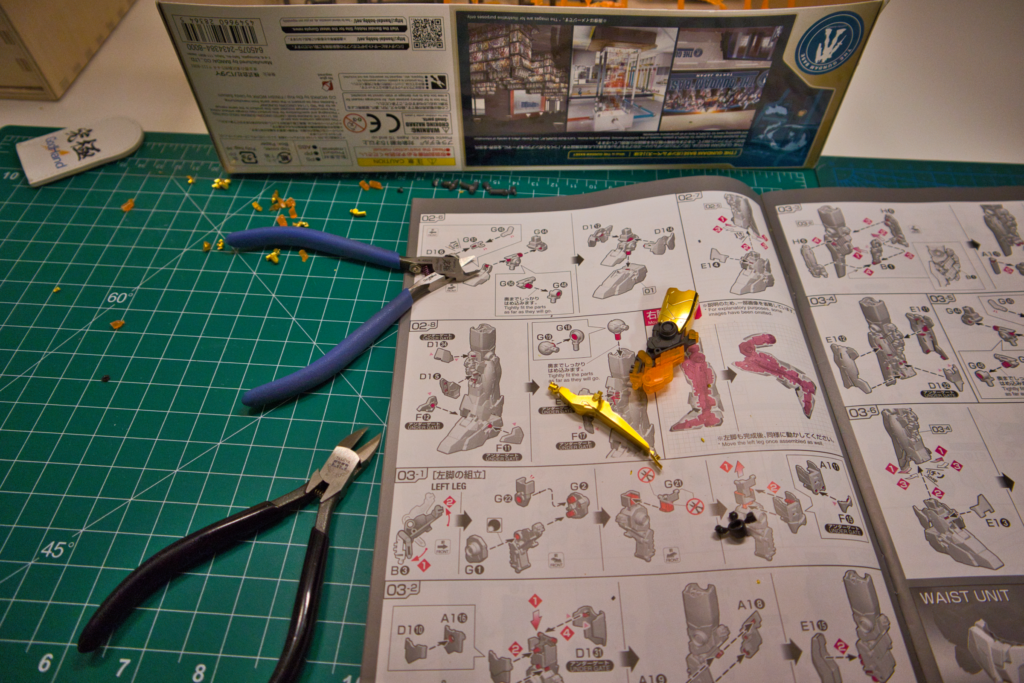
As Rick Monday provided his analysis of tonight’s pitchers, I started in on the Gundam waist (or “Waist Unit” as Bandai likes to call it in the manual).
When it comes to Bandai Gundam models, this is typically the part I hate the most, no matter the grade. The waists provide the main connection interface for the torso and legs, sure, but they have these skirt flaps that connect via a ball & socket connection that is always prone to issues.
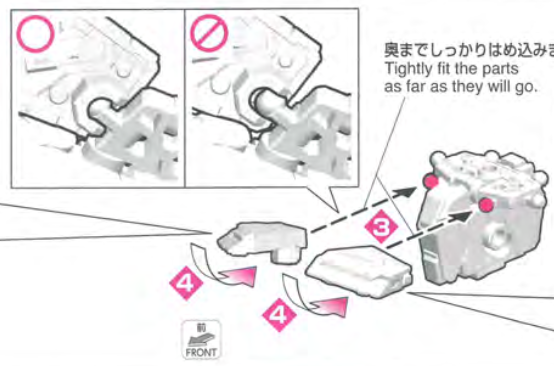
It’s never this easy
The main issue is that the ball parts are ABS plastic with very thin stems, so trying to connect them to the sockets on the flaps is a challenge, because if you try to force them on, the stem can break. But without forcing it, the connection isn’t set, so the flap can easily fall off (especially when you’re connecting four other flaps the exact same way, along with the legs themselves).
Oh, and the ball part of the connection is on a hinge and moves up and down while you’re trying to connect it. And you have to do this six times, all while trying not to pop-off any of the other pieces you’ve already connected while fighting to get the current one in place.
Again, not my favorite part of any Gundam build and this one was no exception.
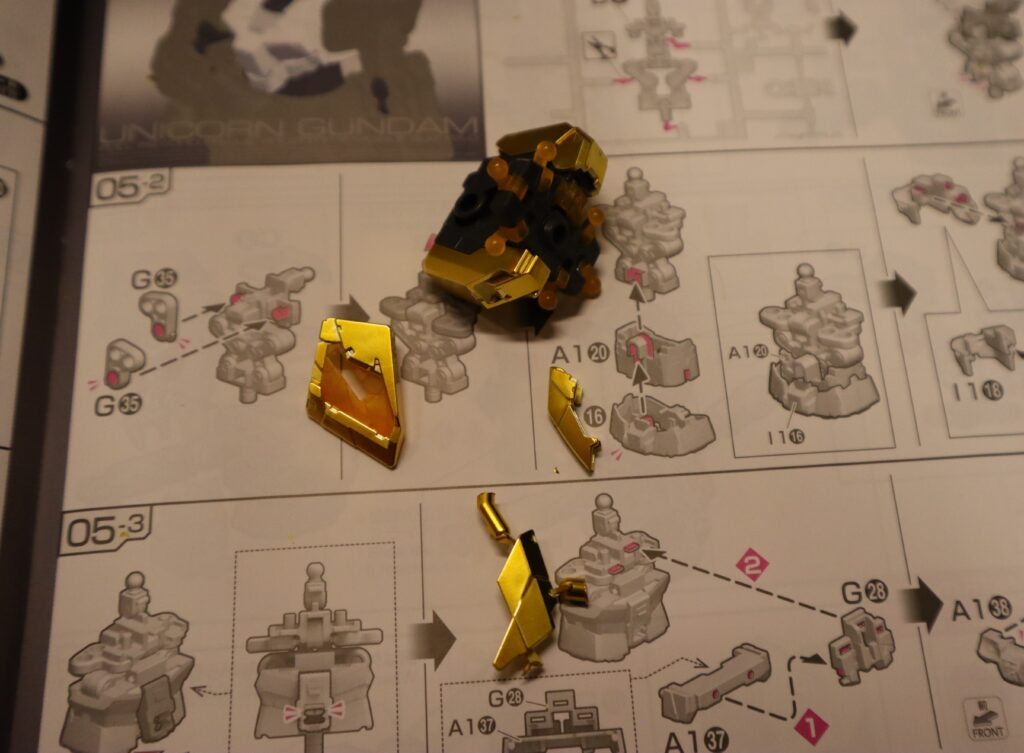
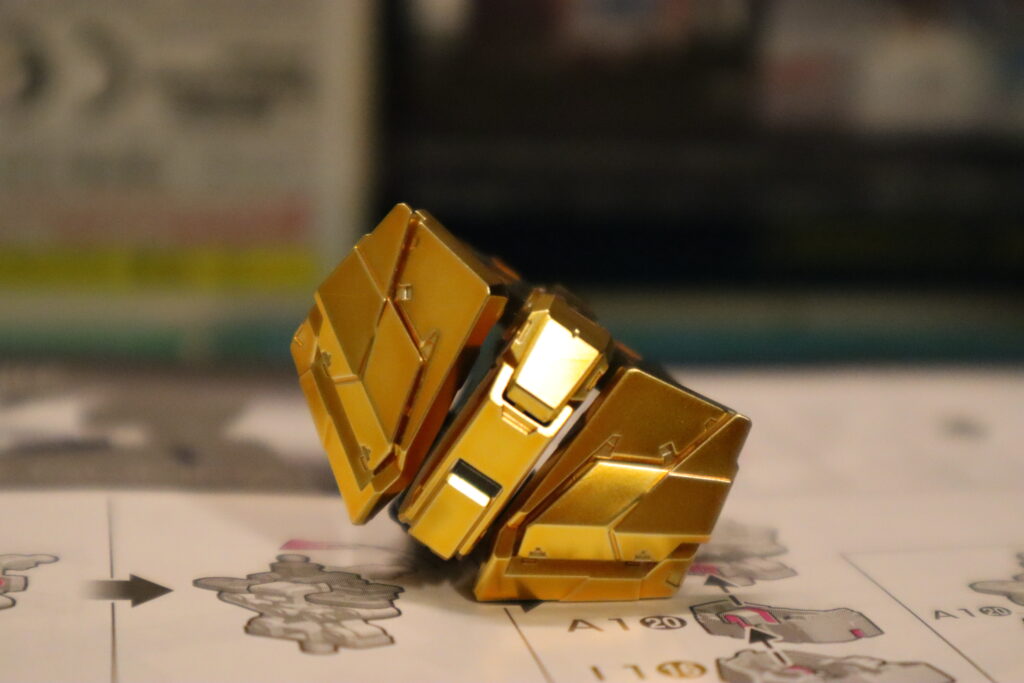
The Dodgers were well into the 3rd inning and Tommy Edman had just hit a home run by the time I finished wrestling with the waist unit pieces to get it assembled without breaking anything.
This seemed like a natural stopping point, especially after the typical frustration of assembling the waist piece, so I connected the legs and called it a day.
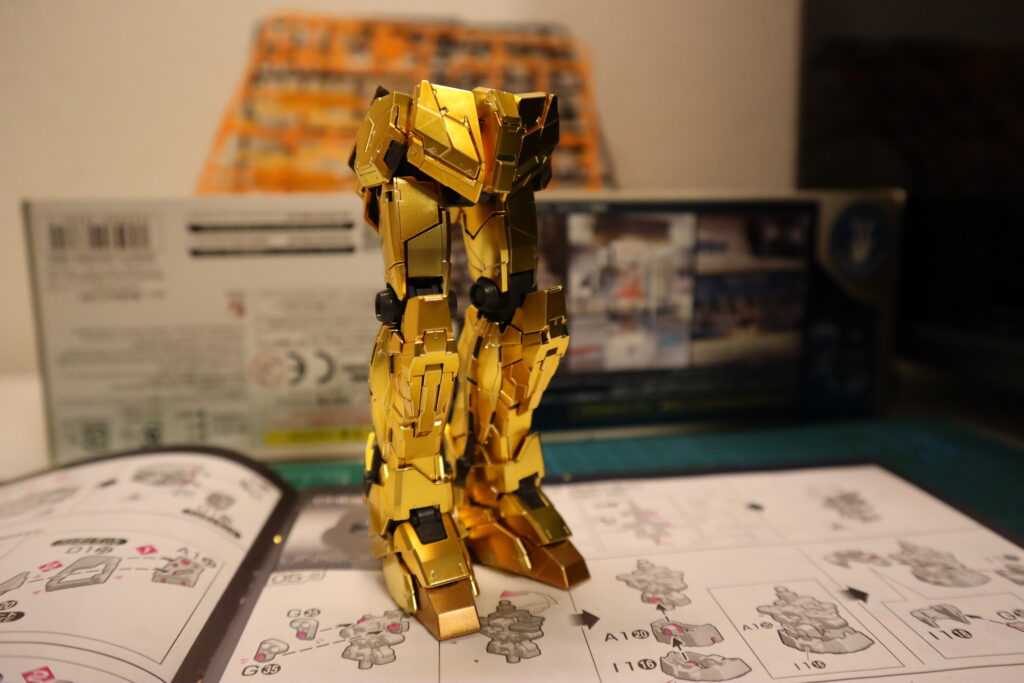
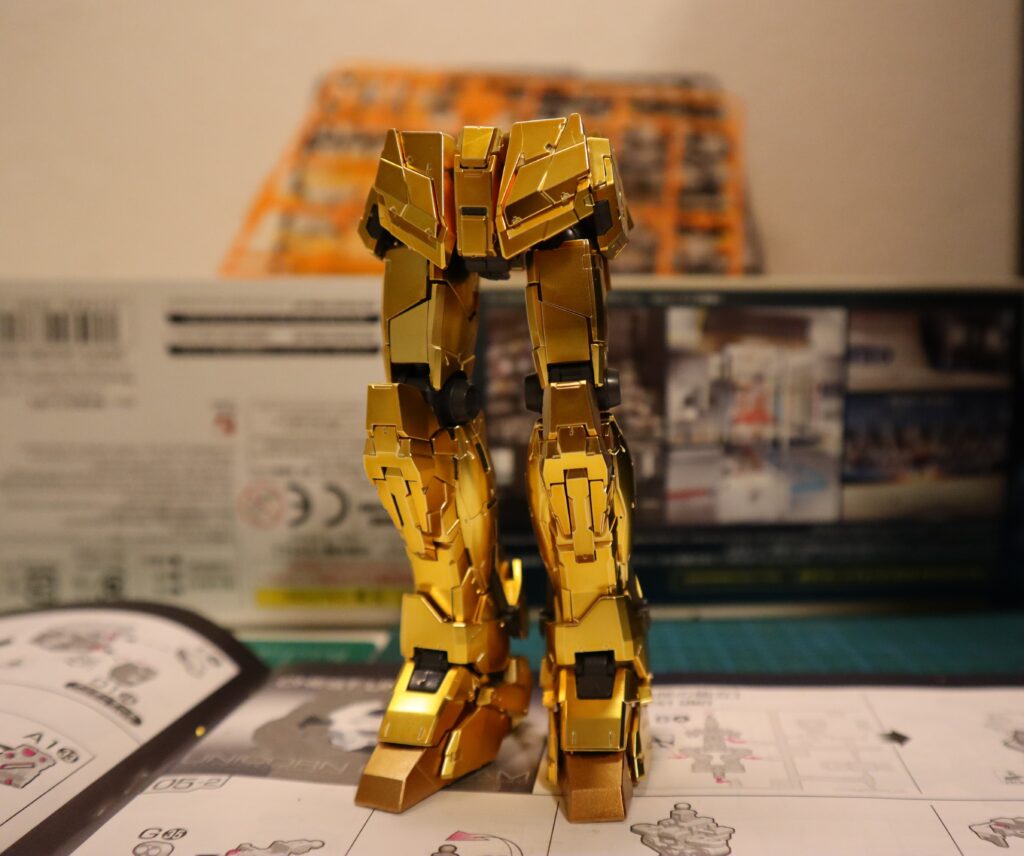
Next up will be the Chest piece, which will likely be a full session on its own. I’m looking forward to seeing if the great experiences assembling the legs continues with the chest.
