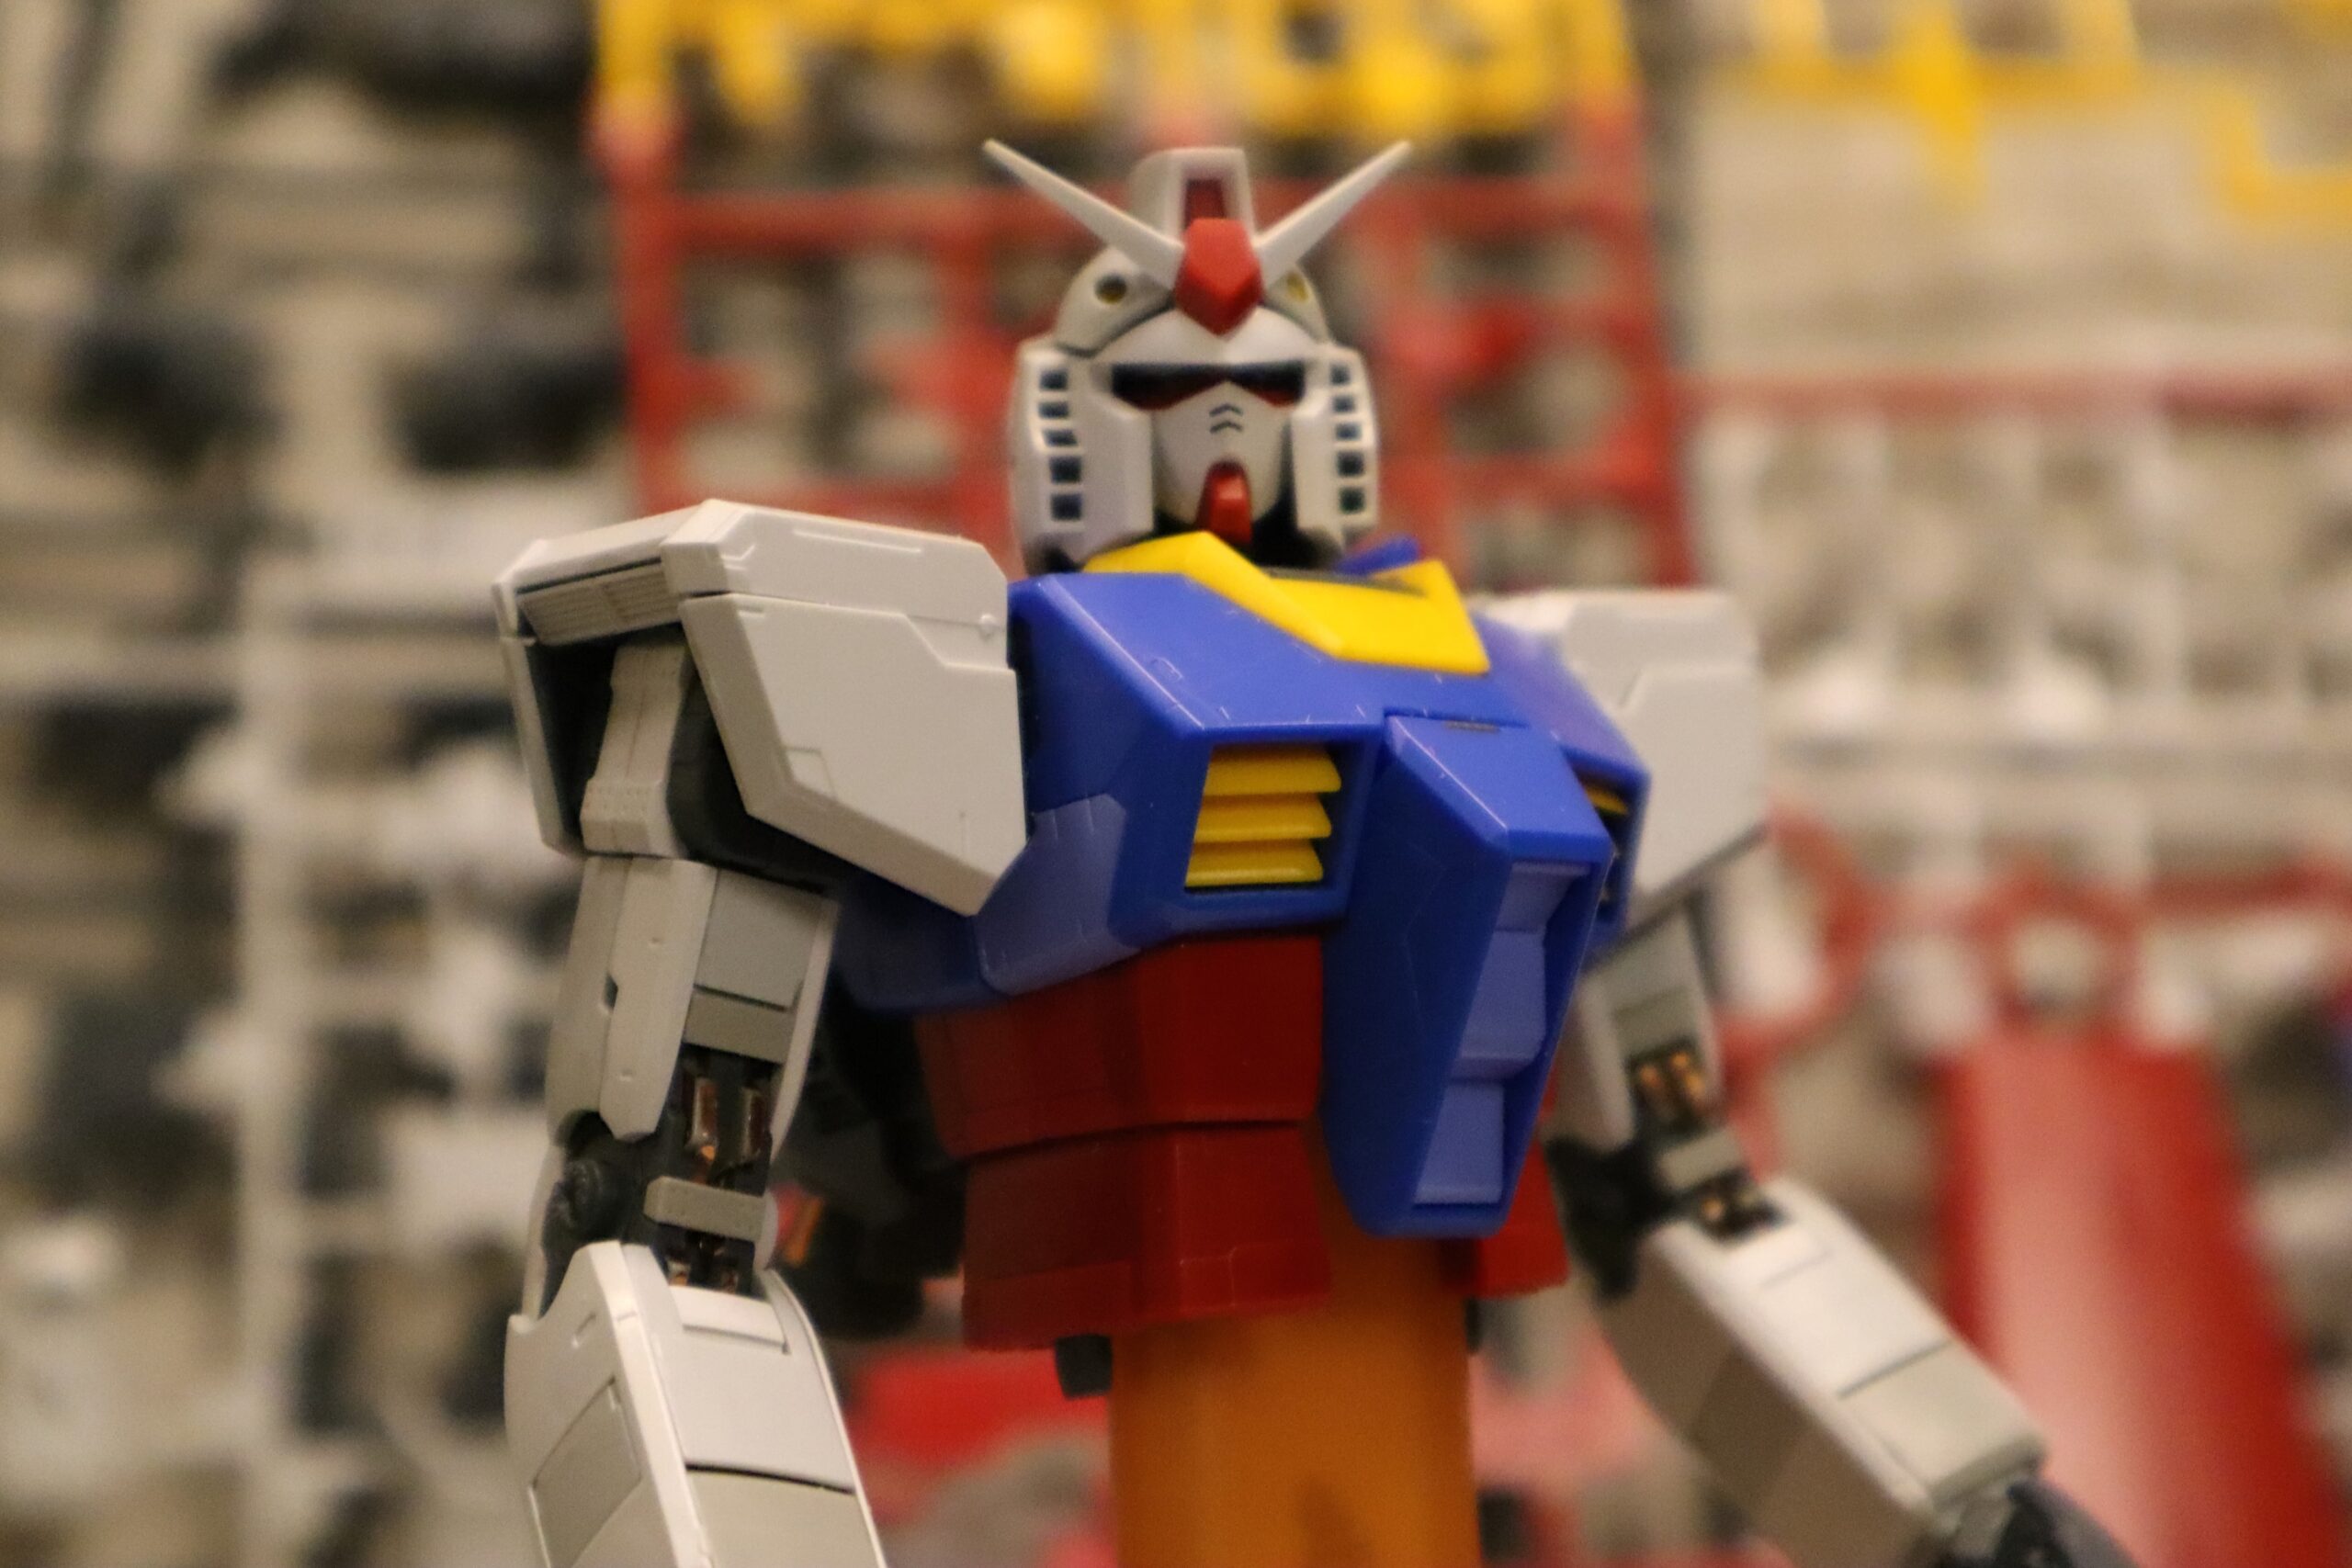
I’d taken a bit of a break from working on this model to focus on the holidays and do some chores that I’d been putting off forever, and once I start getting into a cleaning an organization groove, it takes a lot to stop.
But that’s over and it was time to get back to the model. I’d already completed the head, chest, and rocket pack for the model, so now it’s just a matter of completing the limbs.
Everything was going along swimmingly, but I want to admit something here — I hate doing the same work twice. It seriously annoys me and guess what doing arms and legs entails? That’s right, it’s two identical things that you have to build twice.
This time, instead of building out one arm and then the other one, I decided to do both simultaneously, like the instructions recommend, and I wasn’t as aggravated as I usually get, where I’ll just assemble one arm and then put off doing the other one by completing a leg or something and then coming back.
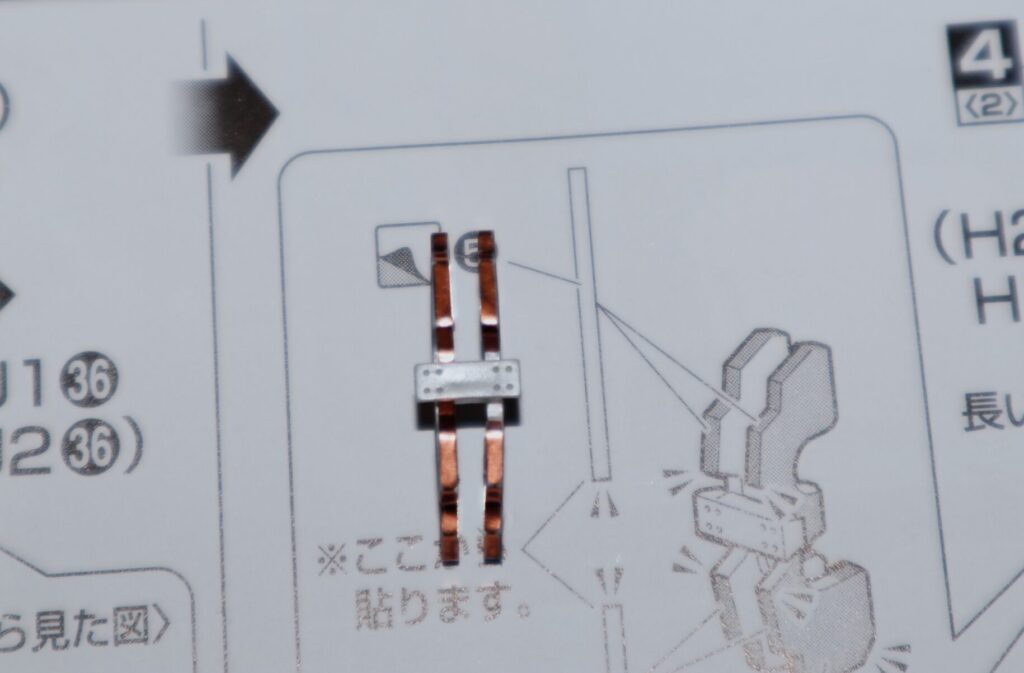
I also don’t look ahead on the instructions when I do these models. Every new page carries a surprise and this one involved my eternal bane: stickers. Long, narrow stickers that needed to be precisely placed upon the edge of a plastic piece.
This needed to be done four times (eight counting the other arm piece). Luckily I had my new tweezers, but one thing that made itself obvious during this process is that I probably need to get one of those “helping hands” setups that people use for soldering, as well as a magnifying glass for sticker and decal placement. Since I’m probably going to be soldering projects in the future, it’ll be a good investment anyway.
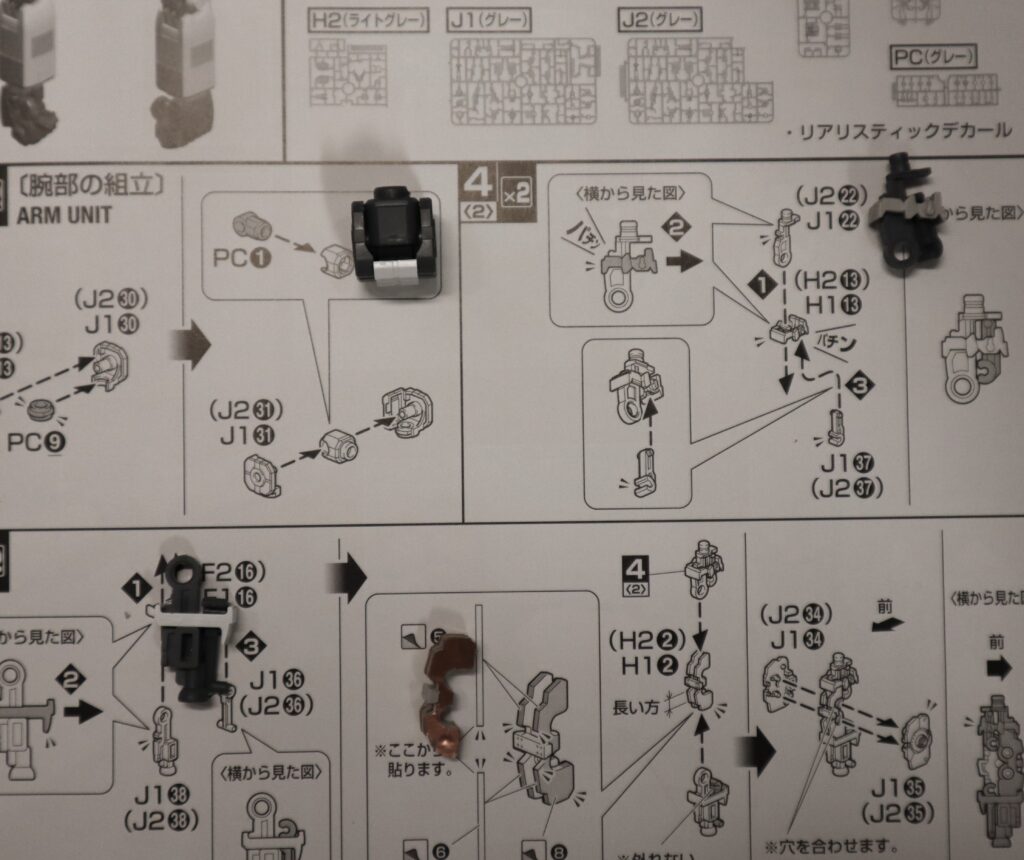
The instructions have you build a bunch of smaller components, which are then all assembled at the end into the arms themselves.
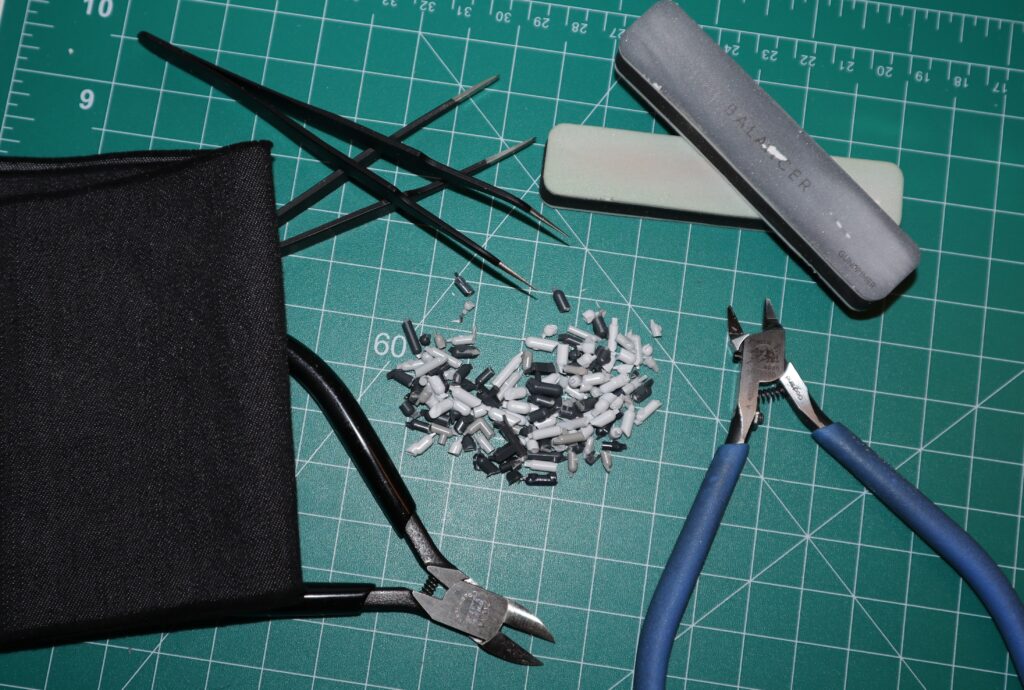
Since most of the pieces were dark gray plastic and white ABS, I didn’t have to spend too much time on mark removal. With the dark gray plastic, it’s easy to scrap off most stuff with my thumb, and the marks don’t show up too much on the white plastic, so I don’t have to do too much in the way of intense sanding and polishing.
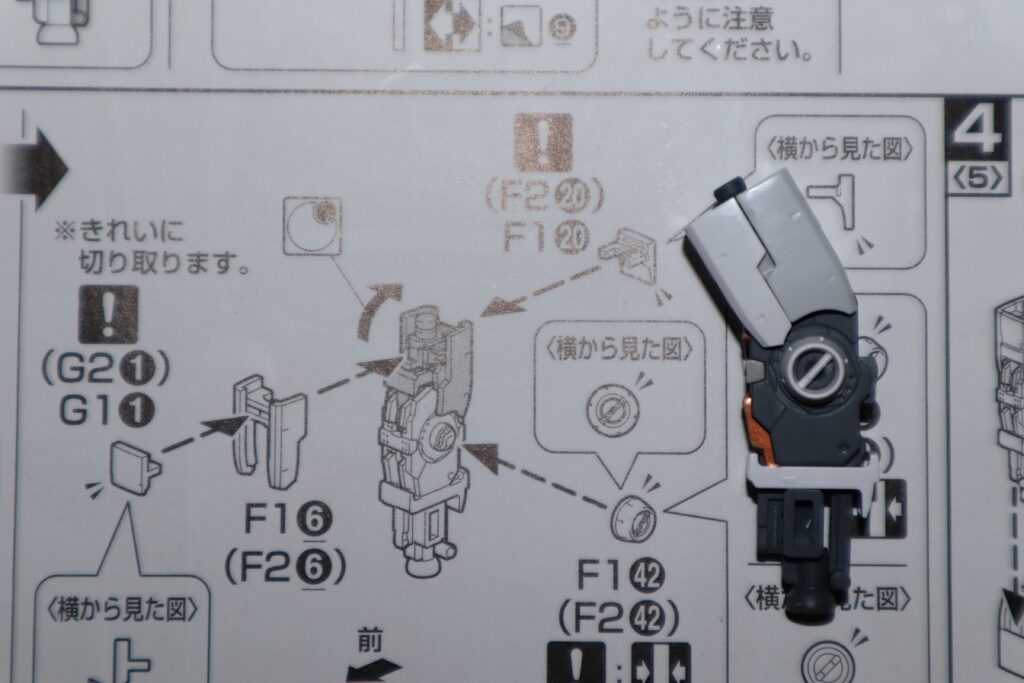
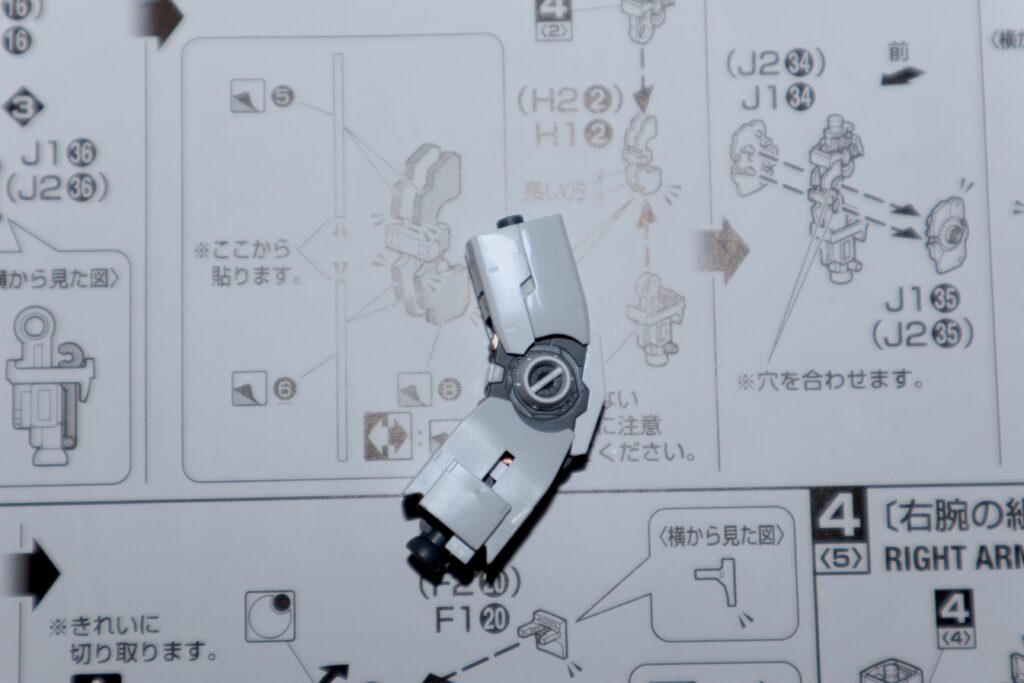
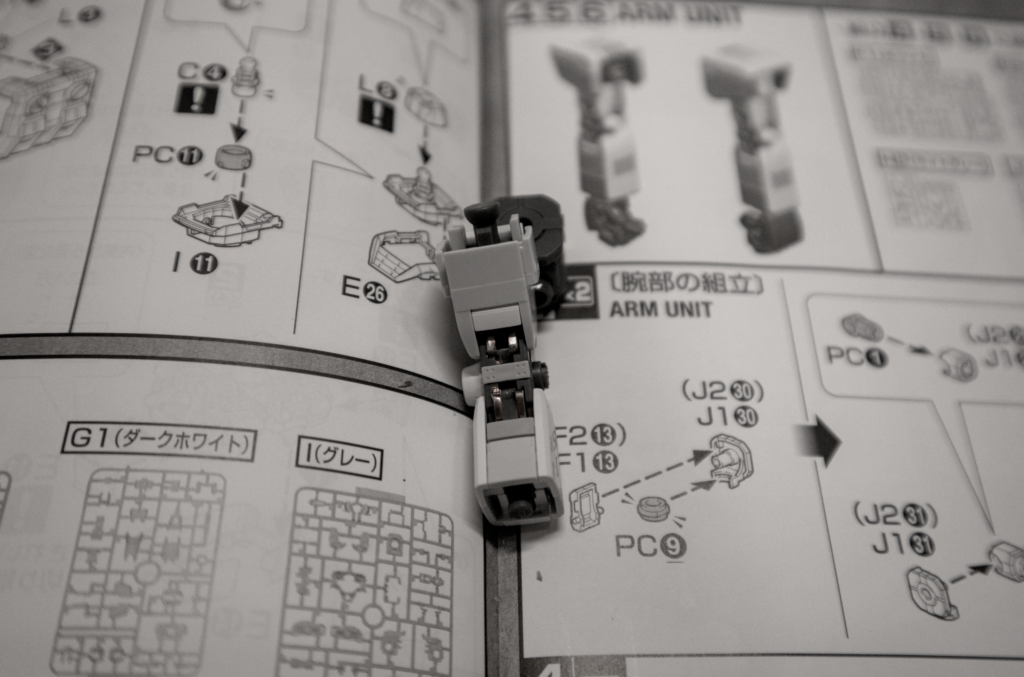
I was happy with how both arms were coming together. All the pieces snapped together and fit tightly and there wasn’t that one piece that never wants to play nice and constantly fall off, which was a welcome gift.
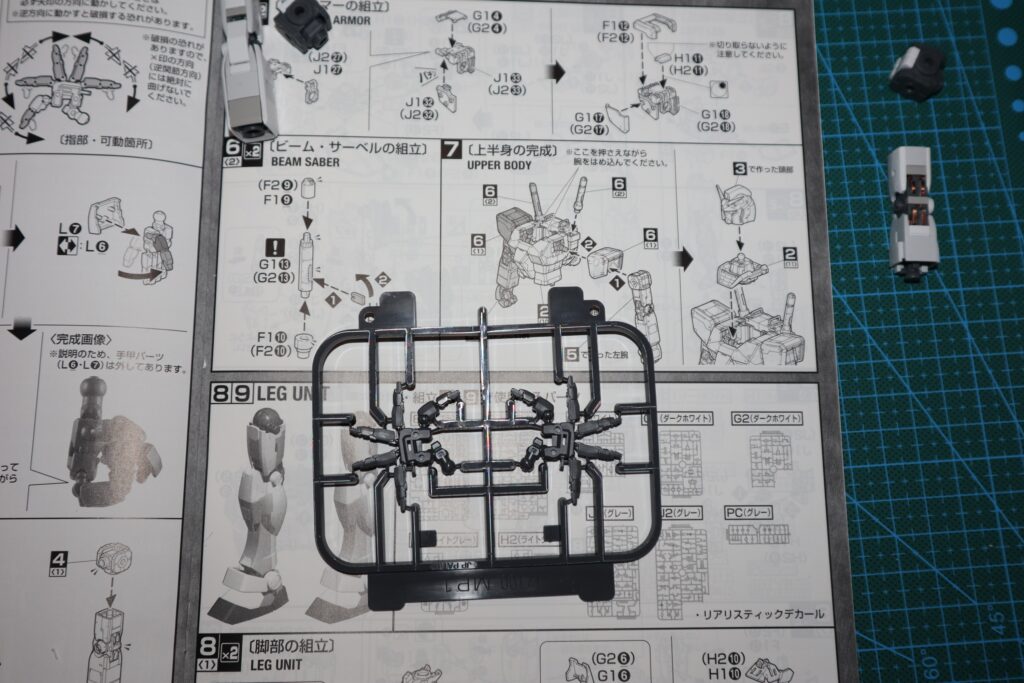
The only squirrely part were the hands, which as you can see in the picture below, are a bit much. It’s great for manipulating individual fingers, but each digit is held in with a ball-and-socket joint and can easily fall out while trying to get everything in place.
The small size of the fingers and where they’re mounted to the sprue also makes them hard to clean marks off once they’re clipped out, so that took a lot more time than I expected, but I was pleased with the end result.
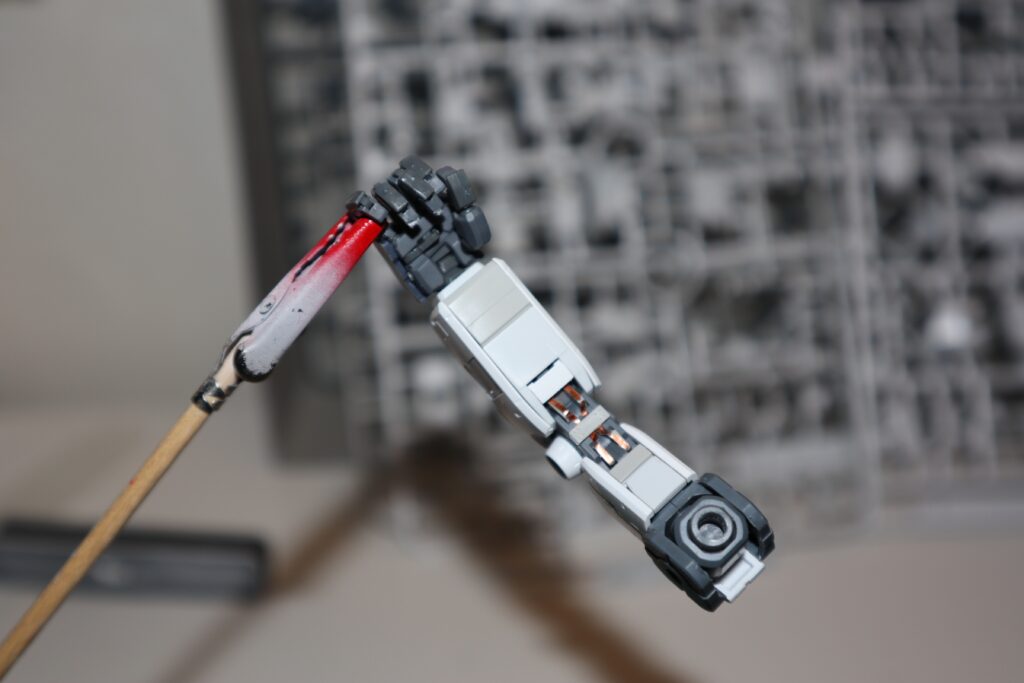
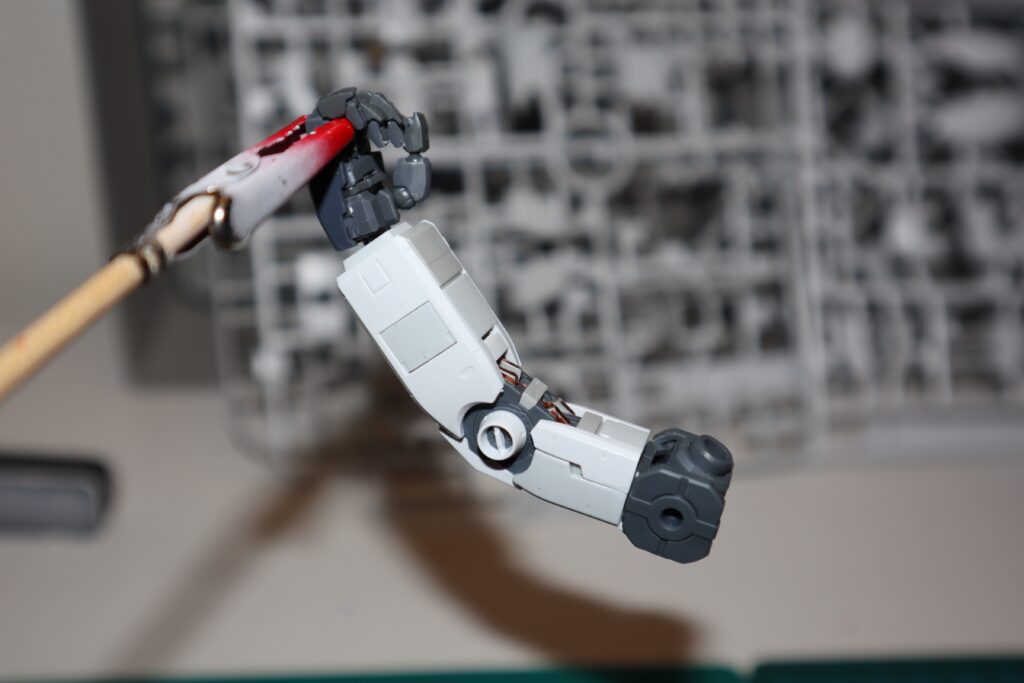
I finished up the shoulder pieces and completely forgot to take pictures of their assembly, but rest assured it went smooth with absolutely no issues whatsoever.
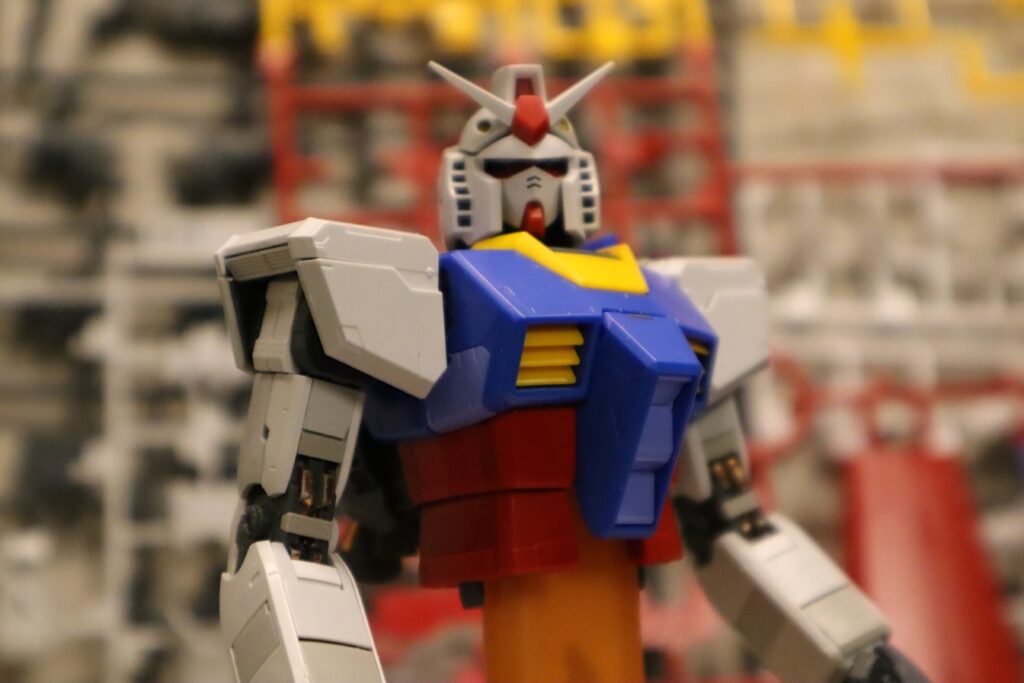
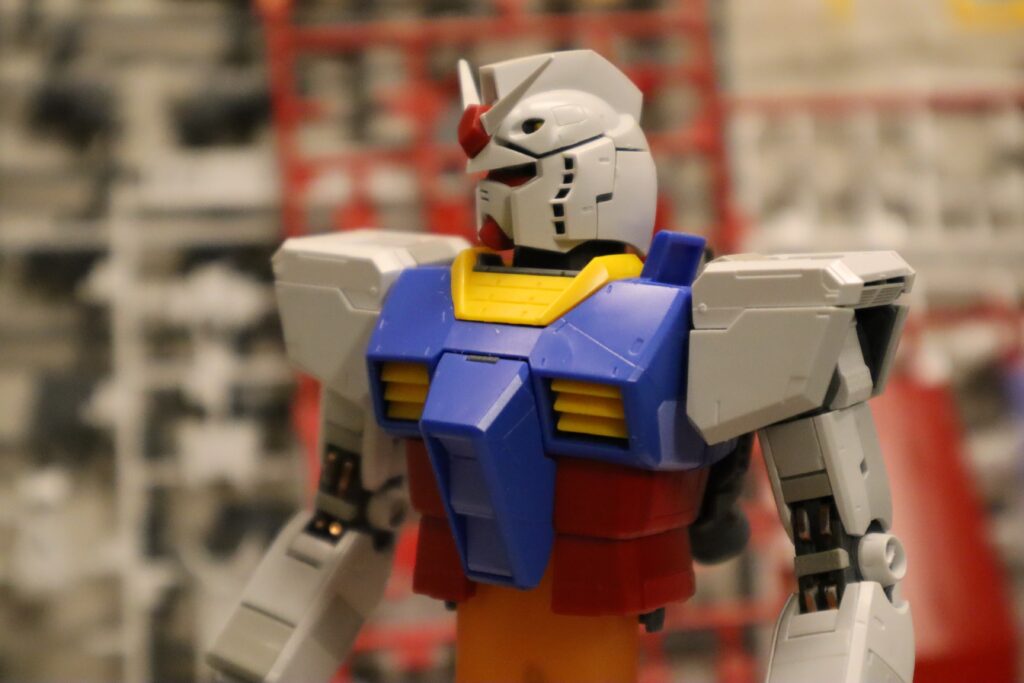
The next step will be the legs, which traditionally take a little longer due to the increased number of pieces used, and then finally the waist.
I’m really enjoying this model so far and though I’ve put together my fair share of RX-78s, I think this is my favorite so far (I’ve never spent the money to purchase a Perfect Grade).
